How to Avoid Embarrassment During Online Presentations or Screen Sharing
Along with the now-ubiquitous videoconferencing, screen sharing and online presentations have become vastly more common during the pandemic. This isn’t yet another article about how to give a better presentation or feel more confident. (Although those might happen too.) The goal of this article is to help you avoid situations that could embarrass you in front of clients, colleagues, or bosses. Follow this advice and you could avoid an unfortunate happenstance that might even cause you to be fired.
Here’s the problem. Even more so than before the pandemic, our Macs feel like personal spaces. Just as you’d add a houseplant and a special photo to your desk at work, you’ve probably personalized your Mac in a variety of ways. Custom desktop wallpaper, for instance, or a screensaver that displays favorite photos. Plus, you may carry on personal conversations, possibly even intimate ones, if you catch our drift, using the same Mac that you use for communicating with those aforementioned clients, colleagues, and bosses.
We’re not here to admonish you or nag about inappropriate behavior. (Though we will encourage you to consider some sage advice from a friend’s mother, who noted drily that you should never put anything on the Internet that you don’t want to appear on the front page of the New York Times. And that was before Twitter.)
No, as we said, the goal here is to help you avoid the embarrassment caused by people who are viewing your screen seeing things they shouldn’t see, something that the New York Times has also covered. Some areas of concern include:
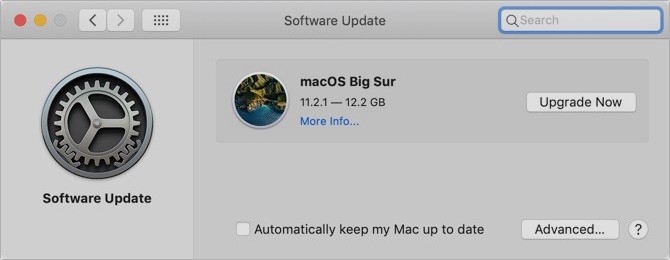
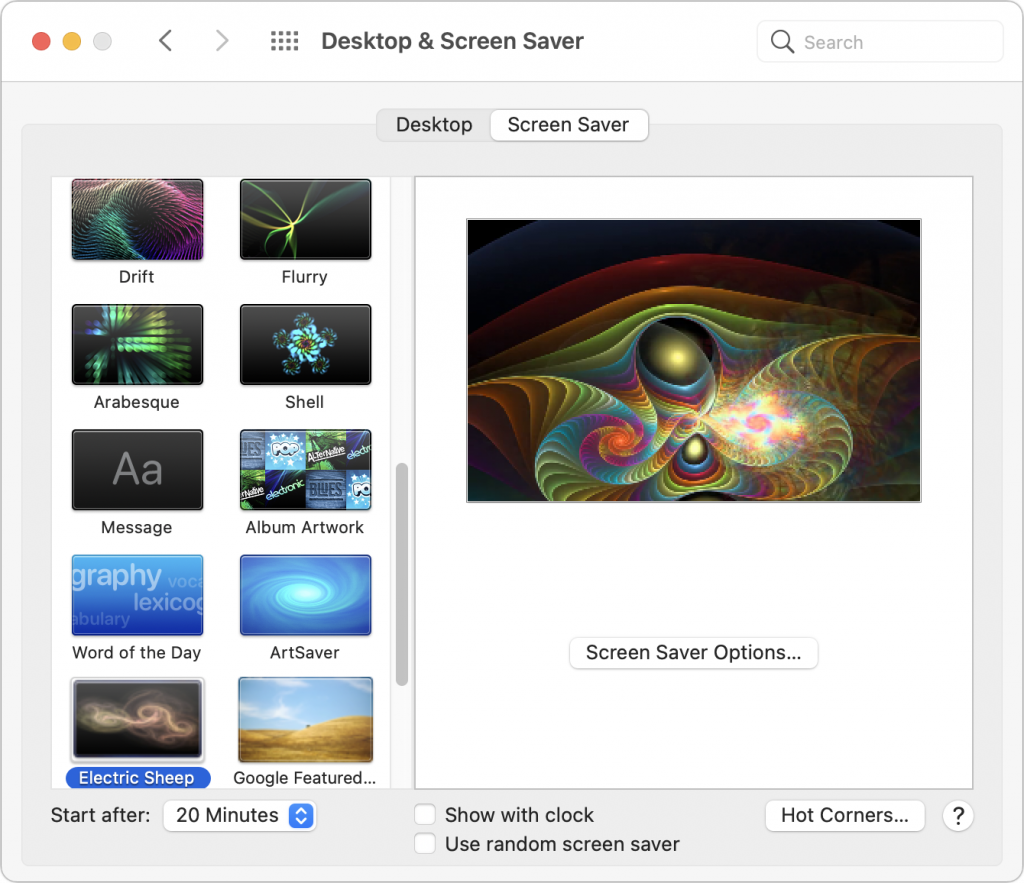
- Desktop & Screen Saver: Jobs have been lost by inappropriate selections for desktop wallpaper and photo screen savers. Make sure, if you’re ever going to share your screen, that randomly chosen desktop pictures and folders of screen saver photos don’t contain anything that could be problematic. To be safe, choose an Apple-provided desktop picture and a pattern-based screen saver in System Preferences > Desktop & Screen Saver.

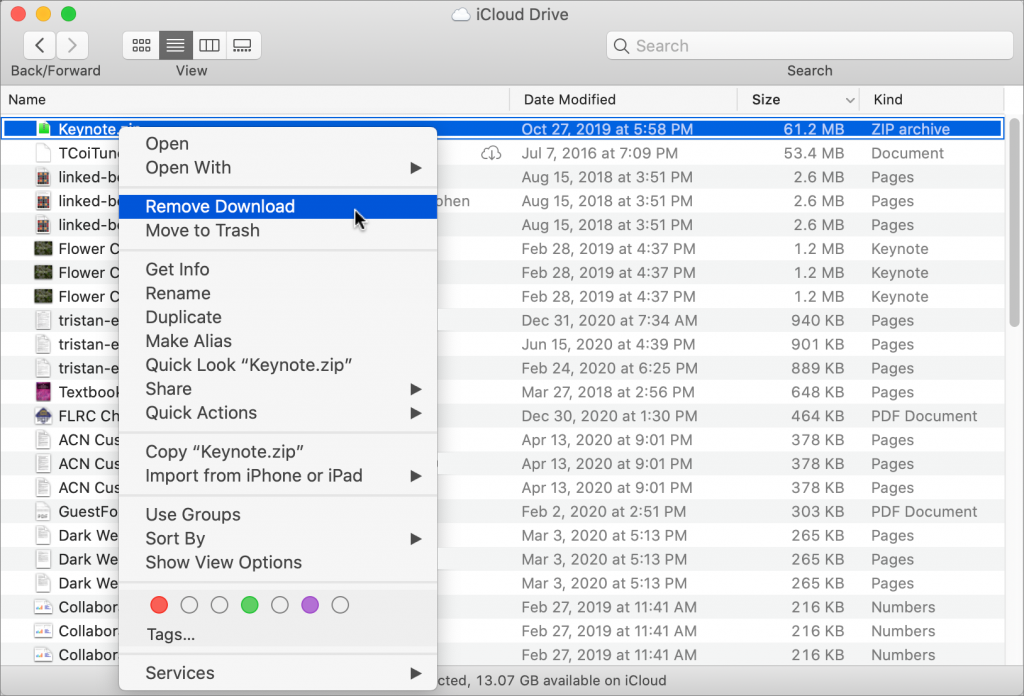
- Icons on the Desktop: We all toss files on the desktop, but if preview icons or even filenames could cause trouble—you might not want your boss seeing Resumé.doc—corral them in another folder before you share your screen. Also note that many videoconferencing apps can limit their screen sharing to particular windows rather than the entire screen, which prevents people from seeing your desktop.
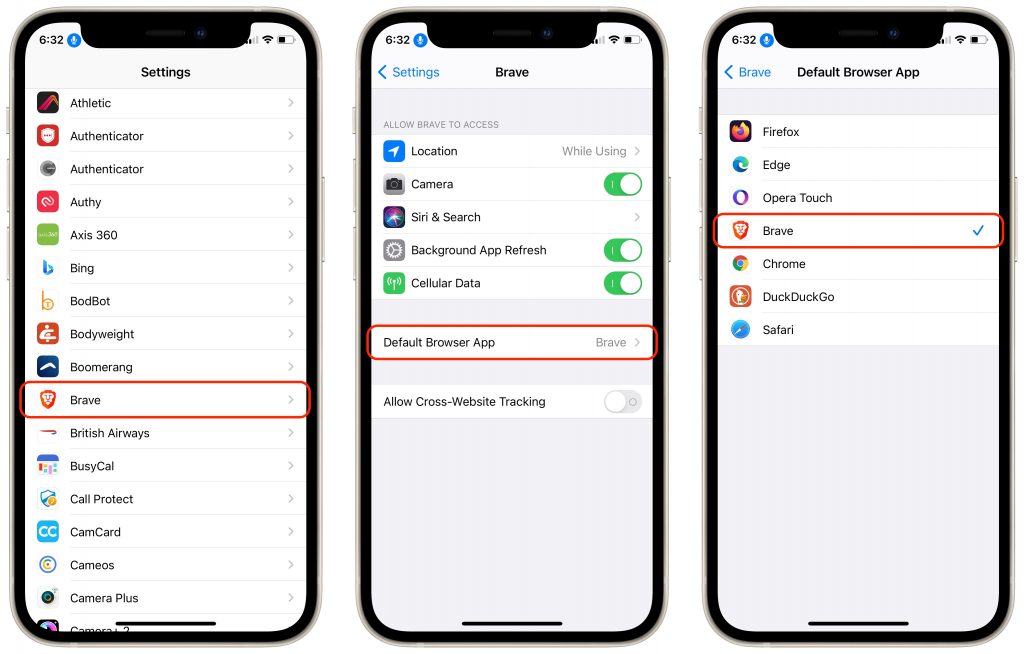
- Web browser tabs: Limiting screen sharing to a particular window won’t help if it’s a Web browser window with multiple tabs. Even if you avoid accidentally navigating to a tab with NSFW content, its title alone might be problematic. For safety, always start a new browser window when sharing Web content.
- Open apps and documents: As with icons on the desktop when sharing your entire screen, you may not want just anyone seeing what other apps and documents you have open. Again, stick to sharing a specific window. To avoid mistakes when selecting the window to share, we recommend hiding or quitting all unrelated apps before sharing your screen.
- Document comments: When collaborating on a document, some people are less than politic with their in-document comments. If comments are visible when you’re sharing a document with people who wouldn’t otherwise see them, hard feelings could ensue. Make sure to hide or resolve such comments before sharing.
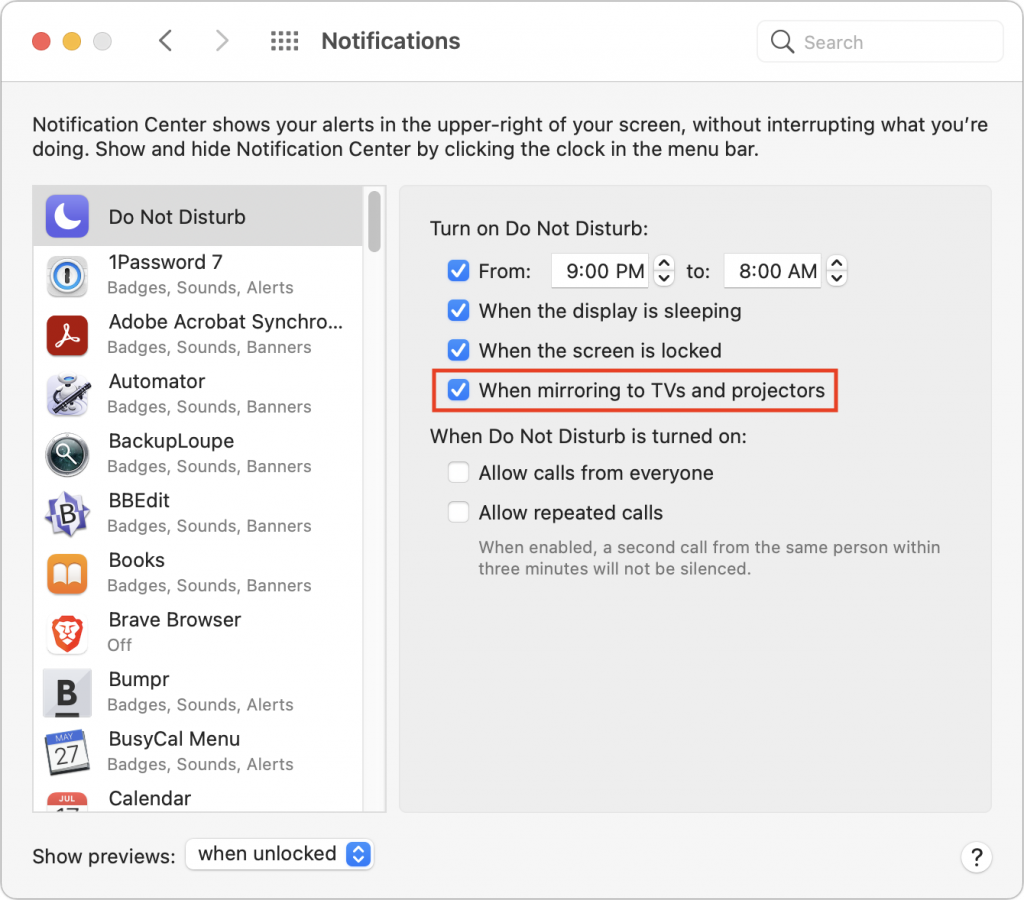
- Notifications: Even if you have hidden or quit Calendar, Messages, Mail, and similar apps, their notifications could still appear at an inopportune time. You might not want colleagues to know about an ob-gyn appointment, meeting with a potential employer, or racy conversations with a coworker. The solution is Do Not Disturb, easily enabled from Control Center in macOS 11 Big Sur and by scrolling up in Today view in Notification Center in earlier versions of macOS. Also, although it won’t help with online screen sharing, it’s a good idea to enable the “When mirroring to TVs and projectors” option in System Preferences > Notifications > Do Not Disturb.
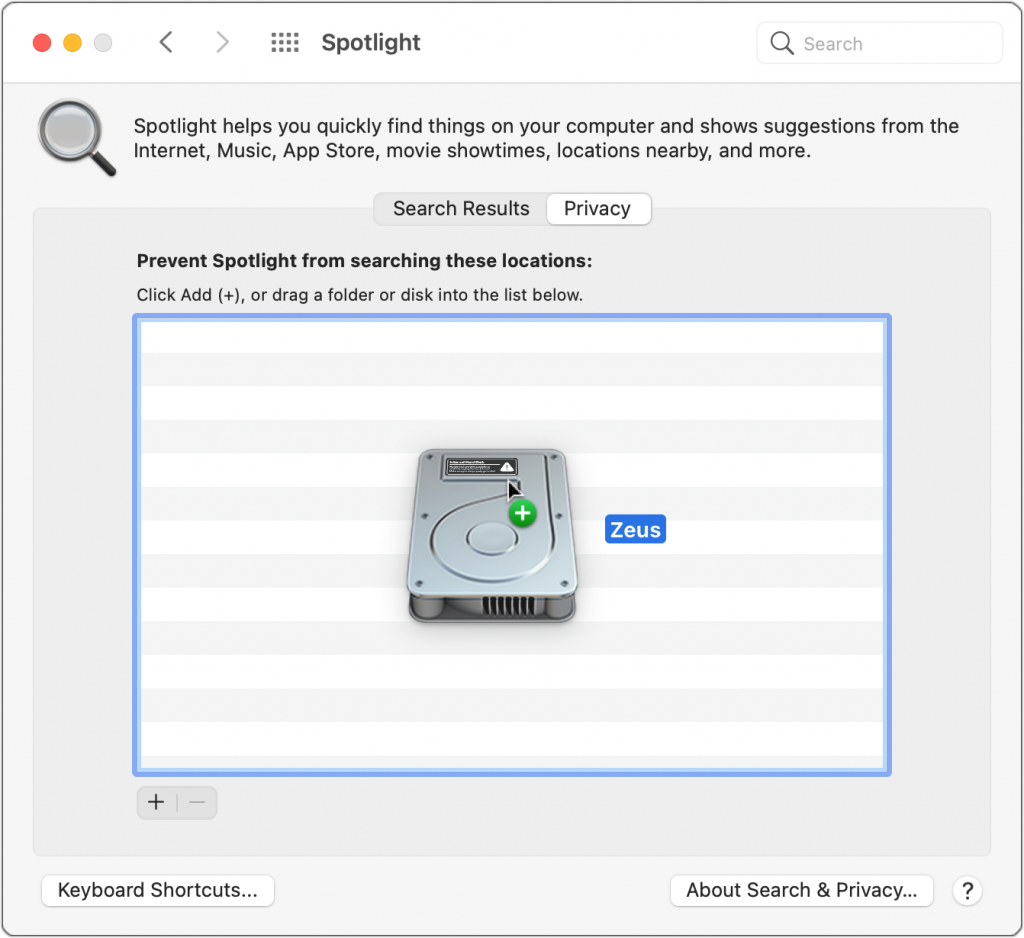
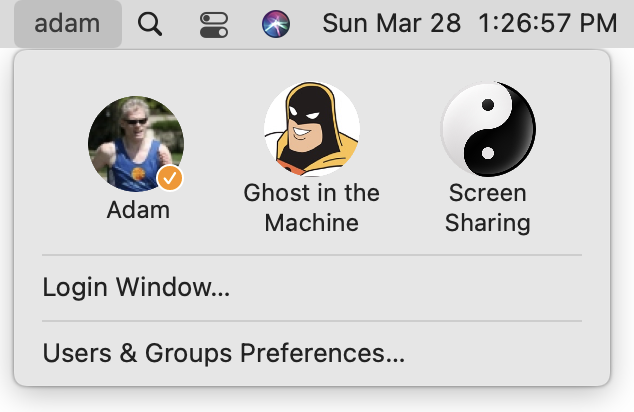
This may all sound a little overwhelming, but there is one trick that will help you avoid most of these problems at once. In System Preferences > Users & Groups, create a new user account dedicated to screen sharing and presentations. In that user account, you can be sure to have innocuous desktop pictures, screen savers, clean Web browser windows, and permanent Do Not Disturb. The hardest part will be figuring out the best way to share documents you use in presentations between your accounts (try the /Users/Shared folder or an online file sharing solution like Dropbox). Then, before you start a call when you’ll need to share your screen, choose your new account from the Fast User Switching menu from the right side of the menu bar (set up that menu in System Preferences > Users & Groups > Login Options).
One final piece of advice. When you’ve accomplished what you need to by sharing your screen, stop sharing it and switch back to video. That way, you can’t accidentally do something in the shared window that might be embarrassing. Similarly, when a meeting is over or you’re dropping off for a while, it’s best to leave the call. Stopping video and muting audio are good tools, but it’s easy to click in the wrong spot accidentally and think you’re safe when, in fact, your mic or camera is still live.
(Featured image by Andrea Piacquadio from Pexels)
Social Media: When sharing your screen online, would you be embarrassed if your clients, colleagues, or bosses saw what’s on your Mac—your desktop picture, screen saver, browser tabs, email notifications, or Messages conversations? Here’s what to watch out for.