Around And Around And Back Home Again

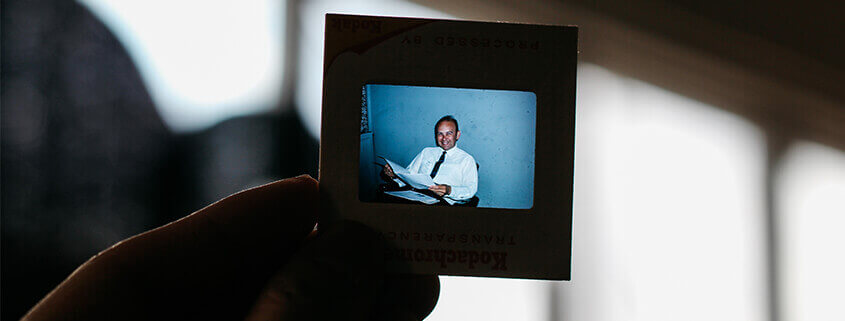
There were once so many different slide projectors on the market that your local camera store probably stocked more than 100 different types of replacement bulbs to be sure they had the one you needed. The most popular by far, was the Kodak Carousel projector introduced in 1964. It was also one of the longest-running, produced in some variation through 2004.

Slide film was the first to capture rich, saturated colors that sparked a new romance with photography. Slide projectors were the revolution that allowed every hobbyist to relive and share their own photos in an experience otherwise known only to Hollywood.

The hit series Mad Men based a 2007 episode on the magical marketing campaign that bestowed Eastman Kodak’s “Wheel” with the now famous name, “Carousel,” pitched as the magic machine that let you travel through your memories as a child would. “Around and around and back home again, to a place where we know we are loved,” quipped the advertising pioneers.

That dramatization is fictional but it is likely that Kodak used the name CAMEROSITY in some early development. You can use it to decipher the serial number into a date of manufacture, where C=1, A=2, M=3, and so on.

If you still have a carousel projector in working condition, it’s worth hanging onto. Some are being converted with LED bulbs into automated slide scanners. And with slide film still in production and the resurgence of 35mm film cameras, you might even view your next vacation through one!

How Big Can I Print, Really?

How Big Can I Print, Really?

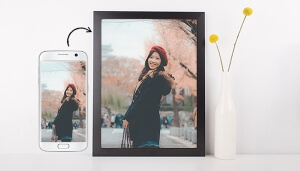
You probably know the resolution of your phone’s camera. But what does that mean in real life? Can I make this big enough to live on my wall? Or just on my bookshelf?

You’ve probably heard the detailed answer before, or at least the first few sentences before your eyes glazed over. It’s the one where we start dividing the number of pixels by the desired print resolution to… are we losing you already?

How Big Can I Print, Really?


Here’s a much simpler rule of thumb: MP = IN, or megapixels = inches. If your iPhone has a 12MP camera, stick to prints no larger than 12”. A square 12×12 or a rectangular 12×16. It’s a rough guide and there are some exceptions, but the math works out to about 300 pixels per inch. Here’s an example (skip this if the details bore you):

The camera(s) on the iPhone 8 and iPhone X capture 3024 x 4032 pixel image. Multiply to get 12,192,768 pixels, or 12.1 megapixels. If we instead divide them each by 300 (the threshold for photo-quality prints), we get 10.08 x 13.44 inches. That’s the largest size you print that will technically be considered photo-quality.

If, like us, you’re a stickler for quality and only the highest resolution will do, we’ve got you covered. We can diagnose any image you throw our way. But this quick tip will get you in the ballpark without any unnecessary math anxiety!


The Best iPhone Camera Tricks You’re Not Using

The Best iPhone Camera Tricks You’re Not Using

The Best iPhone Camera Tricks You’re Not Using

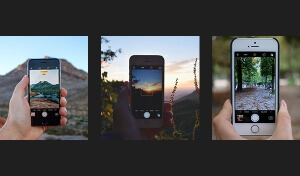
Did you know there are hidden controls in your iPhone camera app? You’ve probably seen the flash and HDR controls and you know that swiping left or right changes the aspect ratio and photo to video mode. Those are labeled on the screen so they’re hard to miss. But what about features that aren’t labeled?

Here are the four best, most overlooked iPhone camera tricks.

The Best iphone camera tricks you're not using

1. Swipe left from the lock screen to open camera.

If you’re thinking, “That’s not revolutionary,” then you’re not paying close enough attention. From the LOCK screen. Which means you can raise your phone and be ready to shoot in one swipe. That’s the difference between getting or missing the shot compared to swiping up from the home screen, which requires you to first authenticate with a passcode, Touch ID or Face ID. This also answers that nagging question you’ve had about those three tiny dots at the very bottom of your lock screen and why the one on the right looks like a camera.

2. Selective AF/AE

Selectawha? Touch anywhere on the screen to autofocus (AF) on and auto-expose (AE), for the lighting in that particular part of the frame. Like when your subject faces are too dark because the background is bright. Or when you want to focus on the stage far away, rather than the person’s head directly in front of you. With a single tap, you now
have complete control over your composition.

3. Exposure Compensation

What if the area on which you want to focus on isn’t the area that you want to expose for? It’s too dark or bright. The answer lies in the small yellow sun icon on either side of the AF/AE box. Slide it up or down to compensate for over or underexposure. Only once the power of this tool sinks in can you fully appreciate the gesture of moving the sun with
your finger.

4. AF/AE Lock

You are now a master. Selecting your focus point, adjusting exposure, and then… You recompose and the frame resets. What? Is all this newfound power really so fleeting? Of course not. Enter AF/AE Lock. The term borrowed from pro dSLRs is just as impressive as it sounds but as simple as you’d expect on your iPhone. Instead of tapping the screen
to select your AF/AE point, touch and hold for two seconds. The selection frame pulsates to confirm and the phrase AF/AE Lock appears on screen. Move your frame anywhere you’d like and your settings remain. Now, you’re a master.

Well, what are you waiting for? Go put your new brilliance to work!