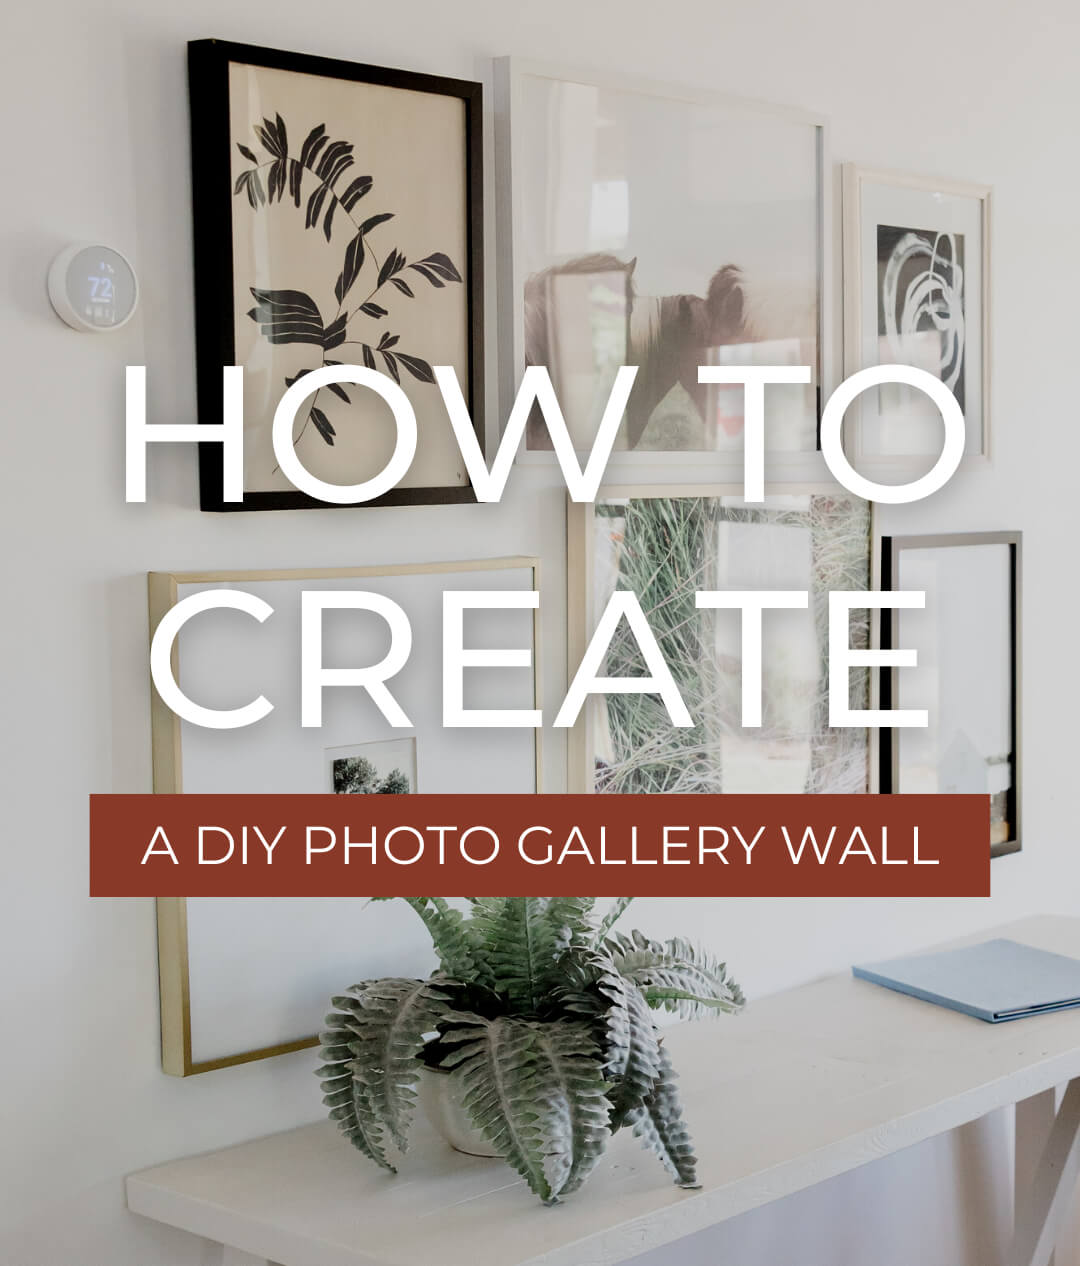
HOW TO CREATE A DIY PHOTO GALLERY WALL
These simple steps create the perfect gallery wall on any staircase or wall.
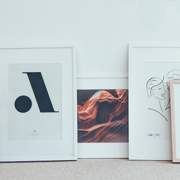
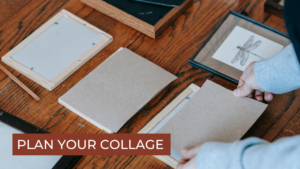
First, decide what you want to hang. Photographs, existing artwork, printed graphics, etc. Second, print, enlarge or shrink those items to work in your space and with your display materials. Our expert team can help you with this!
PRO TIP: Use either matching frames or mix things up with an eclectic set of items. Either way, try to choose items that coordinate (not necessarily match) in color, style or design.
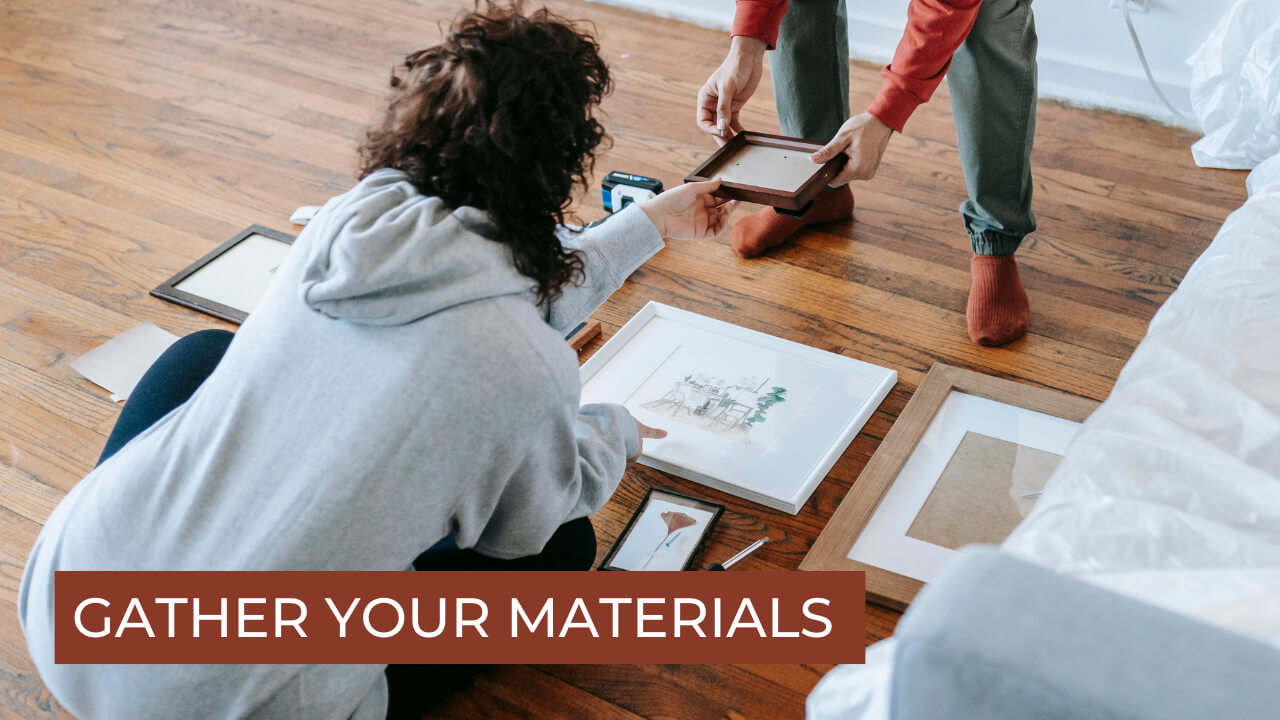
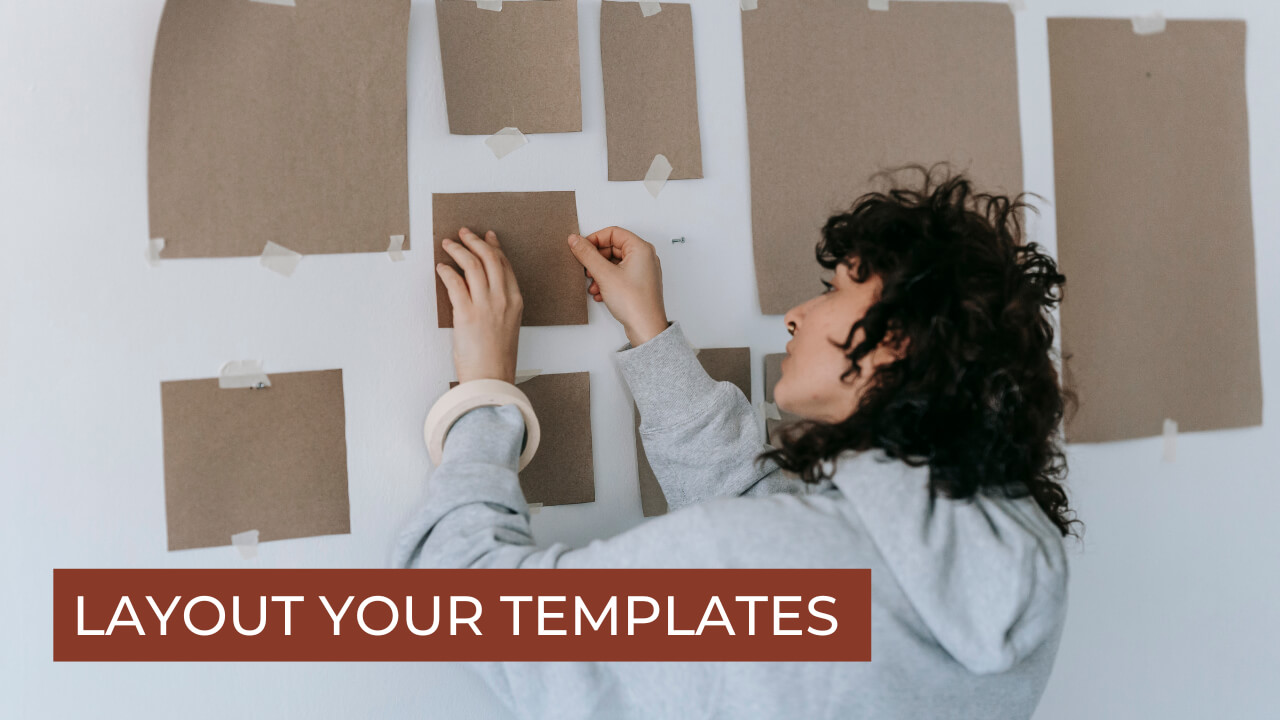
Next, arrange your collage components with a piece of butcher paper on the floor before hanging them. This will become your wall “template”. Start with the most prominent items and work the smaller pieces around them to find the perfect layout balance.
Once you’re happy with how things look on the floor, trace the pieces onto the paper, cut them out, and tape everything to the wall. This is the time to move anything around that doesn’t fit quite right.
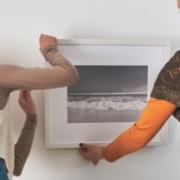
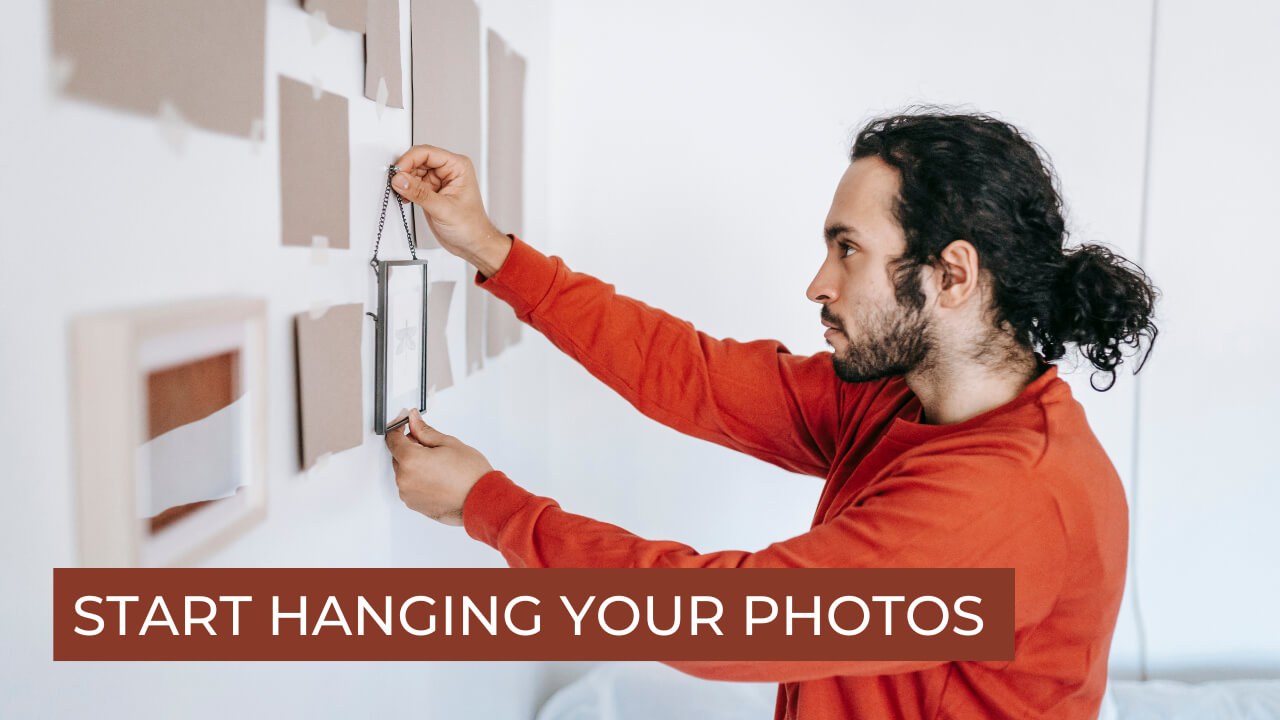
Once you’re happy with the butcher paper template, it’s time to start hanging! Hammer your nails directly into the butcher paper placeholder to accurately position each piece. Then, remove the paper once you’re happy with the nail position (before you permanently hang your photo/framed pieces.
Gather your ideas and let’s get started!
Our creative crew is here to assist with projects like this. Whether it’s printing your imagery, making enlargements, retouching photos, selecting the right medium or having items custom framed – we’re ready to tackle your next gallery wall.