Export Pictures From Photos on Mac

OMG is uploading photos the most frustrating part of the Photos on the Mac?? Maybe so. All those pictures, and it seems impossible to browse them to upload and make prints from your Mac. Using a browser to look in the depths of  the Photos Library for pictures you want to print isn’t a thing so the key is learning how to Export from Photos.   We’ll walk you through the Export steps and show you how to make pictures in the Photos app on Mac available for uploading to print in this super short step by step video.  Free your photos so you can order prints (and everything else)!  Let’s go beyond the “Share” button and learn how to Export right now.

Tips for managing your life in photos.

Tips for decluttering the thousands of photos on your device.

Our mobile phones have sadly become the final resting place for many of our family memories. Pictures of first days of school, fall adventures, family gatherings at home and other priceless moments in your family history never make it out of our mobile photo albums. The cloud gives us ample space to store thousands of photos – but it the number of images can quickly get out of control if not continually managed. If you take, say, 10 photos a day, every day for a year, that adds up to nearly 4,000 photos left to stagnate on your digital device.

But they don’t need to be lost and unseen. In fact, organizing and clearing your phone of clutter is similar to cleaning out a disorganized closet at home. When you’re cleaning, you will wonder what made you keep certain photos for so long, much like you might wonder why you kept a sweater from high school. No time is better than the present to sort out the mess on your phone.

Let Go of the Photo Clutter

We truly don’t need thousands of photos. If you scroll back in your camera roll, there may very well be duplicate photos, screenshots of recipes you never used or poor-quality photos. Delete these! You want your photos to tell a story about a memory you have and keeping photos that you will never use again only adds to the clutter. And clutter is the last thing you need when it comes to photo organization.

Beginning this process may be intimidating. It’s much like opening the closet you’ve been afraid to open for years, for fear that a ton of junk will tumble out. But you’ve got to let go of the junk to get to the memories that matter most.


Find Time to Delete

Spend time deleting duplicates and non-keepers while in line at the grocery store or set aside time once a week to delete photos. Just like the minimalist mantra, if something doesn’t bring joy, get rid of it.


Organize What’s Left

It takes time and computer know-how to begin the organization of your digital files, and this should also be an enjoyable process because you get to reminisce on past moments. Once you’ve sifted through which photos to keep and which photos to toss, you can begin placing the photos in folders or albums, either separated by year or by an event. This is exactly the process you might use when you are organizing your messy closet. Put winter items in one box, summer in another, and so forth.


Print them. Display them. Share them. 

Next, you’ll want to get your photos off your phone and have some type of physical output made. I recommend printing your favorites and making copies for every family member who is part of the story. Of course, you can also create photo books, framed wall galleries and keepsake gifts.

Last Minute Gift Ideas

Just a few more weeks to go! Are you ready?


That’s right! There’s still a bit of time for you’re to create adorable photo gifts and prints for your friends and family. Not sure what to gift? Here are a few solutions to help you choose.


The Gather Box

Our #1 MOST MEANINGFUL gift idea! The Gather Box is an easy way to have family photos, home movies and keepsakes digitized for use on today’s technology. Here are our favorite ways to gift it:

  1. Wrap the empty box and allow the recipient to fill it with vintage photos and memorabilia. Instructions for filling the box are included.
  2. You fill the box with meaningful photos and keepsakes for the recipient. Allow them to add some of their own items as well.
  3. Plan ahead (at least 3 weeks before Christmas) and have a box full of family treasures digitized for the recipient (or the entire family)!


Prints

Give the gift of prints! Select a series of your favorite mobile snapshots and make fun-sized prints to package as a set. Tie a bow around them and you’re all set! Print sets can be ready for pick up in as fast as 1-day!

Ornaments

Start a new tradition and gift personalized ornaments to everyone in the fam. Children especially enjoy having their very own special ornaments and it’s fun to reminisce when decorating the tree each year.

4 Easy Tips To Get Photos Off Your Phone and Into Your Life

4 Easy Tips To Get Photos Off Your Phone and Into Your Life

Our mobile phones have sadly become the final resting place for many of our family memories. Pictures of first days of school, fall adventures, family gatherings at home and other priceless moments in your family history never make it out of our mobile photo albums. This is understandable because these days we are no longer taking the allotted 36 snaps on our film cameras. Now we have the digital memory to take thousands of photos. If you take, say, 10 photos a day every day for a year, that adds up to nearly 4,000 photos left to stagnate on your digital device.

But they don’t need to be lost and unseen. In fact, organizing and clearing your phone of clutter is similar to cleaning out a disorganized closet at home. When you’re cleaning, you will wonder what made you keep certain photos for so long, much like you might wonder why you kept a sweater from high school. You will also discover some treasures, just like you will no doubt discover treasures in your closets, such as an old guitar or your grandmother’s favorite earrings. No time is better than the present to sort out the mess on your phone.

Photos off your phone

Let Go of the Photo Clutter

We truly don’t need thousands of photos. If you scroll back in your camera roll, there may very well be duplicate photos, screenshots of recipes you never used or poor-quality photos. Delete these! You want your photos to tell a story about a memory you have and keeping photos that you will never use again only adds to the clutter. And clutter is the last thing you need when it comes to photo organization.

Beginning this process may be intimidating. It’s much like opening the closet you’ve been afraid to open for years, for fear that a ton of junk will tumble out. But you’ve got to let go of the junk to get to the memories that matter most.


Time to curate + delete

Find Time to Delete

Spend time deleting photos while in line at the grocery store or set aside time once a week to delete photos. Just like the minimalist mantra, if something doesn’t bring joy, get rid of it.


Organize

Organize What’s Left

It takes time and computer know-how to begin the organization of your digital files, and this should also be an enjoyable process because you get to reminisce on past moments. Once you’ve sifted through which photos to keep and which photos to toss, you can begin placing the photos in folders or albums, either separated by year or by an event. This is exactly the process you might use when you are organizing your messy closet. Put winter items in one box, summer in another, and so forth.

Display Your Phone’s Photos 

Next, you’ll want to get your photos off your phone and put them on display for all to see. You can add photos to photobooks, framed wall galleries and novelty items like pillowcases and coffee mugs.


Bio: Cathi Nelson, author of Photo Organizing Made Easy; Going from Overwhelmed to Overjoyed, is the founder of APPO (Association of Personal Photo Organizers), a membership organization dedicated to helping thousands of entrepreneurs from around the globe build successful photo preservation and organizing businesses.

6 Steps For Organizing Your Shoebox of Photos

6 Steps For Organizing Your Shoebox of Photos

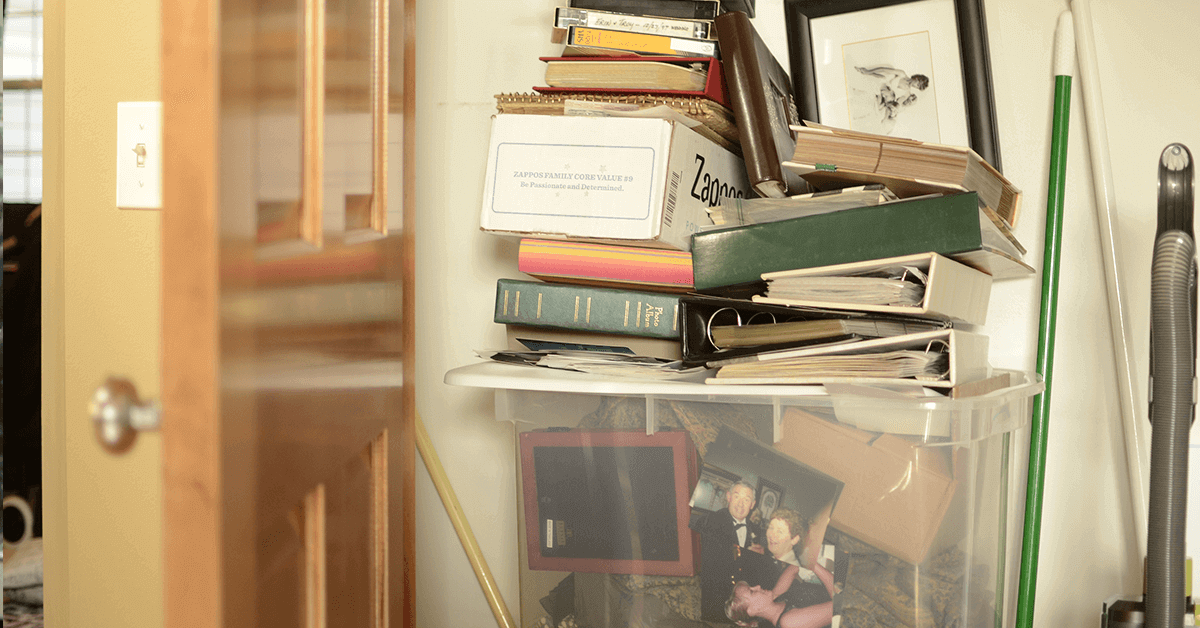
We all have those lonely shoeboxes of photos and negatives that weigh on our mind every time we open our closet doors. Tackling the contents of those boxes can seem daunting at best and insurmountable at worst. But don’t despair. Here are six tips that can help you sort through your photos and give yourself some organizational peace of mind.


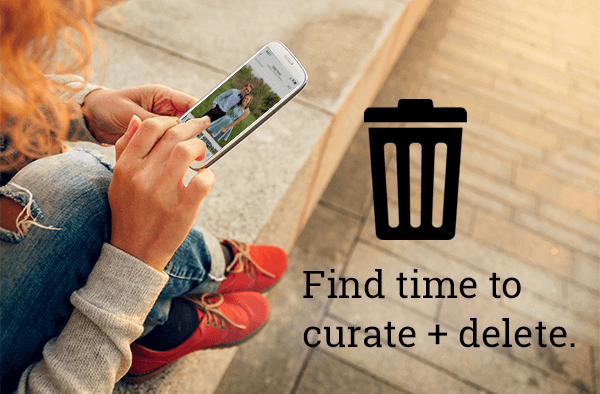
1. Don’t be afraid of the trash bag. That family trip to the Grand Canyon was amazing, but do you really need a hundred photos of the Grand Canyon itself? The answer is no. Those multiple scenery shots, while beautiful, don’t tell the story any better than just one can. My general rule is to eliminate 80 percent of the photos in a box, keeping the other 20 percent for albums. Don’t worry, the Grand Canyon will be around for a long time. I promise that no one will forget what it looks like.


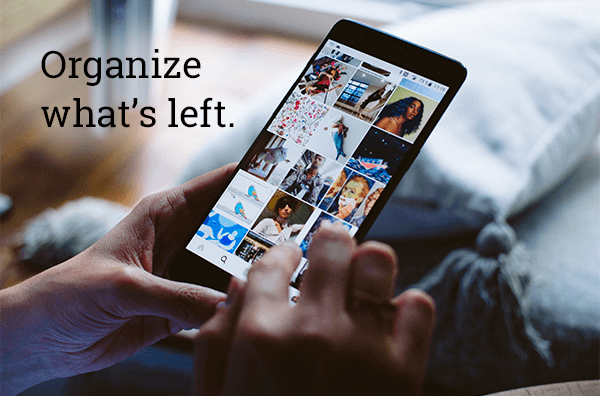
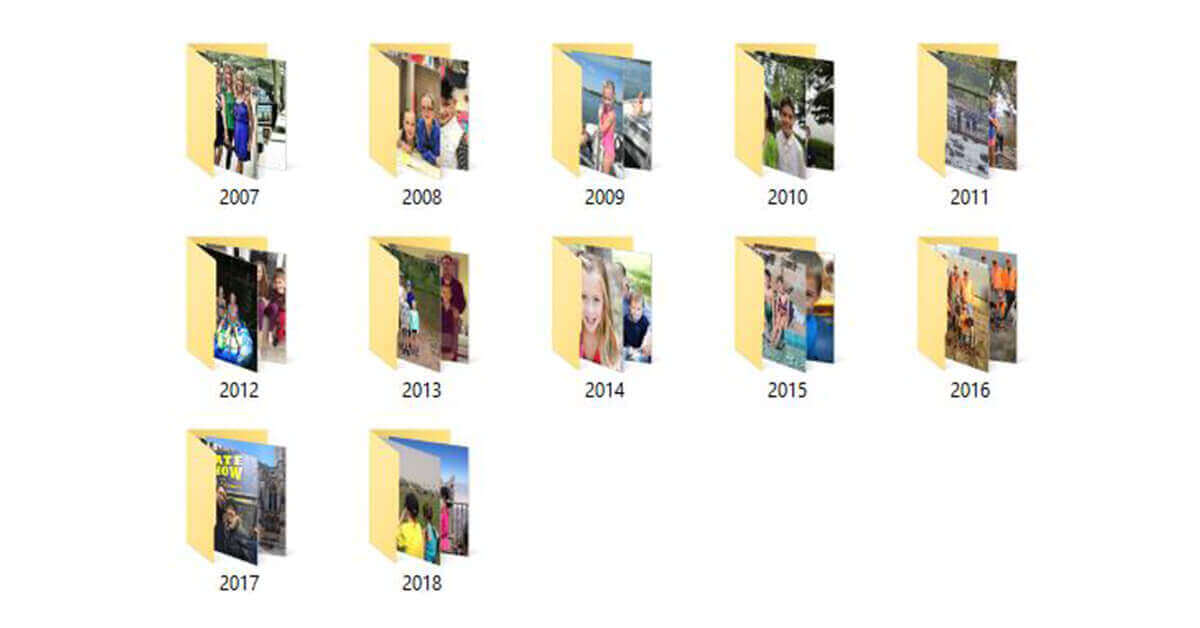
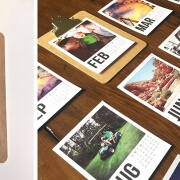
 2. Organize by theme.A lot of people think they need to organize their photos chronologically. For some, this method works very well. For others, however, this is a daunting and overwhelming task. It’s often easier — and more effective — to organize by theme. Organizing by theme makes it much simpler to pull together an album. Themes are also easier to identify than dates. While you may not be sure which year that Christmas photo was taken, you definitely know that it’s Christmas.


3. Pace yourself. As hard as it is, you need to strike a fine balance between lingering too long on precious memories and pushing yourself to go too fast. For the former, give yourself two seconds per photo — and only two seconds — to reminisce before deciding where that photo belongs.

Also, set a timer for one to three hours, and be sure to give yourself time to recuperate between sorting sessions.


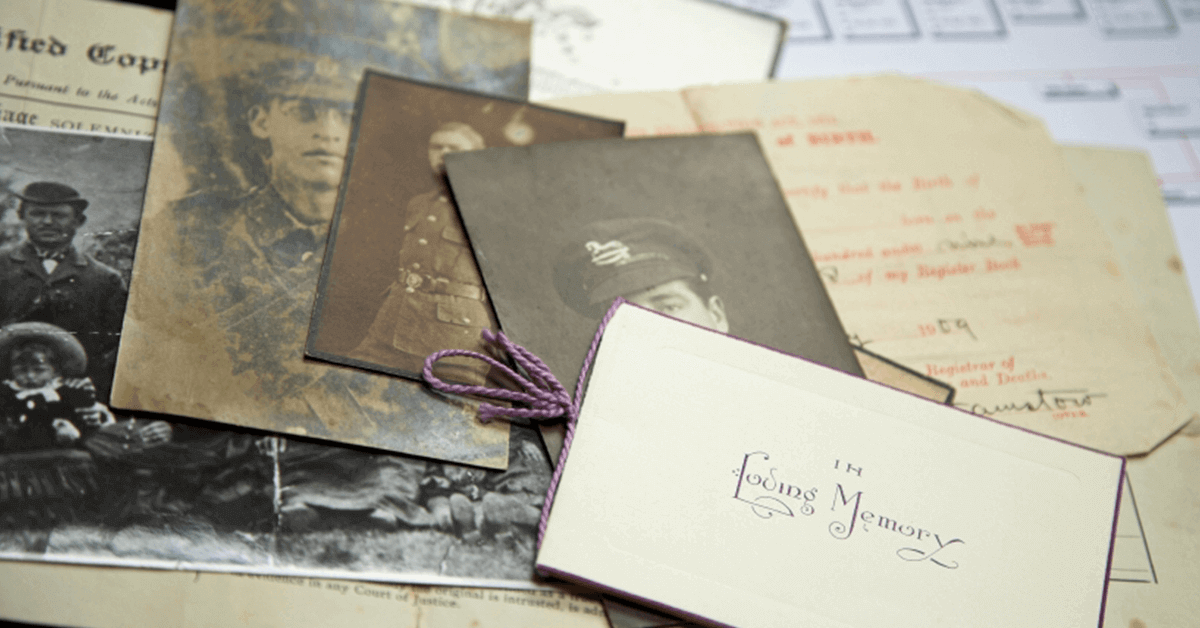
4. Create a family timeline. Preparing a photo timeline aids in the sorting process as you begin to tackle your collection. I suggest creating a chronological list of events that will help you as you begin uncovering photos, letters, cards and newspapers from the past. By placing them along a single timeline, you’ll start to get a more comprehensive view of your life, even if you don’t know exact dates. A guesstimate will do and will keep you moving forward.

Your timeline can be as simple as drawing a horizontal line across the middle of a piece of paper and adding vertical lines to mark and label events. As you look at the entire collection of photos, determine the oldest photo and the most recent one. This is the time span you’ll plot on your line. Once you have these major markers in place, you can begin to jot other moments or milestones in between.


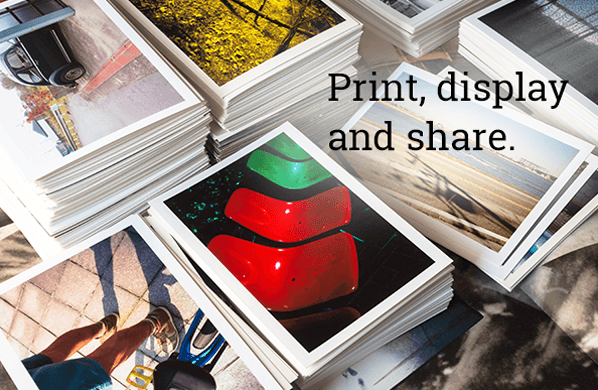
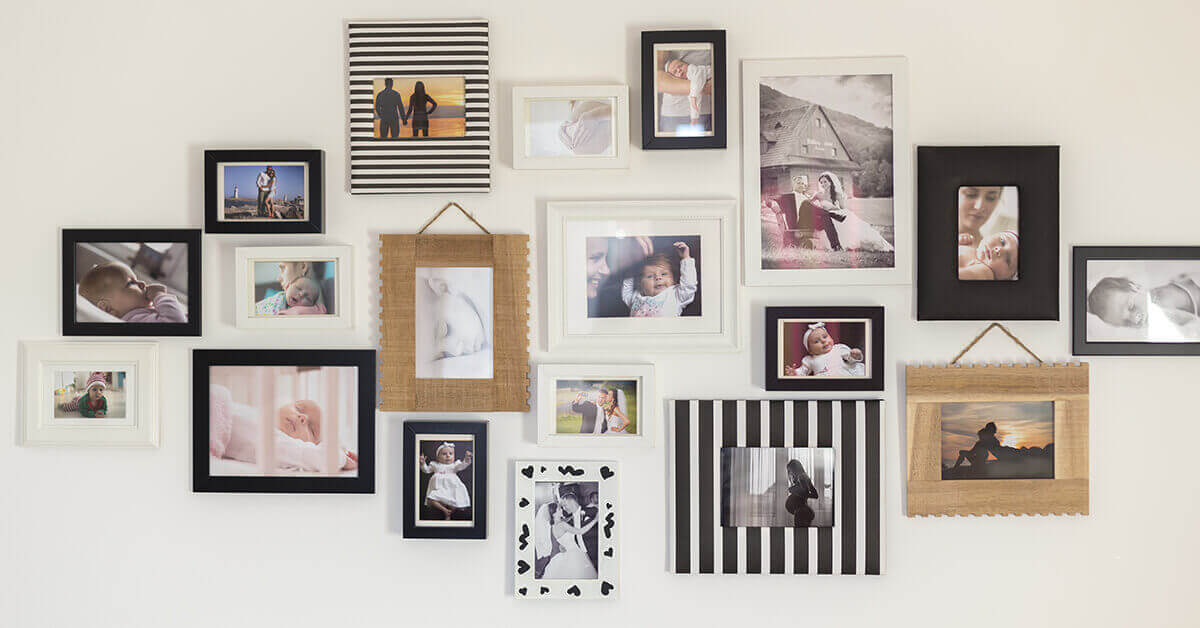
5. Store your photos safely. Once your photos have been sorted, it’s imperative that you store them correctly. This means putting them somewhere with average temperatures and low humidity — no attics or basements. They should also be stored in containers designed specifically for photo archiving. One reliable source for these is Archival Methods. It offers a variety of acid-free boxes that will preserve your precious memories for decades to come.


6.Get ready to be emotional. The gift of photography is being able to look back on our lives and reflect on the good and the bad, the beautiful and the ugly. The story your photographs tell is one of joy and love, loss and heartache. Ultimately, going through your photos can be a journey of healing. Allow yourself to feel these emotions. It can be extremely helpful to journal how you’re feeling during the process and, if possible, connect with friends and family to discuss the wave of emotions you’re riding.

Organizing your shoebox of photos can feel like an impossible task, but don’t lose sight of the fact that this is important and meaningful work. You are the keeper of your family’s memories and the teller of its stories.


Bio: Cathi Nelson, author of Photo Organizing Made Easy; Going from Overwhelmed to Overjoyed, is the founder of APPO (Association of Personal Photo Organizers), a membership organization dedicated to helping thousands of entrepreneurs from around the globe build successful photo preservation and organizing businesses.

Tips for Hilariously Happy Holiday Cards

Tips for Hilariously Happy Holiday Cards

If you’re planning to send holiday cards, and, ahem, we know you are, be sure to mind your p’s and q’s. A little humor never hurt either. Especially this time of year. Follow these suggestions to make yours the most well-received greeting cards of the year.

When should I send them?

Don’t be like the store who puts holiday decor on sale before Halloween. Send your cards during the first month of December for arrival two to three weeks before Christmas.

Formal or funny?

We always say, “You be yule.” Not sure what it means exactly but if your family get-togethers tend to go Grizwald, we think your cards should too! Posed portraits are passe. Snapshots are super! Just remember that your senders’ list probably contains some formal acquaintances who may not know the crazy side of you… yet.

Mind Your Merry Manners

Even if your message goes offbeat, it’s still a good idea to envelop it in the sincerity of formality.

Address them to “Mr. & Mrs.” unless they’re very close friends. If you’re unsure of a woman’s marital status, always use Ms. and be sure to include professional titles for doctors and public servants. When you know it, use a person’s birth name rather than a nickname, like James instead of Jim.

To address a card to everyone, use “The Johnson Family.” Spell out street names rather than abbreviating them.

Return The Favor

Don’t forget to add your return address so they can send one back. Yours should include at least your family name above the address.

Now or Never, or Maybe Later

The holidays are hectic. If you miss missed your window this year, don’t panic. New Years Cards are the new fashionably late and with fresh card styles that aren’t bound to traditional holiday themes, they really are fashionable! Send them for arrival in the first half of January and you’re golden!


Whatever you do, don’t skip it! This could be the only time you send a heartfelt message and photo to these important people. And don’t forget the little elves who are here to help. That’s us!

Tips for Hilariously Happy Holiday Cards

Calendar Tip for iPhone Photographers

The Clip It Calendar is the perfect choice to keep your iPhone and Instagram images front and center all year.  When using pictures from your iPhone in a multi-image product like this, hit the “+” sign and make a new album on your phone with a name you’ll remember like “2019 Calendar.” Next, select the photos you want to use from any album then use “add to” at the bottom of the screen to make them appear in your new “2019 Calendar” album. Now you’re ready to order Clip It Calendars here or use the F-11 Photo Print & Share App.  All of the photos you want to use are now be in one convenient location–choose a template and drop the photos in the month you want to see them in next year.  You’ll be done in no time!  Oh ya when you’ve finished your project, you can delete the “2019 Calendar” album from your iPhone–your photos will still be in the original albums.