Apple has thrown back the curtain on its latest batch of iPhones and a new model of the Apple Watch. The company also announced plans to release iOS 12, watchOS 5, and tvOS 12 on September 17th. macOS 10.14 Mojave will follow a week later on September 24th.
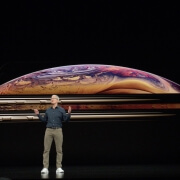
X Appeal: The New iPhone XS, iPhone XS Max, and iPhone XR
Last year’s iPhone X was a massive hit, so Apple has gone further down that road, dropping the Home button and Touch ID and focusing on Face ID in this year’s iPhones. There are three models: the mid-level iPhone XS (pronounced “Ten Ess”), the big iPhone XS Max, and the less-expensive iPhone XR.

You can pre-order the first two on September 14th, and they’ll ship a week later. Those who want an iPhone XR will have to wait until October 19th to pre-order. Here’s how the pricing shakes out:
- iPhone XS: 64 GB for $999, 256 GB for $1149, 512 GB for $1349
- iPhone XS Max: 64 GB for $1099, 256 GB for $1249, 512 GB for $1499
- iPhone XR: 64 GB for $749, 128 GB for $799, 256 GB for $899
What do you get for your money? All three new iPhones rely on Apple’s new A12 Bionic chip, which promises faster performance and reduced power consumption compared to last year’s A11 Bionic. Along with snappier overall responsiveness, the A12 Bionic enables new computational photography capabilities. Users of these iPhones will enjoy Smart HDR, which combines multiple images behind the scenes to produce better photos, and depth-of-field editing for adjusting the background behind a photo’s primary subject.
Apple also improved the camera hardware, enhancing the dual 12-megapixel rear-facing cameras in the iPhone XS and XS Max with larger, deeper pixels and an improved True Tone flash. The iPhone XR lacks 2x optical zoom because it has only a single rear-facing 12-megapixel camera, but thanks to the A12 Bionic’s processing power, it can still take photos in Portrait mode and do depth-of-field editing. The rear-facing cameras on all three models can capture up to 4K video at 60 frames per second—now with stereo sound. The front-facing camera on each iPhone is a 7-megapixel TrueDepth camera that can also capture 1080p video.
If you carry separate work and personal phones, or if you travel abroad frequently, you’ll appreciate the new dual-SIM capability that lets these iPhones support two phone numbers simultaneously, each with their own plan.
What differentiates these iPhones from one another? One big difference is the screens.
- iPhone XS: 5.8-inch OLED “Super Retina HD” display with a 2436-by-1125 resolution at 458 ppi
- iPhone XS Max: 6.5-inch OLED “Super Retina HD” display with a 2688-by-1242 resolution at 458 ppi
- iPhone XR: 6.1-inch LCD “Liquid Retina” display with a 1792-by-828 resolution at 326 ppi
Apple makes much of the iPhone XR’s LCD display, which is essentially a newer and larger version of the screen in last year’s iPhone 8. It won’t look as good as the OLED screens in the iPhone XS models, but unless you’re watching a lot of video or playing photo-realistic games, you may not notice.
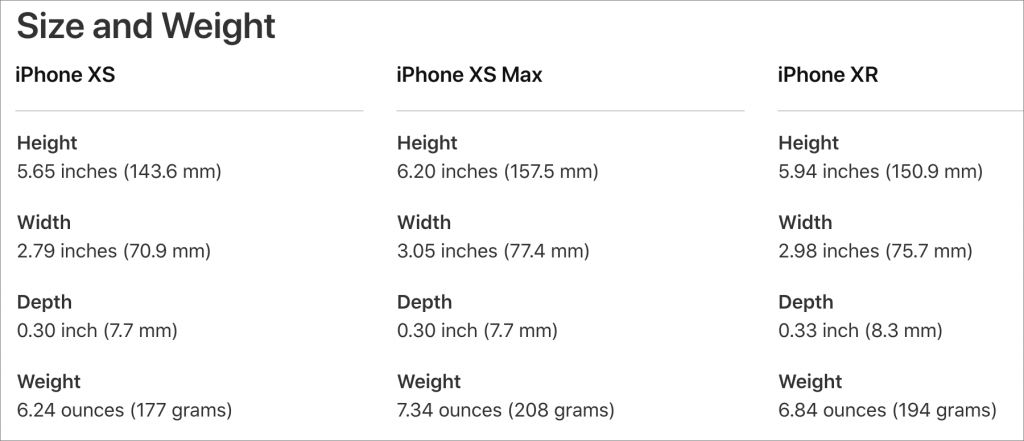
Another difference between these models is size. The iPhone XS is the smallest, clocking in at a few millimeters and grams under the iPhone XR. On the other end of the spectrum, the iPhone XS Max has essentially the same dimensions as the previous iPhone Plus models.
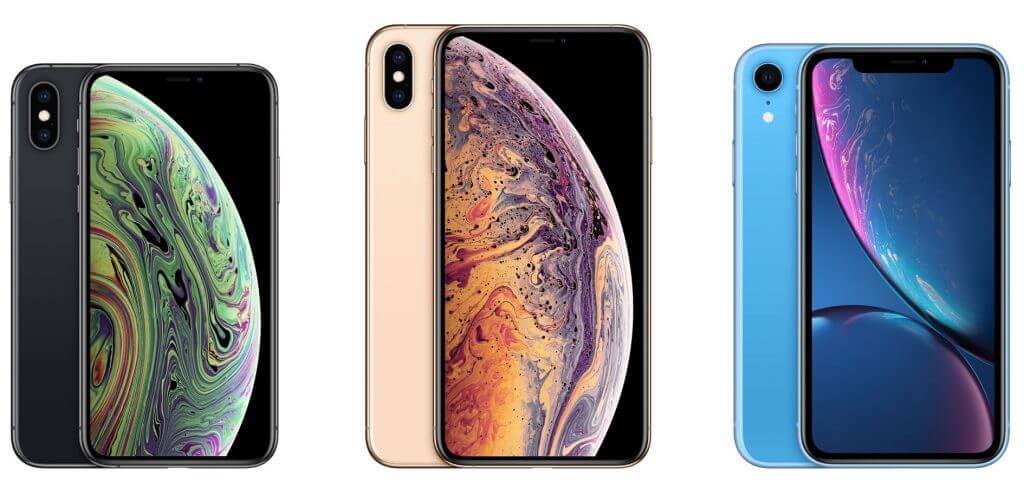
The other major difference between the iPhone XR and the iPhone XS models is the case material. The iPhone XS models have glass backs and are edged in stainless steel that comes in silver, space gray, and gold. In contrast, the iPhone XR features colorful aluminum casings in red, yellow, white, coral, black, and blue. Both are gorgeous, but if you’re like many people, a protective case will prevent you from appreciating the case material.
Should you consider upgrading to one of these new models? If your existing iPhone is on life support, absolutely. And, if you want the latest and greatest, the iPhone XS models are the best iPhones ever, particularly for photography. But for those with functional iPhones from the past few years, these new models are less compelling, especially since iOS 12 promises to speed up older devices as far back as the iPhone 5s.
If you decide to buy one, which model you choose probably depends on how much you’re willing to spend since these are Apple’s most expensive iPhones ever. The iPhone XR combines modern technology with a lower price than the other two models, and the decision between the iPhone XS and XS Max comes down to size and cost. Finally, if the prices for the new models are too high, you can still get the iPhone 7 starting at $449 and the iPhone 8 at $599.
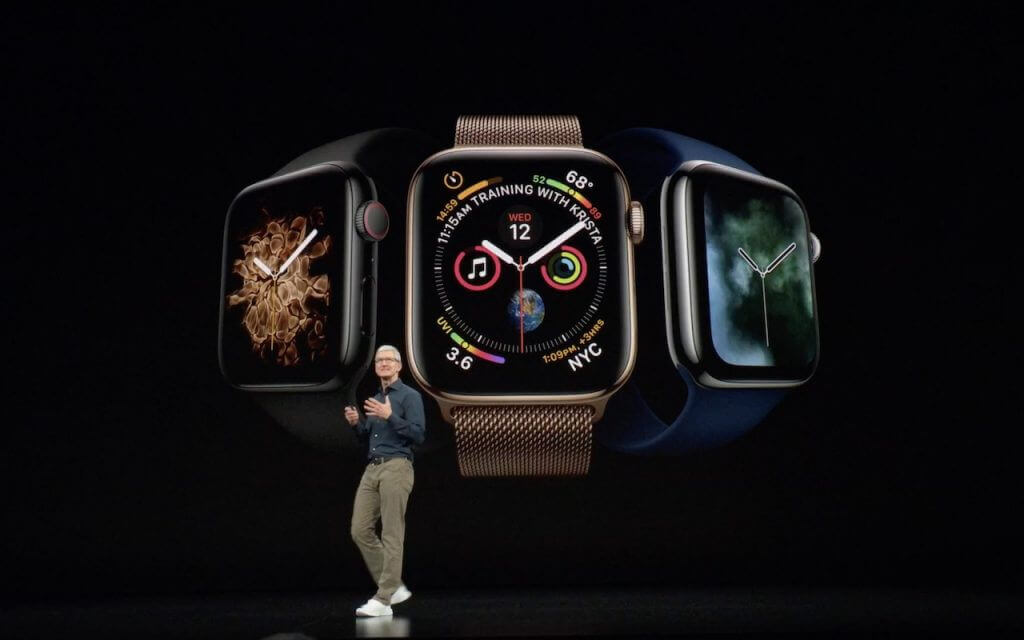
Apple Watch Series 4: Bigger Screens and Health Monitoring
In a first for the Apple Watch line, Apple changed the size and shape of the Apple Watch Series 4, boosting the vertical screen dimensions to 40mm and 44mm, up from 38mm and 42mm, and making the screens a little wider to retain the same proportions. However, the new models are 1.1mm thinner and thus have less total volume. You’ll want to try on the different models before buying to see how they look and feel on your wrist. Happily, the Series 4 can use the same bands as previous models.
Apple claims the new display, which extends into the corners of the screen, is “edge-to-edge,” and while there still is a black border, it’s smaller than before. The overall viewing area is about 30% larger.
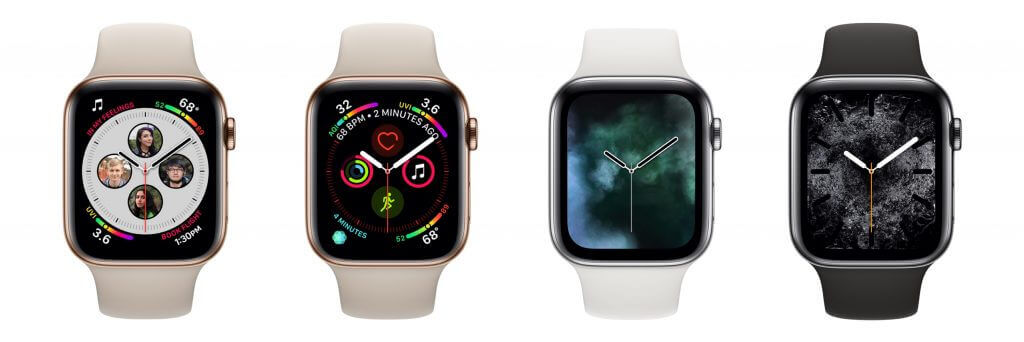
To use the extra screen space effectively and show off the power of its new S4 chip, the Series 4 comes with some new faces. The Infograph face can incorporate up to eight complications, the Breathe face moves in time with a deep breath, and Vapor, Fire, Water, and Liquid Metal faces animate behind virtual clock hands.
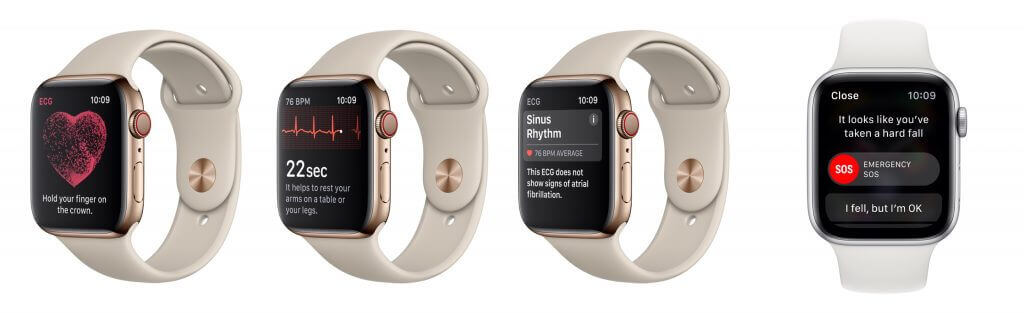
More practically, the Apple Watch Series 4 incorporates new and enhanced sensors. Later this year, the electrodes built into the Digital Crown and the back crystal let you record an electrocardiogram and, after 30 seconds, receive a heart rhythm classification that can identify signs of atrial fibrillation. Recordings are stored securely in the Health app, where you can share them with doctors. Even if you don’t use the ECG app manually, the Series 4 analyzes your heart rhythms in the background and alerts you if it detects irregular rhythms or if the heart rate exceeds or falls below a threshold.
Plus, the Series 4 can now use its accelerometer and gyroscope to detect hard falls. If you fall, the Apple Watch sends you an alert, and if you don’t move for 60 seconds after the notification, it calls emergency services and notifies your emergency contacts of your location.
Other improvements include a speaker that is 50% louder, a relocated microphone to make calls clearer, haptic feedback in the Digital Crown, a back made of sapphire crystal and ceramic for better cellular reception, and Bluetooth 5 for faster data transfer over greater distances.
All this technology comes at a cost, and Apple has raised prices to match. GPS-only models of the Apple Watch Series 4 cost $399, and cellular-capable models are $499 (plus you’ll need to pay an additional $10–$15 for a cell plan). The Apple Watch Series 3 remains available at lower prices: $279 for GPS and $379 for cellular. You can pre-order on September 14th, and the Series 4 will ship on September 21st.
Our take is that the new health-monitoring features of the Apple Watch Series 4 are compelling for anyone who is concerned about falls or heart monitoring. But the increased prices may steer those who are mostly interested in fitness features and iPhone notifications to the cheaper Series 3.
Social Media: It’s official! Apple has announced the snazzy new iPhone XS, massive iPhone XS Max, and budget-friendly iPhone XR, along with the Apple Watch Series 4, which could literally save your life. Read more on our blog: