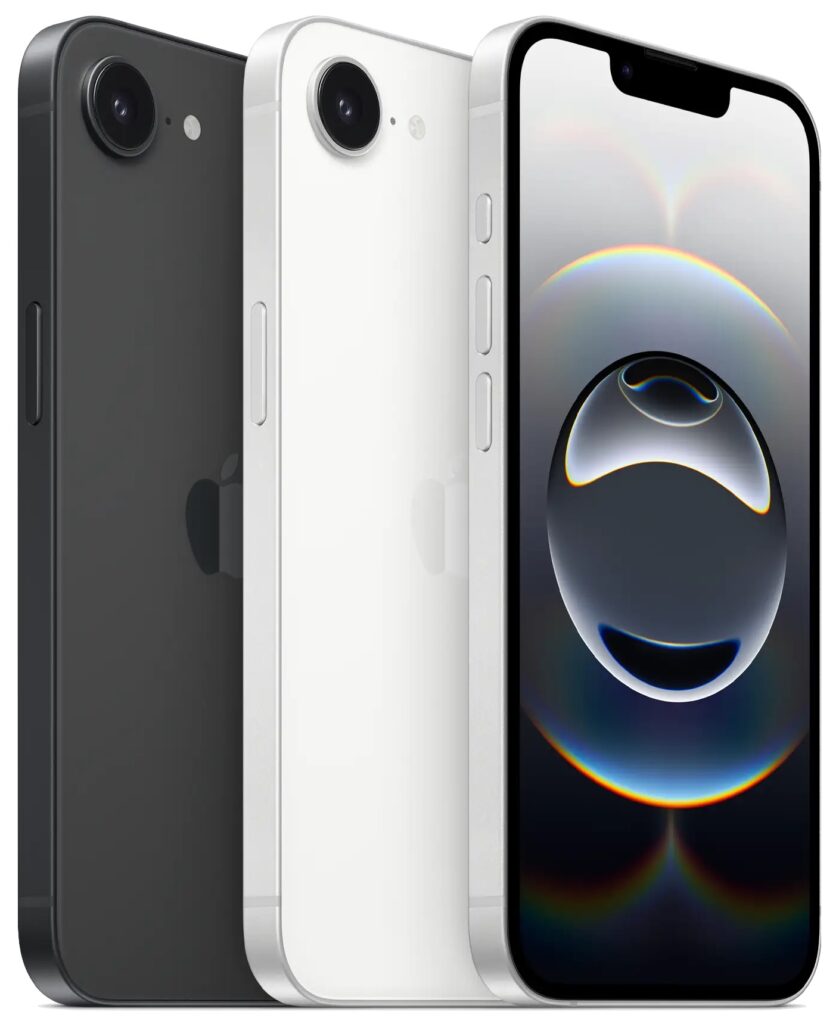
We know iPhones can get pricey—a top-of-the-line 1 TB iPhone 16 Pro Max costs $1,599, and that’s before AppleCare. To make the lineup more affordable, Apple has long sold the iPhone SE and kept previous years’ models available. Until February 18, you could buy a 64 GB iPhone SE for $429 or a 128 GB iPhone 14 for $599. Apple has now simplified the low-end choices by dropping those two older models in favor of the new iPhone 16e, which also starts at $599 for 128 GB of storage. It’s available in black or white.

Physically, the iPhone 16e is a cross between the iPhone 14 and the iPhone 16. Its case dimensions match those of the iPhone 14, and it has the older notch design instead of the iPhone 16’s Dynamic Island. However, the iPhone 16e incorporates the iPhone 16’s Action button and uses USB-C.
What the iPhone 16e doesn’t do is replace the third-generation iPhone SE in terms of price or size. At $599, it’s $170 more than the 64 GB iPhone SE and $120 more than the comparable 128 GB model. That’s a significant increase for the most affordable iPhone. Moreover, while the iPhone SE’s compact size made it popular among those with smaller hands and pockets, the iPhone 16e is significantly taller, wider, thicker, and heavier. Anyone moving from an iPhone SE will feel the difference.
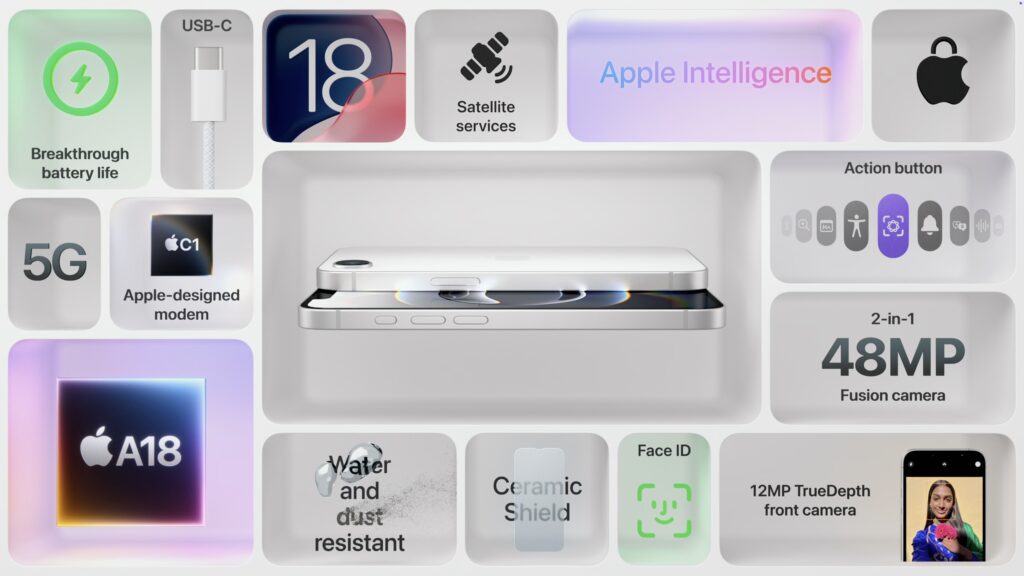
In exchange for its higher price and larger size, the iPhone 16e delivers significantly more technology than the iPhone SE. It replaces Touch ID with Face ID, boasts a much larger, brighter screen, sports notably improved front and rear cameras, and is powered by an A18 chip that is 40% faster than the iPhone SE’s A15 Bionic and supports Apple Intelligence features. The Action button can be customized to perform nearly any function and will soon also provide access to Visual Intelligence. The iPhone 16e also offers satellite connectivity for Messages, Roadside Assistance, and Emergency SOS in areas without cellular coverage, and it can alert emergency services after a car crash. Finally, it’s even more water- and dust-resistant.
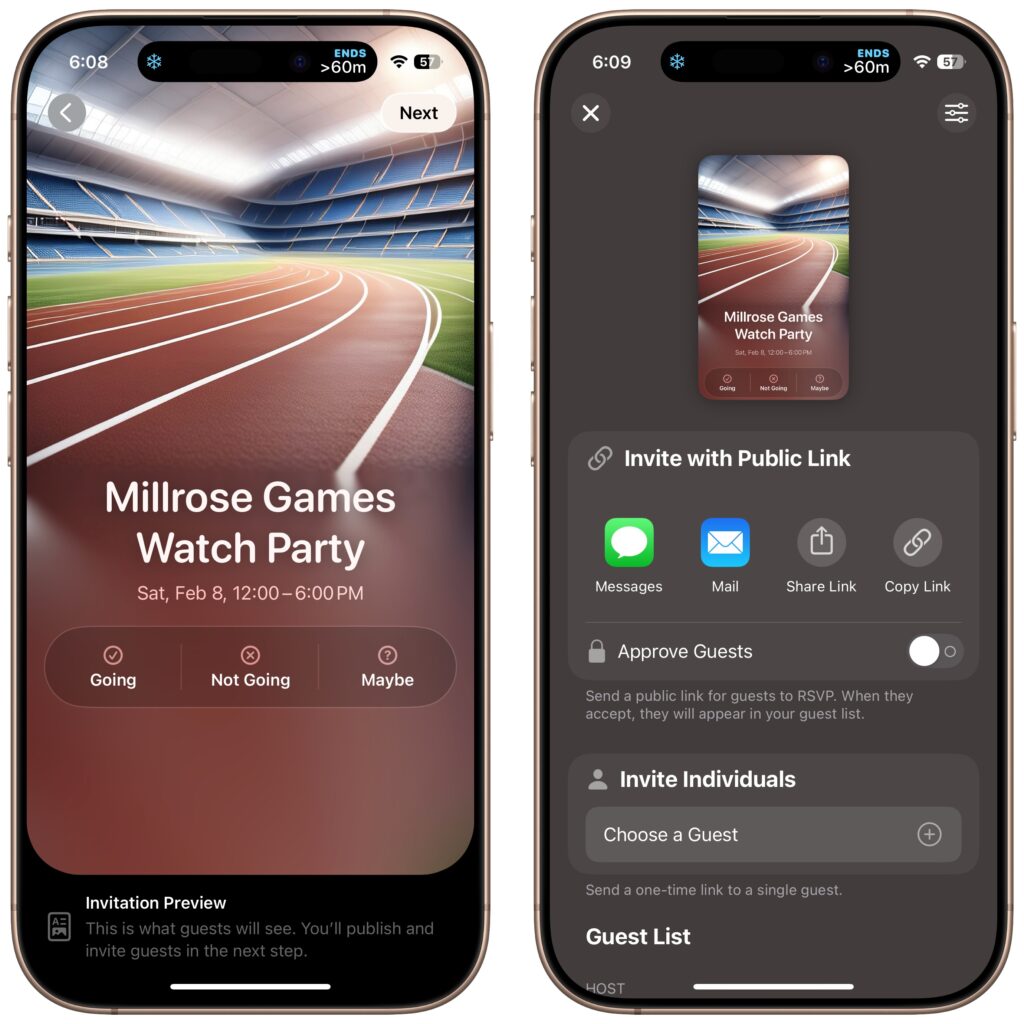
Screenshot
However, it’s also worth comparing the iPhone 16e to the iPhone 16, which starts at $799. That $200 premium gets you a lot, including a brighter screen, the Dynamic Island instead of a notch, a Camera Control button, a more advanced dual-camera system featuring a 12-megapixel Ultra Wide camera, a slightly more powerful A18 chip, 25-watt MagSafe charging with support for MagSafe accessories, and Ultra Wideband for precise Find My locating. Additionally, the iPhone 16’s camera system provides macro and spatial photography, as well as video features like cinematic mode, action mode, spatial videos, and macro recording. It may also deliver better optical image stabilization.
The only area where the iPhone 16e outperforms the iPhone 16 is in battery life. In Apple’s benchmarks, the iPhone 16e provides 12% to 18% longer runtime. The enhanced endurance is partly due to the power efficiency of Apple’s new C1 wireless communications chip. Apple also said it redesigned the internals of the iPhone 16e to accommodate a larger battery. The longer battery life may be especially welcome for those who expect to keep their iPhones for years.
Apple’s new C1 chip is a big deal, and the company wants to use it in future iPhone models to improve battery life and wireless performance. However, it’s worth keeping in mind that the C1 may suffer teething pains that Apple will address in software updates. Although Apple undoubtedly believes the C1 will work well, there’s no telling what will happen in the real world, and the company’s engineers may need to tweak it to address performance or reliability issues.
If you’re in the market for a new iPhone, what should you choose? The iPhone 16e is the best option for those on a tight budget since it’s the most affordable. (Last year’s iPhone 15, which is still available, starts at $699 and doesn’t support Apple Intelligence.) However, if you can afford that extra $200, the iPhone 16 is significantly more capable thanks to its superior rear camera system, Camera Control button, MagSafe compatibility, and Dynamic Island. For all the differences, check Apple’s iPhone comparison tool.
Finally, those seeking a smaller, lighter iPhone are out of luck. Their best hope lies with the rumored iPhone 17 Air, which is expected to arrive in September and could be thinner and lighter while maintaining the same height and width.
(Featured image by Apple)
Social Media: Apple has unveiled the iPhone 16e for $599 and discontinued the iPhone SE and iPhone 14. It’s much more capable than the models it replaces, but the iPhone 16 may be worth $200 more. Read our buying advice here: