Most of the time, when you unlock your iPhone or iPad, you want to launch an app. In iOS 15 and iPadOS 15, you no longer have to unlock the device, find the app on a Home screen page, and tap it. Instead, you can open an app directly from the Lock screen, assuming Settings > Face/Touch ID & Passcode > Today View and Search is turned on. Just swipe down from the middle of the Lock screen ➊ to access the Search screen, which lists apps from Siri Suggestions ➋. You can tap one of those to open it, or you can use the Search field to find an app by name and tap the search result ➌.
(Featured image by iStock.com/ipopba)
https://f11photo.com/wp-content/uploads/sites/13/2022/02/Search-from-Lock-Screen-photo.jpg8001280F-11 Photohttps://f11photo.com/wp-content/uploads/sites/13/2023/06/PR-F11Photo-logo.jpgF-11 Photo2022-02-01 13:06:002022-02-28 22:39:07In iOS 15, You Can Now Open an App from the Lock Screen
It’s unfortunate that the most recent iteration of the Magic Mouse has its Lightning charging port on the bottom, making it impossible to use while charging, unlike the Magic Keyboard and Magic Trackpad, which work fine when plugged in. To check if your Magic Mouse needs charging before it starts to nag (and starts acting a little funky), look in one of these spots. If your menu bar is displaying the Bluetooth icon, click it, and the charge level should show up. Or click the Control Center icon on the menu bar and click Bluetooth. You can also look in System Preferences, in either the Bluetooth preference pane or the Mouse preference pane. In our experience, the Bluetooth menu is the easiest, but Control Center and the Mouse preference pane are the most reliable—sometimes the charge level doesn’t appear in the menu.
(Featured image by iStock.com/Alex Sholom)
https://f11photo.com/wp-content/uploads/sites/13/2022/02/tired-mouse-photo.jpg8001280F-11 Photohttps://f11photo.com/wp-content/uploads/sites/13/2023/06/PR-F11Photo-logo.jpgF-11 Photo2022-02-01 13:05:002022-02-28 22:39:24Does Your Magic Mouse Need More Juice? Here’s How to Check
As pandemic-related restrictions ebb and flow, many people continue to work from home at least some of the time. A key requirement for successful remote work is a fast, solid Internet connection. Unfortunately, it’s all too common for Internet connections to degrade over time as cables endure a variety of insults ranging from water seeping into connectors to squirrels gnawing through insulation. You might be surprised at how variable such problems can be—we once saw an Internet connection that dropped out infrequently; it turned out that squirrels had damaged just one pair of wires in the cable, and the Internet provider’s system hopped between pairs depending on other neighborhood traffic.
How do you know if something in your Internet connection needs fixing? If the entire connection goes offline periodically, even if it comes back on its own, that’s a hint. Videoconferencing apps and streaming video services can also provide useful warnings—if the picture often pixelates or pauses, or if the audio falls out of sync with the video, that’s another indication that something may be wrong. Finally, if you use a VPN, Internet connectivity issues can cause all sorts of weird problems.
When you notice such problems, you can perform a simple test that may shed some light on the situation. First, make sure to stop any audio or video streaming or large downloads. Then go to speedtest.net and click the Go button. Speedtest will run some tests to come up with three numbers:
Download: Your download performance, generally measured in megabits per second (Mbps), is the most important and determines how quickly your computer can receive data from the Internet for downloads and streaming video.
Upload: Conversely, your upload performance, also measured in megabits per second, determines how fast you can send data to the Internet. It’s almost always much lower than download performance, but sufficient upload bandwidth is essential for your audio and video to be clear and smooth in a videoconference.
Latency: This number, which Speedtest calls “ping,” measures the amount of time in milliseconds to send a single packet to the destination server and receive it back again. The lower the latency, the more responsive communications will be, which is all-important for online gaming. Very long latencies can also cause problems for VPNs.
(You can also use other similar services, such as Netflix’s fast.com or Google’s built-in tester. Apple even built a networkQuality tool into macOS 12 Monterey—run it at the command line in Terminal—though it has an unusual Apple Network Responsiveness test that replaces the latency test.)
What should these numbers be? When you signed up for a plan with your Internet service provider (ISP), you should have been quoted download and upload numbers, such as 200 Mbps down and 10 Mbps up. If you don’t know what those numbers should be, ask your ISP. It’s not uncommon for download and upload speeds to vary somewhat from what you were promised, but they should generally be close.
Latency is trickier, and ISPs won’t promise anything specific. The lower the latency number, the better. Speedtest suggests that times under 59 milliseconds are good for gaming, times between 60 and 129 milliseconds are acceptable, a range of 130–199 milliseconds is problematic, and 200-plus milliseconds won’t be usable. There’s no way to know what latency numbers might cause other problems, but we’d pay attention to anything over 100 milliseconds.
Let’s assume your numbers aren’t what they should be—or at least what you’d like them to be. Don’t complain to your ISP right away. Instead, try these steps:
Run the test a few more times, preferably at different times of the day. (If you create an account with Speedtest, it will track your tests so you can see how they change.) You may discover that performance is slow only during peak usage hours.
Run more tests using different Speedtest servers or even different testing services. You’re testing the performance between you and a particular server, and it’s possible that server is having problems that others won’t share.
If you have other devices, run tests from those as well. Don’t assume you’ll get identical results because different devices may have varying capabilities. If you notice differences between devices that use Wi-Fi and those connected via Ethernet, that might point to your Wi-Fi router as a bottleneck. That’s not common with modern Wi-Fi routers, but if you’re still relying on an old AirPort Express, it could be slowing you down.
Restart your devices, and if that doesn’t make a difference, restart or power cycle your router and modem as well.
If your performance problems persist through all those troubleshooting tests, the problem is likely in the physical connection, and only your ISP can address that. When you call, be sure to share the testing numbers and any commonalities—times of day, for instance—that you observed. With luck, they’ll be able to confirm your issues and dispatch a technician to evaluate the physical connection for problems.
(Featured image by iStock.com/gorodenkoff)
Social Media: Slow or unreliable Internet connection? It could be your ISP—read on to find out how to test your connection and evaluate the results.
https://f11photo.com/wp-content/uploads/sites/13/2022/02/Internet-connection-cables-photo.jpg8001280F-11 Photohttps://f11photo.com/wp-content/uploads/sites/13/2023/06/PR-F11Photo-logo.jpgF-11 Photo2022-02-01 13:04:002022-02-28 22:39:41If Your Internet Connection Is Slow, Research These Three Numbers
Some people find it hard to find the mouse pointer at times, particularly on a large screen or when working in Dark Mode or in apps with dark interfaces. You’ve long been able to increase the size of the pointer generally and also zoom it temporarily by shaking it, but in macOS 12 Monterey, Apple now lets you change the color of the pointer. That could be a boon to those who have trouble seeing it otherwise. Go to System Preferences > Accessibility > Display > Pointer, click the Pointer Fill Color box, and choose a different color in the color picker. You can also choose a different Pointer Outline Color if that’s helpful. After customizing it, if you decide you prefer the old black-and-white version, click the Reset button.
(Featured image by iStock.com/tahir_duran)
https://f11photo.com/wp-content/uploads/sites/13/2022/01/pointer-color-photo.jpg8001280F-11 Photohttps://f11photo.com/wp-content/uploads/sites/13/2023/06/PR-F11Photo-logo.jpgF-11 Photo2022-01-03 13:08:002022-01-31 17:28:39Change Your Pointer Color in macOS 12 Monterey
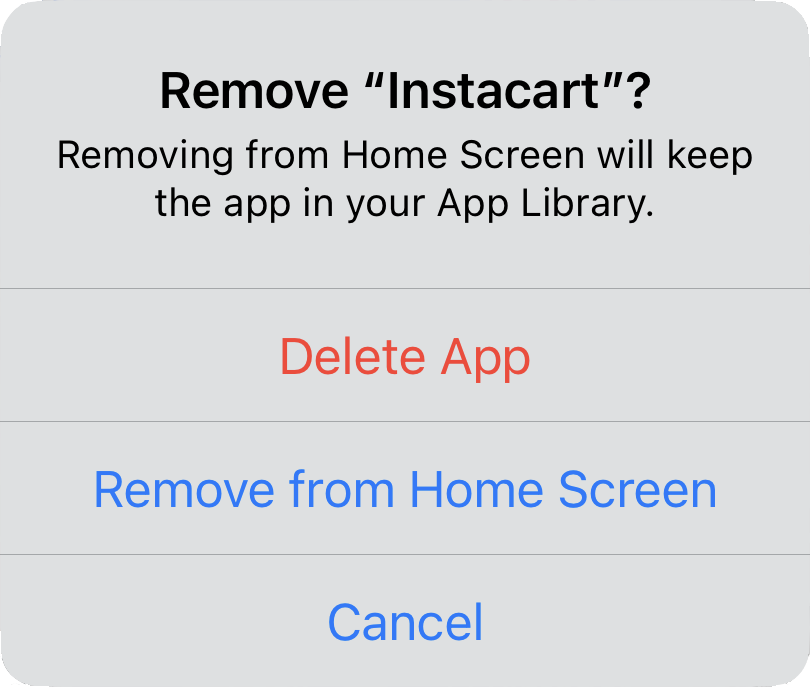
In previous versions of iOS, you could change the systemwide text size to make all apps—at least those that support Dynamic Type—display text at larger or smaller sizes. (Most people who use this feature want the text larger so it’s easier to read with aging eyes.) In iOS 15 and iPadOS 15, however, Apple lets you adjust the text size on a per-app basis, so you can increase it only for those apps where it really makes a difference for you. First, make sure Text Size is showing in Control Center by going to Settings > Control Center, and if it’s not in Included Controls, tap the green + button for it under More Controls. Then, while in an app where you want bigger text, invoke Control Center, tap the Text Size button, move the vertical slider to the desired setting, and then tap the App Only button so the setting affects only that app, not all apps.
(Featured image by iStock.com/SandraMatic)
https://f11photo.com/wp-content/uploads/sites/13/2022/01/magnifying-glass-phone-photo.jpg8001280F-11 Photohttps://f11photo.com/wp-content/uploads/sites/13/2023/06/PR-F11Photo-logo.jpgF-11 Photo2022-01-03 13:07:002022-01-31 17:28:53Set Custom Text Sizes on a Per-App Basis in iOS 15
Siri has plenty of tricks up its sleeve, and we’ve just discovered a new one. Let’s say you set iPhone alarms to wake up and remind you to take medication throughout the day. However, if you don’t have your iPhone handy when those alarms go off, it can be annoying (for both you and others) to find your phone and stop or snooze the alarm. If you have a HomePod, it turns out that you (or someone else) can say, “Hey Siri, snooze the alarm” or “Hey Siri, stop the alarm.” Siri usually asks for confirmation—just reply with “Yes”—and sometimes tells you to continue on the iPhone, but it can be easier than finding the iPhone and stopping the alarm. (And yes, if you’re wearing an Apple Watch, you can stop the alarm from it as well. It’s also possible to set alarms on a HomePod directly, though they’re useful only if you’re guaranteed to be home when they go off.)
(Featured image by iStock.com/Antonio_Diaz)
https://f11photo.com/wp-content/uploads/sites/13/2022/01/turn-off-alarm-photo.jpg8001280F-11 Photohttps://f11photo.com/wp-content/uploads/sites/13/2023/06/PR-F11Photo-logo.jpgF-11 Photo2022-01-03 13:06:002022-01-31 17:29:08Did You Know That Siri on a HomePod Can Control Alarms on Other Devices?
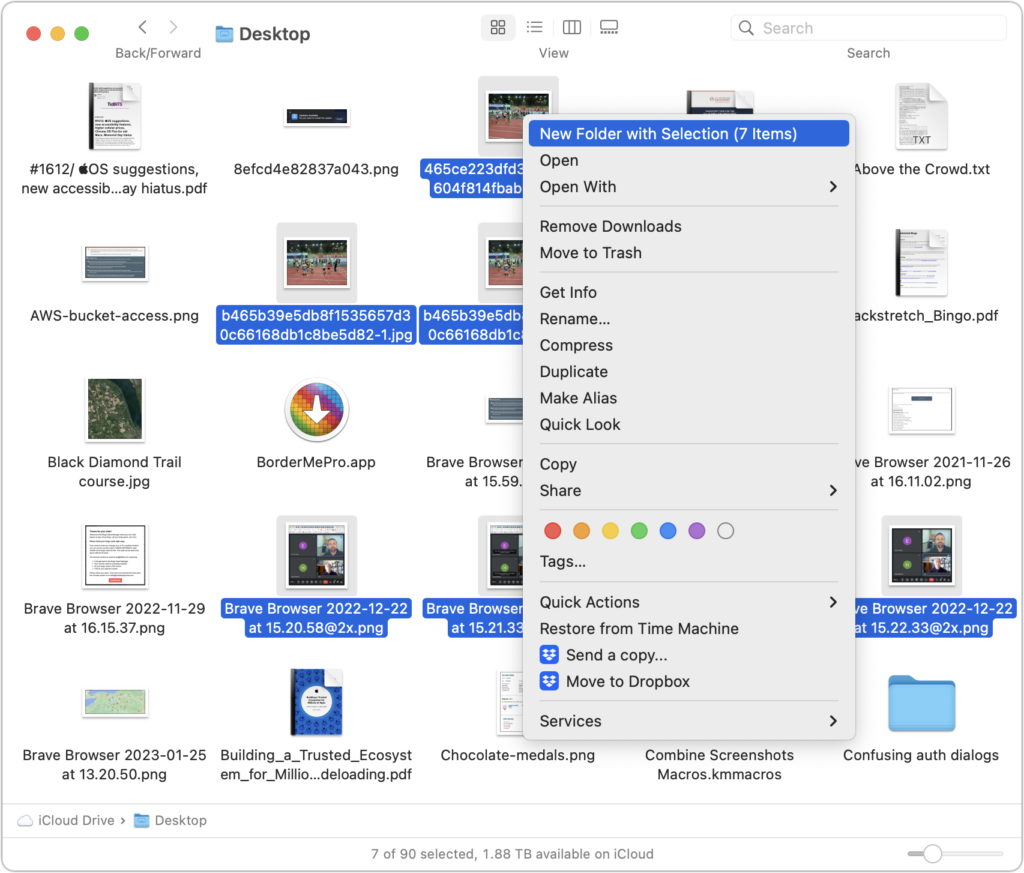
Before macOS 12 Monterey, if you wanted to sell, trade in, or give away your Mac, you had to boot into Recovery, erase the internal drive with Disk Utility, and reinstall macOS to ensure that the new owner would get a fresh start and couldn’t see any of your data. In Monterey, Apple has made the process much easier for newer Macs that use Apple silicon or that are Intel-based with a T2 security chip. Open System Preferences, and from the System Preferences menu (yes, it has menus), choose Erase All Content and Settings. You’ll have to enter an administrator username and password to enter the Erase Assistant. It suggests you back up to Time Machine before erasing, and if you’ve already done that or don’t want to, click Continue. Verify everything that will be erased on the next screen and click Continue. Finally, log out of your Apple ID when prompted to complete the erasure.
(Featured image by iStock.com/wildpixel)
https://f11photo.com/wp-content/uploads/sites/13/2022/01/Erase-data-photo.jpg8001280F-11 Photohttps://f11photo.com/wp-content/uploads/sites/13/2023/06/PR-F11Photo-logo.jpgF-11 Photo2022-01-03 13:05:002022-01-31 17:29:23Giving Away a Mac Running macOS 12 Monterey? Try Erase All Content and Settings
Have you heard the expression “hit by a bus”? It’s a somewhat macabre attempt to inject a little levity into planning for the unthinkable event of dying without warning. No one expects to be hit by a bus, but people do die unexpectedly in all sorts of ways. That’s terrible, of course, but it’s also incredibly hard on that person’s family, who suddenly must deal with an overwhelming number of details. Many of those details revolve around the deceased’s digital life—devices, accounts, passwords, subscriptions, and more.
We strongly encourage everyone, regardless of age or infirmity, to think about what your family would want and need to do with your digital presence in the event of your death. The ultimate guide to this topic is Joe Kissell’s book Take Control of Your Digital Legacy, although the current version is a little out of date and is slated for updating in 2022.
The next edition of that book will undoubtedly discuss Apple’s new Legacy Contact feature, introduced in iOS 15.2, iPadOS 15.2, and macOS 12.1 Monterey. It enables you to specify one or more people as a Legacy Contact. Should you die unexpectedly, those people can use an access key along with your death certificate to access much of your Apple content and remove Activation Lock from your devices. (If you have time to prepare for your passing, it’s easier to share all your passwords and passcodes explicitly.) The person or people you set as Legacy Contacts don’t have to be running Apple’s latest operating systems or even be Apple users, though it’s easier if they are. (Like so many other things in life.)
Don’t put off specifying someone as a Legacy Contact, whether it’s a family member or close friend. The entire point of the “hit by a bus” scenario is that it’s both unexpected and could happen at any time. (It’s possible to get access without being a Legacy Contact, but it requires a court order and will undoubtedly be significantly more work.)
Apple provides good directions for the Legacy Contact feature, and while we’ll summarize the steps below, read Apple’s documentation to get the word from the horse’s mouth. Apple’s support pages include:
Apple has the full list at the link above, but in short, a Legacy Contact can access anything stored in iCloud, including photos, email, contacts, calendars, messages, files, and more, as well as the contents of iCloud Backup. Not included are licensed media (music, movies, and books), in-app purchases (upgrades, subscriptions, and game currency), payment information (Apple ID payment info or Apple Pay cards), and anything stored in the account holder’s keychain (usernames and passwords, credit card details, and more). A Legacy Contact cannot access the deceased’s devices—Apple is incapable of sharing passcodes. However, Apple can remove Activation Lock so those devices can be erased and reused.
On an iPhone or iPad, go to Settings > Your Name > Password & Security > Legacy Contact > Add Legacy Contact. On a Mac, use System Preferences > Apple ID > Password & Security > Legacy Contact > Manage. You can choose a group member if you’re in a Family Sharing group or pick someone from your contacts list.
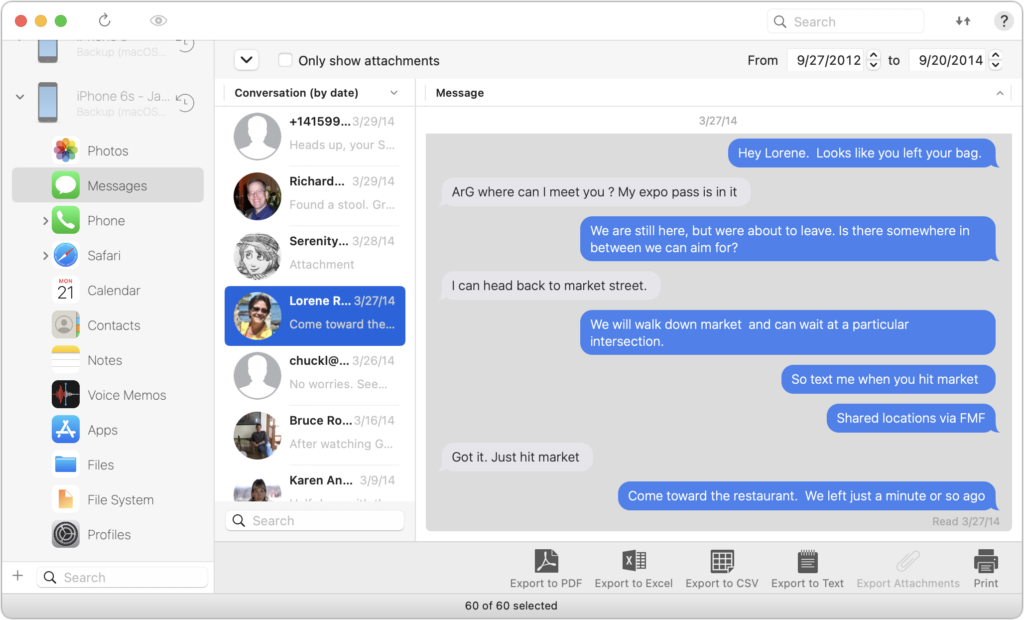
As part of the process of picking someone, Apple allows you to share the access key via Messages if they’re running iOS 15.2, iPadOS 15.2, or macOS 12.1 Monterey. If they accept, a copy of the access key will automatically be stored in their Apple ID settings. If they’re not running a necessary operating system or don’t use an Apple device, you can instead print out an access key QR code and give that to them. You might also want to print a copy to store with your will and other important documents.
It may often be appropriate to act as a Legacy Contact for the people you’re asking to be your Legacy Contacts, particularly with spouses or adult children.
How Does a Legacy Contact Request Account Access?
Let’s assume the worst and pretend that someone who has added you as a Legacy Contact has passed away. To request access to their Apple ID, you need the access key that the person shared with you and a copy of their death certificate. You can find the access key on an iPhone or iPad in Settings > Your Name > Password & Security > Legacy Contact > Contact’s Name, and on the Mac in System Preferences > Apple ID > Password & Security, where you click Manage next to Legacy Contact settings and then Details next to the person’s name. It’s also possible that the person shared the access key as a document stored with their estate planning documents.
The screens that provide the access key also have a Request Access link. Tap or click that and follow the instructions to upload the death certificate. If you don’t have an appropriate Apple device, you can also do this on the Web at Apple’s Digital Legacy – Request Access page.
Apple evaluates all access requests to make sure they’re legitimate, and once approved, sends you an email with more details and instructions. That email will also include a special Legacy Contact Apple ID that replaces the deceased’s previous Apple ID. You can use that Apple ID to log in to iCloud.com or download data at privacy.apple.com, sign in to an Apple device, or restore an iCloud backup to another Apple device. Having an access request approved also removes Activation Lock from the deceased’s Apple devices so you can restore them to factory settings and set them up again, either fresh or with the Legacy Contact’s Apple ID’s data.
The main limitation is that the Legacy Contact Apple ID is good only for 3 years, after which the legacy account is permanently deleted. So be sure to download everything important fairly quickly—don’t just keep using the Legacy Contact Apple ID or assume that you’ll be able to go back to it at any time.
We sincerely hope that you never have to act as Legacy Contact for a loved one, but we can say from experience that this new feature can only help make an already stressful time more manageable.
(Featured image by iStock.com/Olga Serba)
Social Media: Apple’s new Legacy Contact feature makes it simpler for you to give a family member access to your iCloud data after your death. Read on to learn how to make someone a Legacy Contact or what to do if you are a Legacy Contact.
https://f11photo.com/wp-content/uploads/sites/13/2022/01/Legacy-Contact-keys-photo.jpg8001280F-11 Photohttps://f11photo.com/wp-content/uploads/sites/13/2023/06/PR-F11Photo-logo.jpgF-11 Photo2022-01-03 13:04:002022-01-31 17:29:38Plan for the Future by Establishing a Legacy Contact
Did you know that pressing and holding the side button and one of the volume buttons on an iPhone 8 or later brings up a screen that lets you power your iPhone off, show your medical ID, and invoke Emergency SOS? (On earlier iPhones, press the side or top button five times.) Slide Emergency SOS, and your iPhone will immediately call emergency services, which could be lifesaving in a real emergency. Even without touching that slider, if you continue to hold the side button and volume button, after a 5-second countdown, the iPhone automatically calls emergency services, which may not be what you want. At least in the US, even if you hang up, that will likely cause the 911 dispatcher to send police to your location. To ensure that you can’t accidentally trigger Emergency SOS to call automatically, go to Settings > Emergency SOS and turn off Auto Call. We won’t say how we know this can happen.
(Featured image by iStock.com/LightFieldStudios)
https://f11photo.com/wp-content/uploads/sites/13/2021/12/Emergency-SOS-police-photo.jpg8001280F-11 Photohttps://f11photo.com/wp-content/uploads/sites/13/2023/06/PR-F11Photo-logo.jpgF-11 Photo2021-12-01 13:08:002022-01-02 15:17:25Pay Attention to the iPhone’s Emergency SOS Auto Call Feature
Do you like using full-screen mode on your new M1-based MacBook Pro but hate having the menu bar disappear unless you move the pointer to the top of the screen? Happily, in macOS 12 Monterey, Apple has at long last added a setting to keep the menu bar visible at all times. Open System Preferences > Dock & Menu Bar and uncheck “Automatically hide and show the menu bar in full screen.” The change won’t affect apps currently in full-screen mode until you toggle their window state again or quit and relaunch. Unfortunately, some apps, including Apple’s Photos, need to be updated to show toolbars or other controls at the top of the window without forcing you to mouse up there to reveal them.
(Featured image by Adam Engst)
https://f11photo.com/wp-content/uploads/sites/13/2021/12/Full-screen-menu-bar-photo.jpg8001280F-11 Photohttps://f11photo.com/wp-content/uploads/sites/13/2023/06/PR-F11Photo-logo.jpgF-11 Photo2021-12-01 13:07:002022-01-02 15:17:56Keep the Menu Bar Showing in Full Screen in macOS 12 Monterey