Ever Wanted to Get a Custom Email Address? Here’s How (and Why)
Some facts about ourselves are difficult or impossible to change, but your email address doesn’t have to be one of them. Switching to a custom email address might seem overwhelming, and it will take some time, but it’s not that hard or expensive (and we’re always happy to help if you get stuck).
Why Consider Switching to a Custom Address?
Why would you want to take on such a task? Independence. If you’re using the email address that came from your Internet service provider, you could end up in an awkward situation if you have to move and switch ISPs. Any address that ends in @comcast.net, @anything.rr.com, @verizon.net, @earthlink.net, or the like could be problematic. You also don’t want to rely entirely on a work email address—there’s no guarantee that your employer will forward email for you indefinitely if you take a different job.
Also, an email address says something about you, much as a postal address does—there’s a difference between an address on Central Park versus one in the Bronx. If you’re not happy with what your email address implies, you might want to switch.
What can an email address reveal? Those with a free Juno, Hotmail, or Yahoo account likely signed up years ago and don’t take email very seriously. People who use an @icloud.com, @me.com, or @mac.com address are clearly Apple users, and those with an address ending in @live.com, @msn.com, or @outlook.com are probably Windows users. .edu addresses identify students, teachers, and school employees—but if you’re not one anymore, your email looks like you’re wearing a varsity jacket in your 40s. The big kahuna of email is Gmail, which boasts about 1.5 billion users worldwide now—as a result, using a Gmail address is fairly generic.
The ultimate in independence comes when you register your own domain name, which usually costs less than $20 per year at sites like 1&1 Ionos, Domain.com, easyDNS, Directnic, and Register.com. Then your address can be anything you want at your new custom domain, and you never again have to worry about being tied to your ISP or associated with a free email host.
How to Change to a Custom Address
Step 1: Register a new domain name. The hard part here is thinking of a name that hasn’t already been taken. It’s best to stick with the traditional top-level domains like .com, .net, and .org—if you get into the new ones like .beer (yes, that’s available), your email is a bit more likely to be marked as spam. Most domain registrars will also host your email for you, and if you go this route, you can skip Step 2.
Step 2: If you’re already using Gmail or another independent email provider that isn’t tied to your ISP, log in to your account at your domain registrar and configure it to forward all email to your existing email address. In this case, you can skip Steps 3 and 4.
However, if you aren’t happy with your current email provider, you’ll need to set up an account with a new one. There are lots, but many people use a paid email provider like FastMail or easyMail that usually charges less than $50 per year and supports multiple mailboxes. When you set up the account, you’ll need to create one or more new email addresses at the provider and configure MX (mail exchange) records with your domain registrar—the service will provide instructions for this.
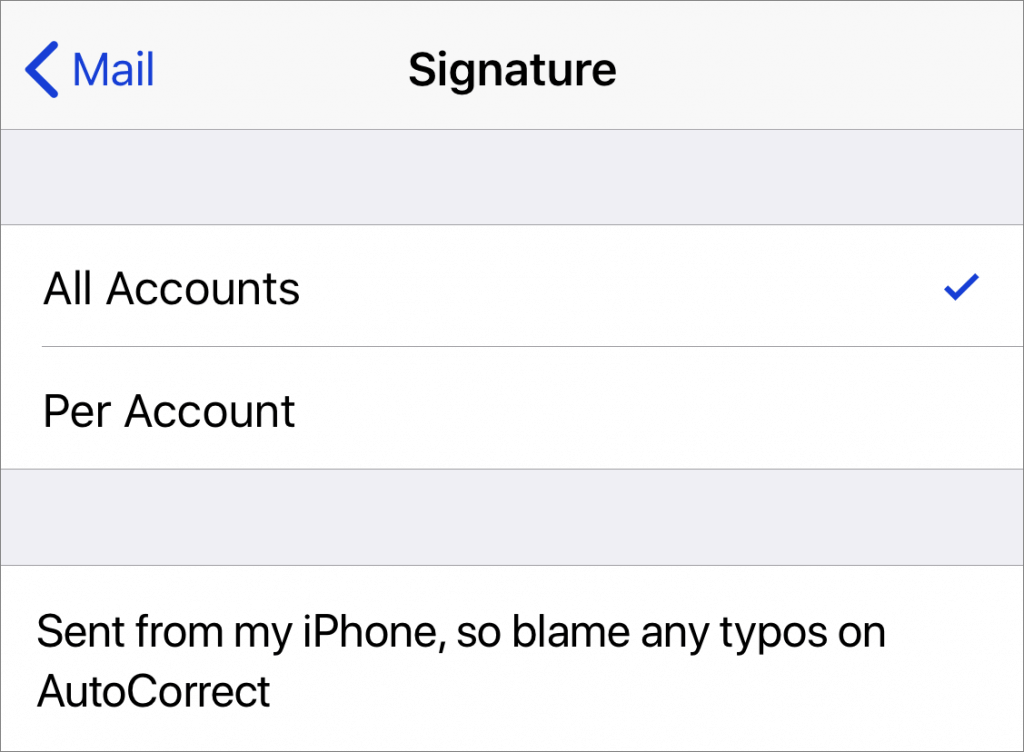
Step 3: If you’re changing email providers as part of this process, you’ll need to configure Mail—or whatever email client you’re using—to connect to your new email account with the login credentials you set up. That’s not hard, but being able to send email that comes from your custom address can require some effort with the free email providers. Gmail provides instructions, and others that support this feature will as well. Unfortunately, iCloud won’t let you send email using a custom address.
Step 4: If you’re moving to a new email provider, you’ll need to forward your mail from your old provider to your new custom address. Most email providers and ISPs have a screen somewhere in the account settings of their Web sites that lets you enter a forwarding address.
Step 5: Tell your family, friends, and colleagues about your new email address, and update mailing lists and accounts at sites like Amazon that send you email. The forwarding you set up in the previous step will ensure you don’t miss anything during the transition, but remember that if you cancel your old ISP account, that forwarding may end immediately, so it’s important to start the process well in advance.
The details will vary depending on your choice of domain registrar and email provider, so again, if you would like additional recommendations or assistance in setting all this up, just let us know.
Social Media: Setting up a custom email address with your own domain isn’t that hard or expensive, and it gives you independence from your ISP, employer, or the sketchy email provider you signed up with after college. Here’s how you can switch.