Check the Weather on Your Mac and iPad, Finally!
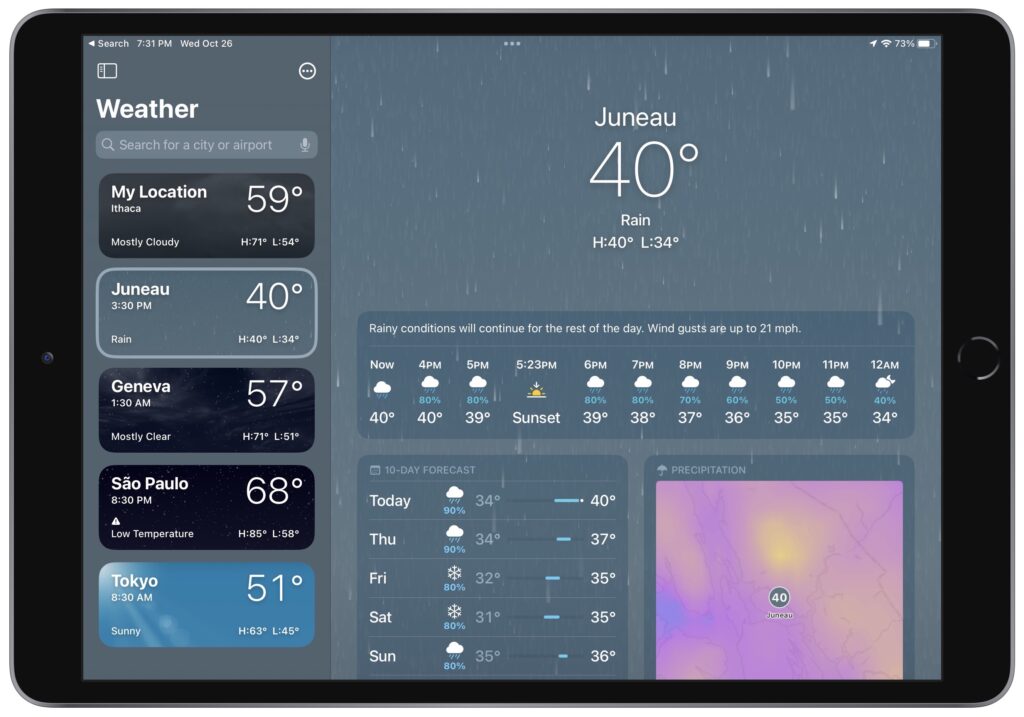
At long last, Apple has plugged one of the most inexplicable holes in its app library—the lack of a Weather app for the iPad and Mac. In iPadOS 16 and macOS 13 Ventura, you’ll now find a large-screen version of the iPhone’s iOS 16 Weather app. Locations you enter on one device automatically sync to your other devices, and the feature set is identical across the different platforms. That’s especially welcome now that Apple has integrated all the features of the acquired Dark Sky service, including hyperlocal notifications of incoming weather, next-hour and 12-hour animated forecast maps (tap the map), and time-based graphs of temperature, UV index, wind, precipitation, “feels like” temperature, humidity, visibility, and pressure. Plus, you’ll find cards for air quality and sunrise/sunset times. You no longer need to look elsewhere on the iPad and Mac for a basic weather app!
(Featured image by iStock.com/DNHanlon)