Does it feel like your Apple devices are always asking you to install operating system updates? You’re not wrong—from September 2022 to January 2024, we saw the following releases in Apple’s previous set of operating systems:
- macOS 13 Ventura: 20 releases
- iOS 16: 25 releases
- iPadOS 16: 20 releases
- watchOS 9: 15 releases
- tvOS 16: 12 releases
Apple issued many of those at the same time, but since you might not use all your devices every day, it can seem as though you spend all your time installing updates. As annoying as updating can be, we encourage you to do so soon after you’re notified for three reasons.
Reason One: Fewer Bugs
First, as has always been the case, updates fix bugs. You may not have experienced all the bugs that Apple fixes, but when one blocks something you want to do, the fix comes as a huge relief.
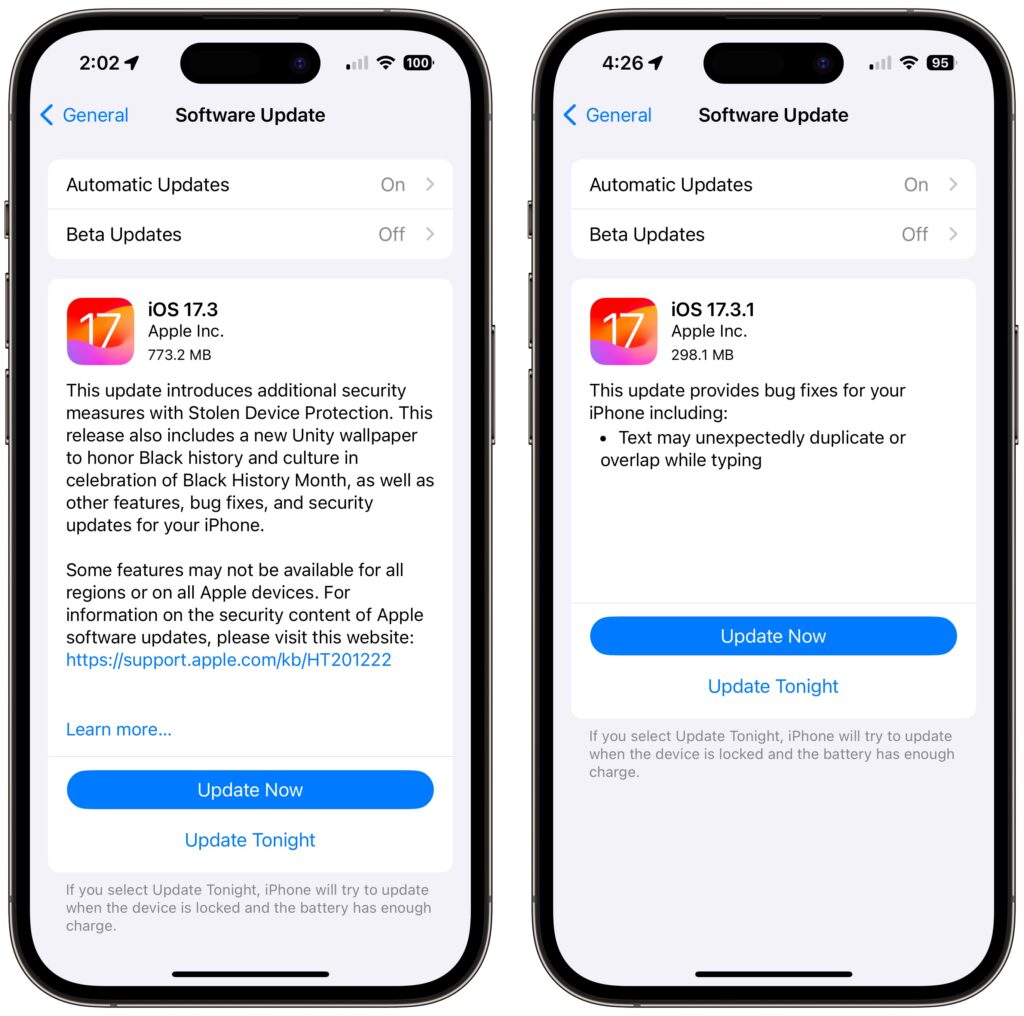
For instance, in a set of releases in January 2024, Apple inadvertently introduced a bug that caused text in many apps, including Mail, Notes, and Safari, to appear to be duplicated and overlap. It was only cosmetic, and switching to another window or resizing the window would make it look right again. But the bug was hugely disconcerting, so Apple fixed it two weeks later in macOS 14.3.1 Sonoma, iOS 17.3.1, iPadOS 17.3.1, and Safari 17.3.1 (which brought the fix to macOS 13 Ventura and macOS 12 Monterey).

Reason Two: Better Security
Second, many of the bugs Apple fixes won’t impact your experience of using your device, but they make it possible for attackers to steal information, install malware, spy on your communications, or even take over your entire device. Nearly all of Apple’s operating system updates contain security fixes to address newly discovered vulnerabilities, and some releases only have security fixes. Apple continues to release security updates for the last two versions of macOS and older versions of iOS and iPadOS as appropriate.
It’s easy to think that you won’t be impacted by security vulnerabilities, but remember that as soon as Apple releases an update outlining what it has fixed, attackers know what vulnerabilities exist in unpatched systems. Apple has to react swiftly to some reported vulnerabilities because blocking them can literally be a matter of life or death when it comes to, for instance, iPhone-using dissidents, activists, or journalists working in opposition to repressive governments that employ spyware against their enemies. (All spyware relies on previously unidentified vulnerabilities.)
However, some security vulnerabilities are more likely to impact regular users. For instance, in macOS 14.2.1, Apple fixed a bug in Screen Sharing. If you were sharing your full screen with someone else and had multiple Spaces, Screen Sharing could show the other person random windows in other Spaces, which could range from embarrassing (adult pictures) to seriously problematic (passwords or financial details).
Reason Three: New Features
Third, on the positive side, many operating system releases introduce welcome new features. When Apple unveils its next set of operating systems at the Worldwide Developer Conference in June, some of the promised features won’t appear with the initial releases. New features that shipped in later releases of macOS 14 Sonoma, iOS 17, iPadOS 17, and watchOS 10 include:
- watchOS’s double-tap gesture for tapping the default button in many apps
- AirDrop transfers continuing over the Internet when you move out of AirDrop range
- Adding NameDrop to share contact info when you bring two devices near each other
- Additional options to control when the iPhone screen shuts off in StandBy
- The option to choose a specific album for the Lock Screen’s Photo Shuffle wallpaper
- HomeKey support for Matter locks
- Expanded Favorites in the Music app
- A new automatic Favorite Songs playlist in the Music app
- The addition of Apple’s Journal app
- A Translate option for the Action button in the iPhone 15 Pro models
- 10-day precipitation forecasts in the Weather app
- Sharing of eligible passes in the Wallet app via NameDrop-like proximity
- A catch-up arrow in Messages that lets you jump to the first unread message
- Multiple timers in the Clock app on the Mac
- Stolen Device Protection for the iPhone
- Collaborative playlists in Apple Music
- Support for streaming content to TVs in select hotel rooms using AirPlay
Just Update It
Updates provide both a carrot (user-facing bug fixes and new features) and a stick (security fixes). That’s why we recommend updating soon after Apple pushes out a new release and why devices under management usually receive updates quickly. Even if a security breach is unlikely, the liability of allowing devices to remain unpatched is too high for most organizations. Installing updates is an easy way to reduce worry about things like compromised accounts and ransomware.
There are three types of operating system releases:
- Minor bug fix and security updates: Install these as soon as convenient, usually within a few days. Examples of these include macOS 14.3 to 14.3.1.
- Interim feature updates: Because these include bug fixes and security updates alongside the new features, you’ll also want to install these within a few days. An example is iOS 17.2.1 to iOS 17.3.
- Major version upgrades: Because Apple always releases security updates for the two versions of macOS before the current one, you can wait a month or three before installing a major upgrade, such as from macOS 13 to macOS 14. However, once you’ve verified that your apps and workflow are compatible with the new version, we recommend upgrading because skipping a major version of macOS often results in a more difficult upgrade experience.
In each of these cases, if you’re worried about how an update might impact your workflow, check online forums for discussions of each update and feel free to ask us what we recommend for your particular situation.
(Featured image by iStock.com/Fokusiert)
Social Media: We know it seems like your Apple devices are constantly asking you to install an update. Other than for major upgrades, we recommend updating shortly after updates appear so you can take advantage of bug fixes, security updates, and new features.