Happy New Year! For many of us, the start of a new year is an opportunity to reflect on fresh habits we’d like to adopt. Although we certainly support any resolutions you may have made to get enough sleep, eat healthy, and exercise, could we suggest a few more that will improve your digital security?
Keep Your Devices Updated
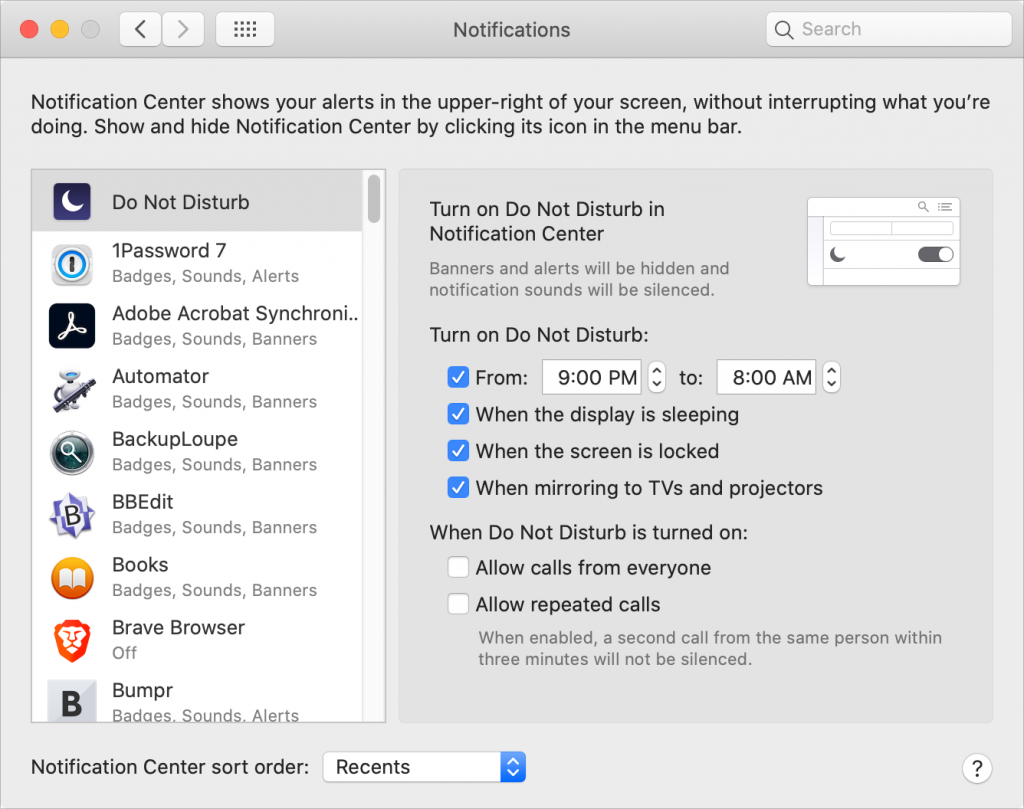
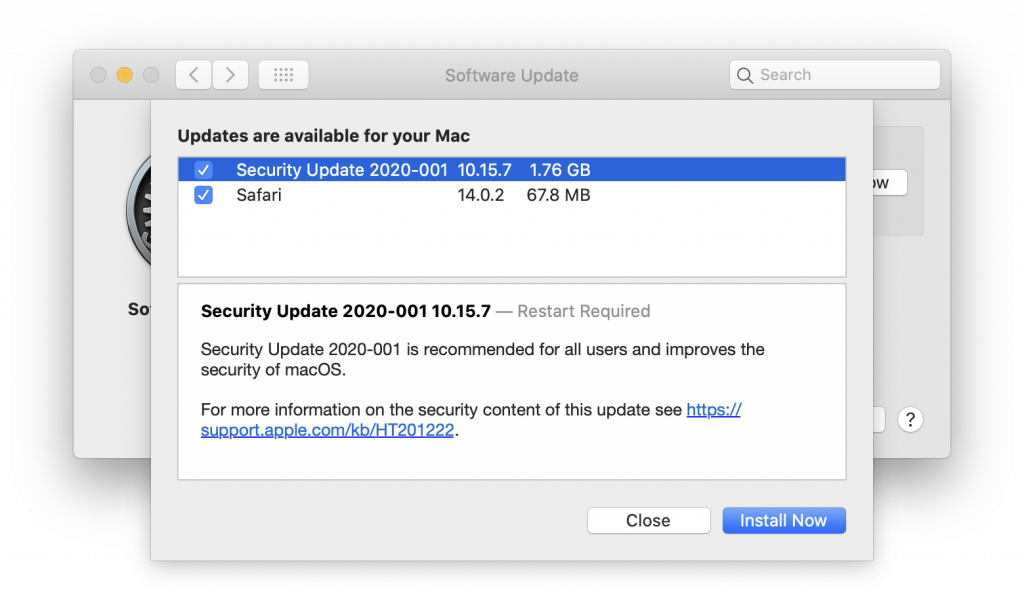
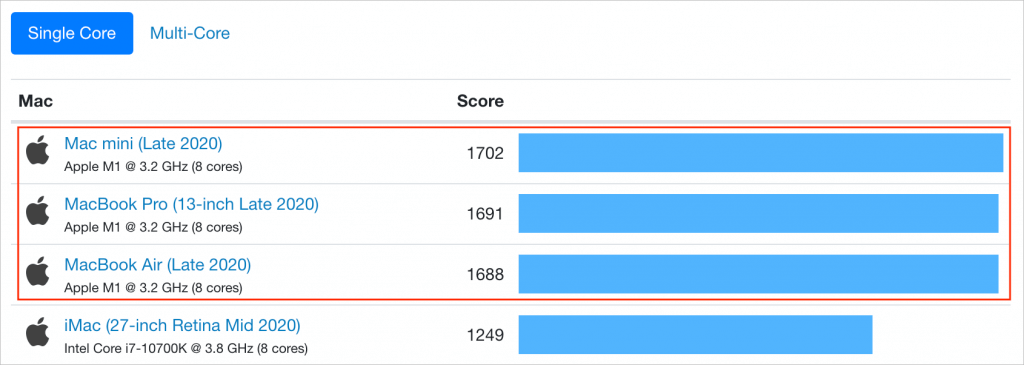
One of the most important things you can do to protect your security is to install new operating system updates and security updates soon after Apple releases them. Although the details seldom make the news because they’re both highly specific and highly technical, you can get a sense of how important security updates are by the fact that a typical update addresses 20–40 vulnerabilities that Apple or outside researchers have identified.

It’s usually a good idea to wait a week or so after an update appears before installing it, on the off chance that it has undesirable side effects. Although such problems are uncommon, when they do happen, Apple pulls the update quickly, fixes it, and releases it again, usually within a few days.
Use a Password Manager
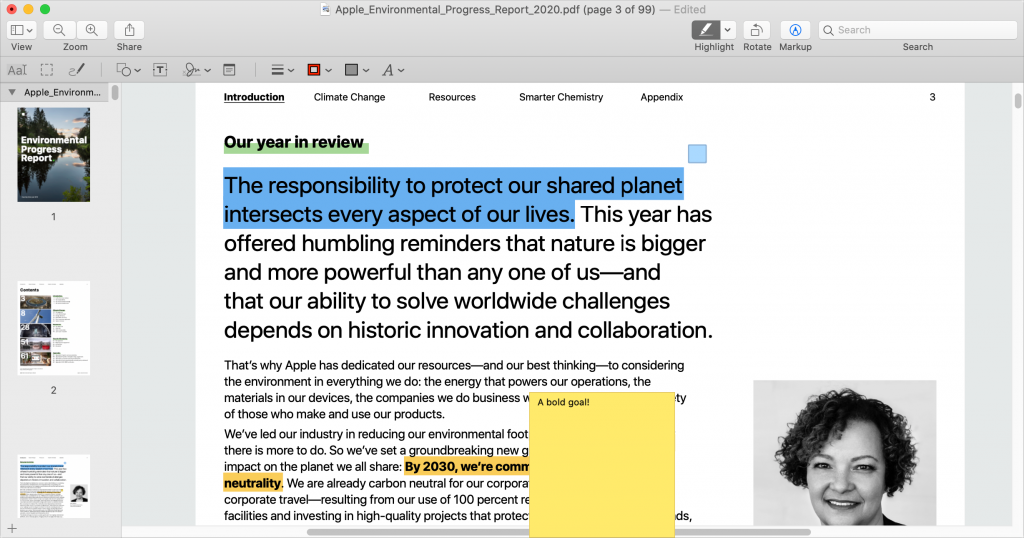
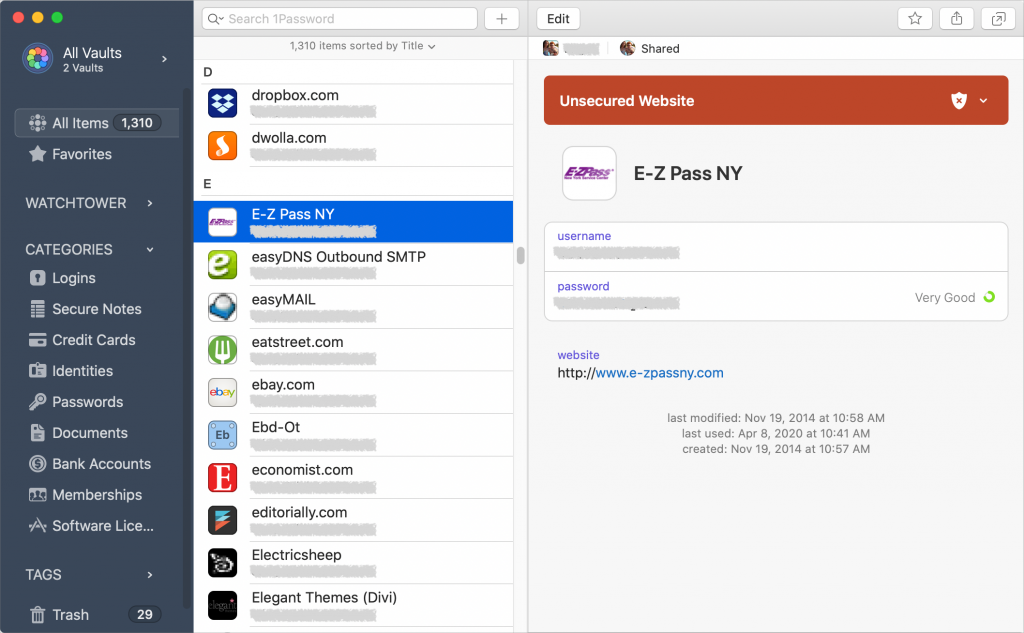
We’ve been banging this drum for years. If you’re still typing passwords in by hand, or copying and pasting from a list you keep in a file, please switch to a password manager like 1Password or LastPass. Even Apple’s built-in iCloud Keychain is better than nothing. A password manager has five huge benefits:
- It generates strong passwords for you. Password1234 can be hacked in seconds.
- It stores your passwords securely. An Excel file on your Desktop is a recipe for disaster.
- It enters passwords for you. Wouldn’t that be easier than typing them in manually?
- It audits existing accounts. How many of your accounts use the same password?
- It lets you access passwords on all your devices. Finally, easy login on your iPhone!
A bonus benefit for families is password sharing. It allows, for example, a married couple to share essential passwords or for parents and teens to share certain passwords.
In short, using a password manager is more secure, faster, easier, and just all-around better. If you need help getting started, get in touch.
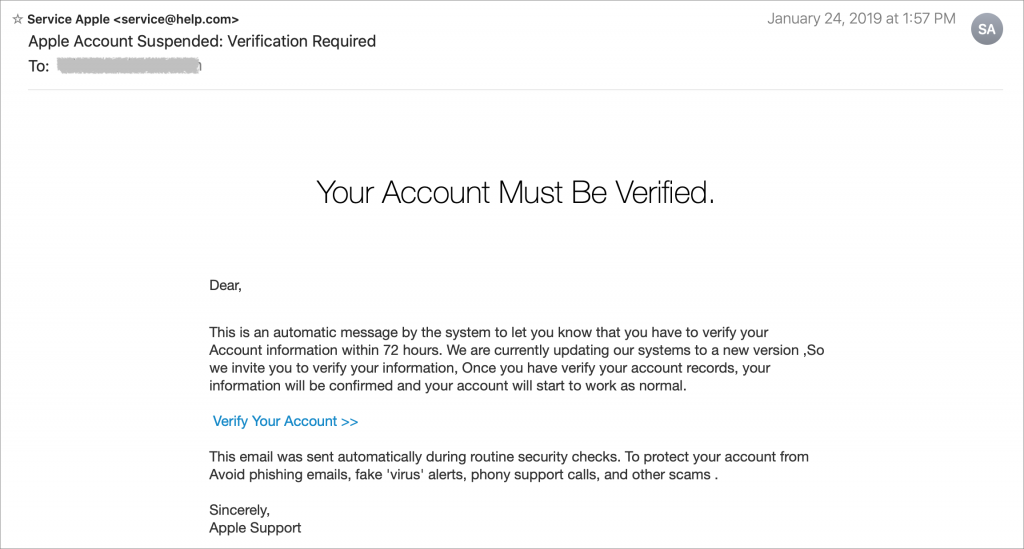
Beware of Phishing Email
Individuals and businesses alike frequently suffer from security lapses caused by phishing, forged email that fools someone into revealing login credentials, credit card numbers, or other sensitive information. Although spam filters can catch many phishing attempts, it’s up to you to be on your guard at all times. Here’s what to watch for:
- Any email that tries to get you to reveal information, follow a link, or sign a document
- Messages from people you don’t know, asking you to take an unusual action
- Direct email from a large company for whom you’re an anonymous customer
- Forged email from a trusted source asking for sensitive information
- All messages that contain numerous spelling and grammar mistakes
When in doubt, don’t follow the link or reply to the email. Instead, contact the sender in some other way to see if the message is legit.
Avoid Sketchy Websites
We won’t belabor this one, but suffice it to say that you’re much more likely to pick up malware from sites on the fringes of the Web or that cater to the vices of society. To the extent that you can avoid sites that provide pirated software, “adult” content, gambling opportunities, or sales of illicit substances, the safer you’ll be. That’s not to say that reputable sites haven’t been hacked and used to distribute malware too, but it’s far less common.
If you are concerned after spending time in the darker corners of the Web, download a free copy of Malwarebytes or DetectX Swift and scan for malware manually.
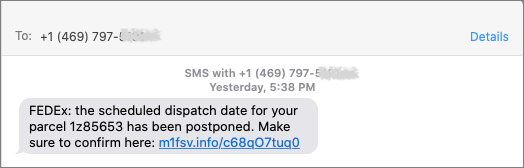
Never Respond to Unsolicited Calls or Texts
Although phishing happens mostly via email, scammers have also taken to using phone calls and texts. Thanks to weaknesses in the telephone system, such calls and texts can appear to come from well-known companies, including Apple and Amazon. Even worse, with so much online ordering happening, fake text messages pretending to help you track packages are becoming more common.
For phone calls from companies, unless you’re expecting a call back from a support ticket you opened, don’t answer. Let the call go to voicemail, and if you feel it’s important to respond, look up the company’s phone number elsewhere, and talk with someone at that number rather than one provided by the voicemail.
For texts, avoid following links unless you recognize the sender and it makes sense that you’d be receiving such a link. (For instance, Apple can text delivery details related to your orders.) Regardless, never enter login information at a site you’ve reached by following a link because there’s no way to know if it’s real. Instead, if you want to learn more, navigate manually to the company’s site by entering its URL yourself, then log in.
Let’s raise a glass to staying safe online in 2021!
(Featured image based on originals from Tim Mossholder and Jude Beck on Unsplash)
Social Media: Have a safer 2021 with New Year’s resolutions that will help you secure your devices, avoid email and text scams, and stay safe from malware, as well as benefit from the security and ease-of-use of password managers, which can even fill in passwords for iPhone apps.