At its September 10th special event, Apple unveiled a slew of new products and services, including the iPhone 11, the Apple Watch Series 5, the seventh-generation iPad, Apple Arcade, and Apple TV+.
The company also said that iOS 13 and watchOS 6 would ship on September 19th, with iPadOS 13 appearing on September 30th and macOS 10.15 Catalina due sometime in October. Don’t feel the need to update to iOS 13.0 right away, though, since Apple also said that iOS 13.1 would arrive just 11 days later, on September 30th. It will contain some features that the company had to pull from iOS 13.0. Other features will continue to roll out throughout the coming months too.
This iPhone Goes to 11
After several Roman numeral years starting with the iPhone X, Apple has reverted to digits, introducing the iPhone 11, iPhone 11 Pro, and iPhone 11 Pro Max. These are more significant updates than last year’s models, thanks largely to additional cameras, two for the iPhone 11 and three for the Pro models.
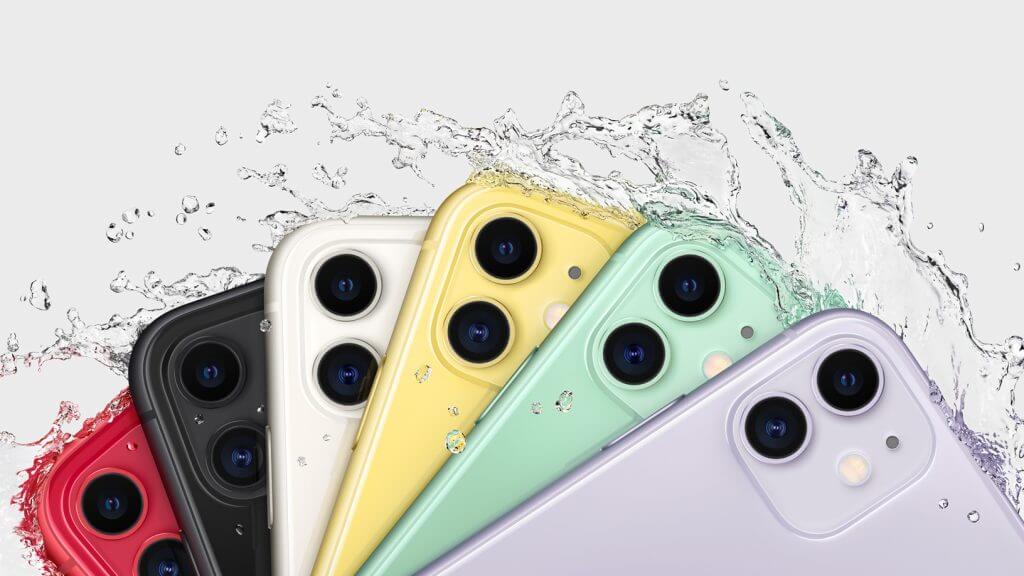
The entry-level iPhone 11 improves on its iPhone XR predecessor with separate 12-megapixel Wide and Ultra Wide cameras that let you take wider shots without resorting to panoramas. iOS 13 uses computational photography with both cameras to enable the new Night mode, which combines multiple exposures for astonishingly better low-light photos.

The new front-facing TrueDepth camera is also now 12 megapixels, has a wider field of view for selfies, and supports Smart HDR for more natural-looking photos. It also now records 4K video at up to 60 frames per second and 120 frames per second with slo-mo.
Like the iPhone XR, the iPhone 11 has a 6.1-inch Liquid Retina screen, but it boasts increased performance with Apple’s new A13 Bionic chip. That makes Face ID up to 30% faster and lets it work better at varying distances and at more angles. Although there’s no 5G cellular support yet, the iPhone 11 does offer Gigabit-class LTE and Wi-Fi 6. For those who need multiple cellular plans simultaneously, it supports Dual SIM with eSIM.
The iPhone 11 features a case made of aluminum and glass that Apple claims is the toughest glass ever used in a smartphone. It can also theoretically withstand dunking in up to 2 meters of water for up to 30 minutes—don’t test that if you can avoid it. And the iPhone 11 comes in six colors, with prices starting at $699 for 64 GB of storage.
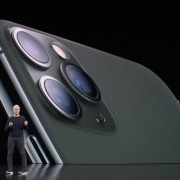
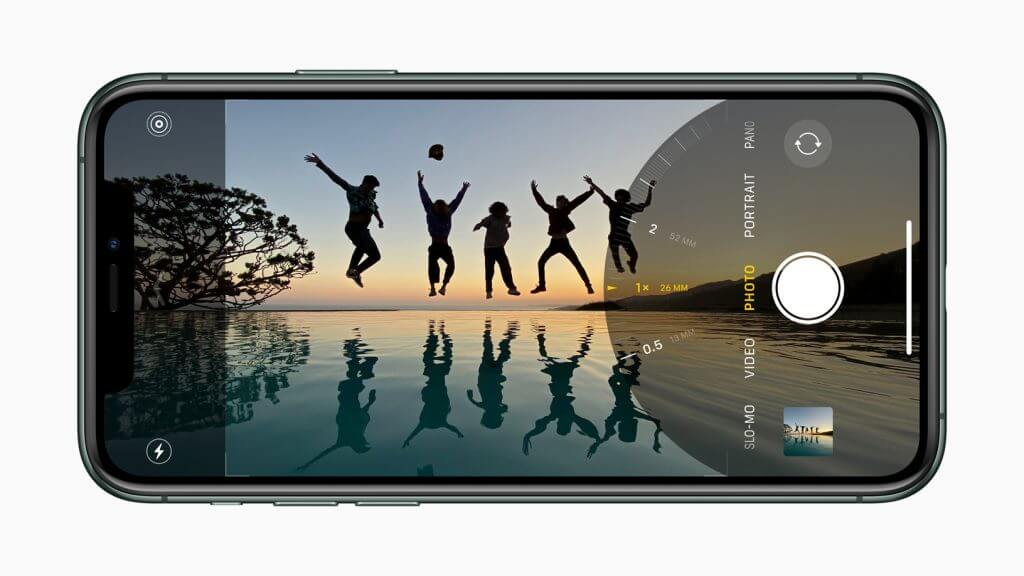
The iPhone 11 Pro and iPhone 11 Pro Max take photos and videos to the professional level, supporting everything the iPhone 11 can do and adding a third Telephoto camera. Each of the three 12-megapixel cameras can record 4K video with extended dynamic range and cinematic video stabilization. You can switch between the cameras smoothly while filming video. The presentation even demoed a beta of the FiLMiC Pro app, which will let you record separate video streams from each camera at the same time.
For still images, the triple-camera system adds a Telephoto mode to the Wide and Ultra Wide modes in the iPhone 11, and iOS 13 utilizes all three cameras and computational photography to deliver even better results. For instance, Portrait mode can now switch between Wide and Telephoto framing to provide a wider field of view that’s great for group portraits.
Although the screen sizes remain the same as in last year’s iPhone XS (5.8 inches) and iPhone XS Max (6.5 inches), the iPhone 11 Pro and iPhone 11 Pro Max sport new Super Retina XDR OLED-based screens that have significantly higher brightness and contrast specs. Physically, the new models are just a hair—almost literally at about half a millimeter—larger in every dimension than last year’s iPhones. Battery life is much better, with the iPhone 11 Pro lasting up to 4 hours longer than the iPhone XS and the iPhone 11 Pro Max besting the iPhone XS Max by up to 5 hours.
The iPhone 11 Pro models feature a stainless steel band and textured matte glass back, and they can handle being submerged in up to 4 meters of water for up to 30 minutes. We still don’t recommend testing this. Pricing with 64 GB of storage starts at $999 for the iPhone 11 Pro and $1099 for the iPhone 11 Pro Max. They’re available in four colors: gold, space gray, silver, and the new midnight green.
All the iPhone 11 models become available for pre-order on Friday, September 13th at 5 AM Pacific, and they’ll ship to customers and stores on September 20th. If you’re not overwhelmed by the new features, or just don’t want to pay that much, the iPhone 8 and iPhone XR remain available, starting at $449 and $599.
Apple Watch Series 5 Is Always-On
With the new Apple Watch Series 5, available for pre-order now and shipping on September 20th, Apple addressed one of the most common complaints about its wrist-based iPhone accessory. Now, instead of going black whenever you lower your wrist, the Apple Watch Series 5’s screen will merely dim, brightening back up as soon as you raise your wrist or tap the screen. That way you can read it without taking any particular action or waiting for it to light up. This change involved some impressive engineering since battery life remains at 18 hours in typical usage.
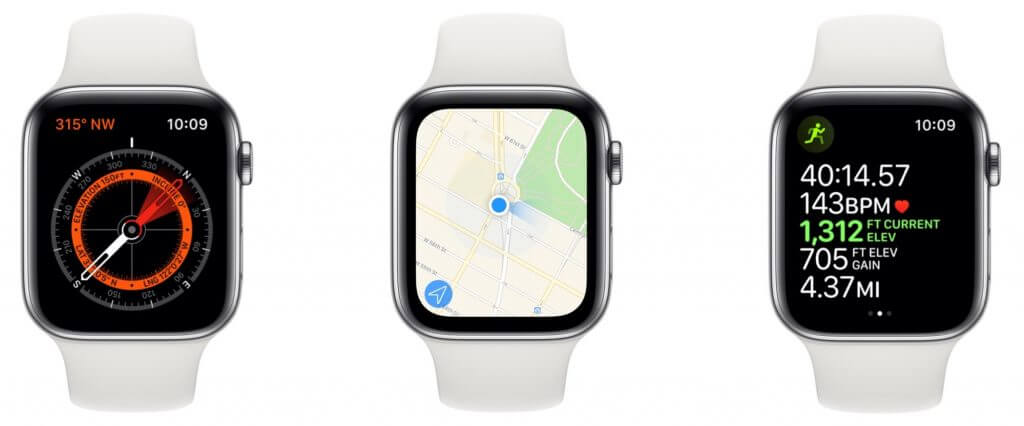
Also new is a built-in compass that enables the Maps app to show which direction you’re facing to assist in getting started with navigation. It also powers a new Compass app that shows heading, incline, latitude, longitude, and current elevation, and the Workout app can report current elevation and elevation gain. You can add one of three new compass complications to some watch faces.
Finally, the Apple Watch Series 5 cellular models feature international emergency calling. If you have an accident or get into trouble while traveling, your watch can call the local emergency services via Emergency SOS or through fall detection, regardless of where you purchased the watch or even if you have a working cell plan.
The Apple Watch Series 5 is available in the traditional aluminum ($399) and stainless steel ($699) cases. For more money, Apple has introduced a new titanium case ($799) and brought back the white ceramic case ($1299). If you don’t need the ECG and fall detection features that the Series 5 retains from the Series 4, the aluminum Series 3 model remains available, starting at $199.
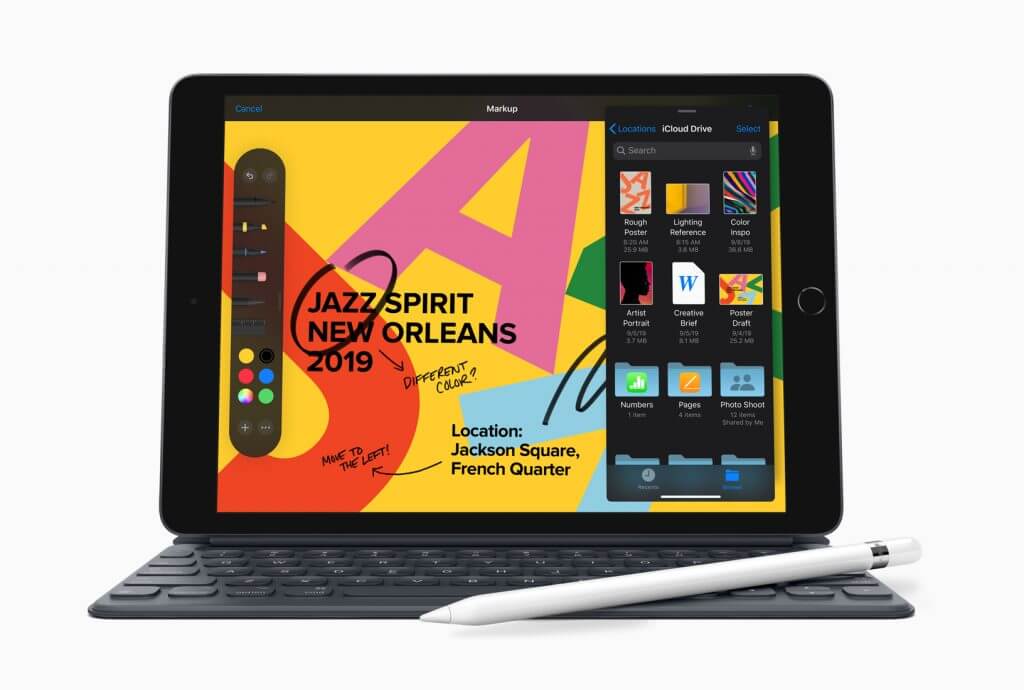
Seventh-Generation iPad Goes Semi-Pro
No one was expecting Apple to update its entry-level iPad, but the new seventh-generation iPad sweetens what is already the best deal in the Apple universe. Starting at just $329, the new iPad increases the screen size to 10.2 inches, up from 9.7 inches, and adds a Smart Connector that allows you to connect Apple’s Smart Keyboard to it. It’s a few millimeters larger and a few grams heavier, but nothing you’ll notice.
Otherwise, the seventh-generation iPad is similar to the sixth-generation model, with an A10 Fusion chip, 8-megapixel 1080p rear camera, and 1.2-megapixel 720p front-facing camera. It also supports the first-generation Apple Pencil for stylus input. Battery life remains the same.
It’s available for pre-order now and will ship on September 30th.
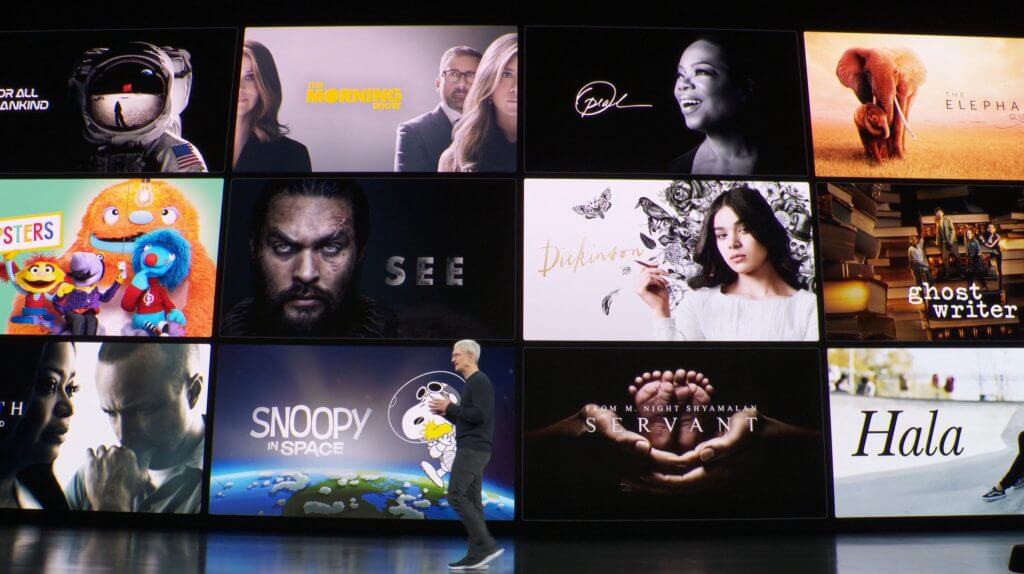
Apple Arcade and Apple TV+ Details Revealed
We focus on Apple’s computing and communications products and services, which is why we haven’t written much about the recent release of Apple Card, the company’s new credit card, which provides increased privacy protections and an excellent interface, but no export options. Similarly, we don’t expect to say much in the future about Apple Arcade, which is Apple’s new game subscription service, or Apple TV+, the company’s slate of original video content, both of which were unveiled at Apple’s event.
For completeness, though, we should note that Apple Arcade will cost $4.99 per month when Apple launches it on September 19th. You’ll get a 30-day free trial to see if a service that gives your family access to over 100 games across all your Apple devices is compelling.
Apple TV+ debuts on November 1st, and it too will cost $4.99 per month for access to all of Apple’s original content. It doesn’t include any back catalog shows and movies such as are available from Netflix, Amazon Prime, Hulu, and Disney+. A 7-day free trial will be available, but if you buy a new iPhone, iPad, iPod touch, Mac, or Apple TV, you’ll get a year for free.
Phew! So many announcements! Our take is that the seventh-generation iPad is a compelling buy for anyone who wants an iPad but doesn’t need the performance of the iPad Air and iPad Pro models. The always-on screen of the Apple Watch Series 5 is welcome if you’re in the market for a new Apple Watch, though it may not be worth upgrading if you already have a recent model. And the new iPhone 11 models look awfully nice for anyone who takes photos and videos. And, let’s face it, that’s most of us these days.
(Featured image by Apple)
Social Media: It’s official! Apple has announced new iPhones with significantly improved camera capabilities, an Apple Watch with an always-on screen, and an improved entry-level iPad. Read on for details of all these and more: