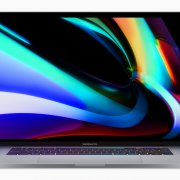
Responding to customer complaints and media mocking, Apple has introduced a new 16-inch MacBook Pro that features improves on its predecessor in several ways, most notably with a scissor-switch keyboard in place of the flaky butterfly-key keyboard. The 16-inch MacBook Pro replaces the previous 15-inch MacBook Pro at the top of Apple’s notebook line and starts at $2399. The 13-inch MacBook Pro and MacBook Air remain unchanged.
Apple also announced that the new Mac Pro (starting at $5999) and Apple Pro Display XDR (starting at $4999) will ship in December 2019—we’ll have more details once those are available.
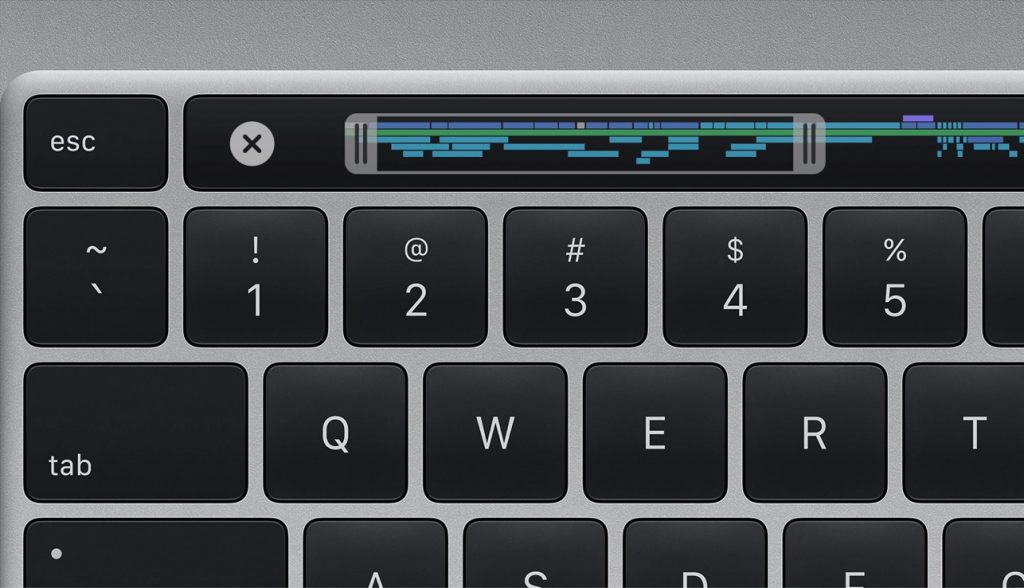
New Keyboard Provides More Key Travel
Apple says the 16-inch MacBook Pro’s new Magic Keyboard features “a redesigned scissor mechanism and 1mm travel for a more satisfying key feel.” That’s a positive way to say that many people disliked typing on the previous keyboard’s butterfly mechanism. Plus, keys failed frequently, causing Apple to redesign the keyboard multiple times and offer a repair program for out-of-warranty devices.
Although the new 16-inch MacBook Pro still features a Touch Bar with a Touch ID sensor in place of the classic F-keys, another important keyboard enhancement is the return of the physical Escape key and the reinstatement of the traditional inverted-T layout for the arrow keys.

Initial reviews from pundits who received early access to the new MacBook Pro were positive, with several vocal critics of the previous keyboard saying the new one feels the way a keyboard should.
About That 16-inch Display… and Other Displays
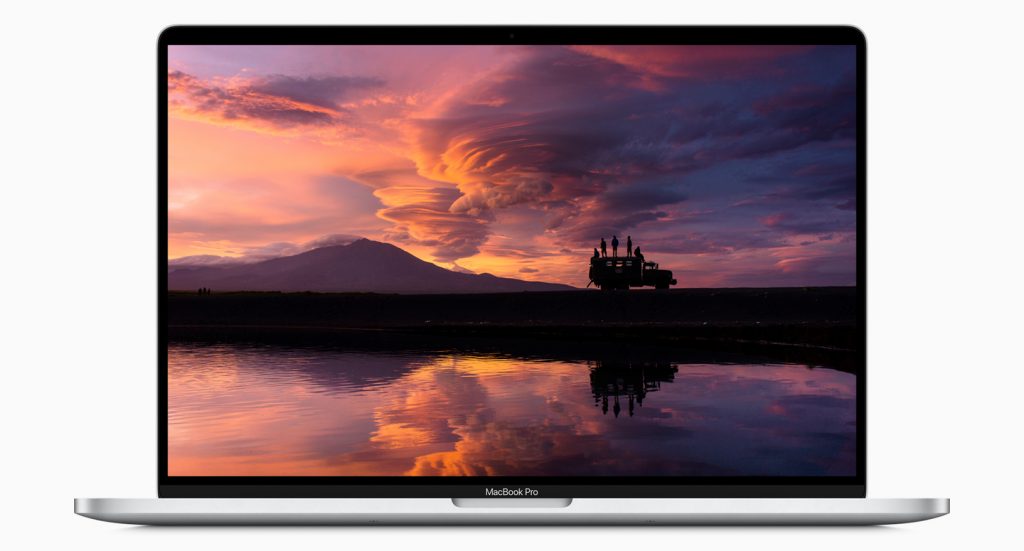
You might expect the 16-inch MacBook Pro’s display to be its most notable feature, and it is legitimately bigger, with that 16-inch diagonal measurement and a slightly higher native resolution. That translates to a scaled default resolution of 1792-by-1120, up from 1680-by-1050, so the new MacBook Pro will show more content on the screen than the previous model. And it’s still gorgeous.
To drive that larger screen, the 16-inch MacBook Pro continues to offer both integrated (for better battery life) and discrete (for faster performance) graphics. On the latter side, you can choose from the AMD Radeon Pro 5300M with 4 GB of memory, or the Radeon Pro 5500M with either 4 GB or 8 GB of memory. Those graphics chips simultaneously support up to four 4K external displays or up to two 6K displays.
More Power, More RAM, More Storage
Apple claims the 16-inch MacBook Pro is up to 80% faster than the previous 15-inch MacBook Pro, thanks to new 9th-generation processors: the 6-core Intel Core i7 and the 8-core Intel Core i9.
16 GB of RAM is the base level, which is good, since we don’t recommend any less than that. For those who need a higher RAM ceiling, Apple offers 32 GB ($400) and 64 GB ($800) build-to-order options.
When it comes to SSD storage, the base level is 512 GB, but you can upgrade to 1 TB ($200), 2 TB ($600), 4 TB ($1200), or a whopping 8 TB ($2400).
Radically Better Audio
Apple clearly had audio professionals in mind while designing the 16-inch MacBook Pro. Along with the beefy processors, high RAM ceilings, and massive storage options, all of which will be popular with the audio crowd, the new notebook features significantly improved audio input and speakers.
For input, the MacBook Pro relies on a three-mic array with high signal-to-noise ratio and directional beamforming that Apple claims delivers a 40% reduction in hiss. Podcasters have praised the new mic array, though without suggesting that it competes with dedicated mics.
Equally compelling for anyone who listens to music is the new six-speaker, high-fidelity sound system. Its force-canceling woofers with dual opposed speaker drivers reduce unwanted and sound-distorting vibrations and enable the bass to go half an octave deeper than the previous model. There’s still a 3.5mm headphone jack too.
Slightly Larger Physical Package
Between the larger screen, the six-speaker sound system, and the 100-watt-hour battery that Apple says provides up to 11 hours of battery life, the company had to increase the size of the 16-inch MacBook Pro slightly compared to the previous 15-inch model.
It’s only about 8mm wider and 5mm deeper, which likely won’t be noticeable. However, it also weighs 4.3 pounds (1.95 kg), which is noticeably more than the 4.02 (1.82 kg) pounds of the previous model.
802.11ac Wi-Fi and Bluetooth 5.0 remain standard for wireless connectivity, and the 16-inch MacBook Pro continues to offer four Thunderbolt 3.0 ports for charging and connectivity. You’ll still need a collection of dongles for connecting to USB-A peripherals, HDMI and DisplayPort monitors, Ethernet networks, and so on.
Price and Availability
You can buy the 16-inch MacBook Pro now, in either silver or space gray. The base model starts at $2399 with 16 GB of RAM, 512 GB of storage, a 6-core Intel Core i7 processor, and the AMD Radeon 5300M graphics chip. That’s a totally legit Mac, but if you need more power and can pay for it, a maxed-out configuration with 64 GB of RAM and an 8 TB SSD would set you back $6099.
Note that the 16-inch MacBook Pro ships with macOS 10.15 Catalina and almost certainly cannot be downgraded to 10.14 Mojave.
Frankly, this new MacBook Pro is a solid upgrade, particularly for those who have been delaying due to the problems with the butterfly keyboard. The only real problem is that the smaller, lighter, and less expensive 13-inch MacBook Pro and MacBook Air are still saddled with that keyboard. We hope 2020 will bring the redesigned scissor-switch keyboard to those models as well.
(Featured image by Apple)