You CAN Take Amazing Fireworks Photos with Your iPhone

On July 4th fireworks fill the sky. As the crowds ooh and aah at glittering chrysanthemum and willow effects, you may itch to capture some of those moments with your iPhone. You can!

1: Pick a Good Location

Consider your position before it gets dark. If you’re too close, you might not be able to capture the full glory of a massive burst. Too far away, and the fireworks will be little spots of light. Make sure there aren’t any power lines or lamp posts between you and the fireworks. If there’s nearby water, you might be able to capture some interesting reflection shots.

2: Turn Off the Flash

The iPhone’s flash works only at short distances, so turn it off to avoid annoying people around you. In the Camera app, tap the lightning bolt and then Off.

3: Disable HDR or Enable Keep Normal Photo

Tap HDR on the Camera screen and then tap Off. HDR, or High Dynamic Range, combines three exposures into one photo, which works well when some parts of a scene are dark and others are light.

The problem with HDR is that fireworks will move slightly between the exposures, which may cause blur. That could be an interesting effect in its own right, so if you want to try leaving HDR on, be sure to enable Keep Normal Photo in Settings > Photos & Camera. That way, you can see whether you prefer the normal image or the HDR version.

4: Hold Still or Use a Tripod or Monopod

To reduce the chance of your fireworks photos coming out blurry, keep the iPhone as still as possible—try holding it with both hands and pressing your elbows into your sides.

Alternatively, use a tripod, although a Gorillapod or selfie stick can offer stability while letting you more easily move the iPhone around to frame different portions of the sky.

5. Try the iPhone’s Special Modes

With fireworks, it’s nearly impossible to predict the exact moment when a blast of color will be at its most impressive. So don’t! Instead, use one of the iPhone’s special modes:

  • Burst Mode: Press and hold the shutter button or one of the volume buttons to take ten shots per second. You’ll have to sort through the burst afterward to find the best pictures, but you’re almost certain to get good ones.
  • Live Photos: Fireworks are all about motion: the slow climb, the pregnant pause, and then the explosion of light and sound. If you enable Live Photos by tapping its bullseye icon in the Camera app (it turns yellow), tapping the shutter button will take a mini-movie of the action.
  • Slo-Mo Video: If you plan to share your photos on social media, why not share a video instead? Try Slo-Mo mode in the Camera app to slow down the frenetic pace of a grand finale. Hold still while recording!
  • Time-Lapse Video: Or, go in the other direction, and record the entire show as a time-lapse video, which compresses everything into a much shorter video. Just flip to Time-Lapse in the Camera app. You need a tripod for a time-lapse video.

6: Use an App for Longer Exposures

Apple’s built-in Camera app doesn’t let you increase the length of exposures, which can provide striking light trails of fireworks. Lots of independent apps do offer that capability, including LongExpo (free), Shutter (free), Slow Shutter Cam ($0.99), and Manual ($5.49). Regardless of which you try, play with different exposure times to get the effect you want.

Just remember. As much fun as it can be to photograph fireworks, don’t let the iPhone get in the way of enjoying the show with family and friends.

Now is the best time to scan old negatives

Now Is The Best Time To Scan Old Negatives

Of the three types of old photo media that many of us have stashed away, negatives are the most often overlooked.  Prints and slides can be viewed relatively easily but because negatives are reversals and they’re so small, it can be hard to determine what’s on them. When you start organizing, they may be first to go in the trash. But you could be discarding good memories of you and your family from decades passed.

Prints are made from negatives so if you have a ton of old pictures, you also have, or had, a ton of old negatives. So why keep the intermediary when we have the finished product? Because where the prints fade and can be damaged, torn or lost during handling, negatives are usually kept in better shape because,

  • If they were originally developed correctly, negatives hold their color better, longer.
  • Photofinishers usually returned negatives to us in clear sleeves which, if they’re made of good quality material, are still protecting them today.
  • With no reason to handle them, negatives are commonly tucked a little deeper into our photo stashes, preserving them further.

Now is a good time to consider scanning any type of old photo media, but especially negatives. Why? Because the equipment that professionals use to scan them at high volume is becoming less mainstream, and more expensive to maintain. There are only two manufacturers still tooling out a handful of high-quality, high-volume film scanners and, as you can guess, they’re expensive to buy and operate. On the contrary, business owners are finding this niche falling further out of demand so it’s harder to justify the cost. Even established labs that already own the equipment have to weigh the costs of maintenance, space, and salaries to keep up legacy film services rather than directing those resources toward newer, more profitable services.

It’s not a doomsday scenario by any means. Store owners work hard to keep costs downs and we hope the recent renaissance in film shooters bolsters the market for processing equipment. But even in resurgence, the market is a fraction of its former self. The cost to scan each frame is likely to go in one direction only; up. If your local photo professional offers negative scanning, take them up on it. I guarantee your results will be positive!

Ideas for Displaying Your Mobile Photos

It’s easier than ever to publish your favorite photos direct from device or social media channel. Instead of choosing a traditional sized photo or paper print –  the real question now is WHAT MATERIAL to print my mobile images on. Wood, metal, fabric, fine art paper, canvas and acrylic are just a few of the options. There are dozens of awesome ways to print and display the mobile photos you love most.

Did you know?

A 1.4MB photo taken on the iPhone 6 can be enlarged into a 16″x20″ print (sometimes larger!) with amazing clarity and sharpness. Most mobile devices have stellar image quality, and because of that, you can do just about anything with the photos you take on your smartphone.

The point is that just about everything can be printed on or turned into an original photographic display. We have all kinds of creative ways to turn your ideas into reality.
Check out some options and let us know if we can help bring your photos to life!

Archive the Art Cave

Save the school year and your sanity!

Wednesday is the day my grade schoolers come home with a week’s worth of completed assignments. I hate Wednesdays. That’s not true; I love to see their work, talk about what they’ve been up to, and get a glimpse inside their school-brains. But after that I’m left with a stack of guilt. I can weed out the spelling tests and math homework but it’s tough deciding which stories and drawings to keep. The more I save, the less confident I am that I’ll ever really look back on all of them. This conundrum occurs weekly. By the end of the year, I have one large drawer-full and at least one unwieldy stack of each child’s projects. We refer to that section of the office as the Art Cave because they rarely see the light of day after entering. I can’t store these forever but I’m not about to throw them out. So how do I archive the art cave?

I don’t put them in scrapbooks if that’s what you’re thinking. I wouldn’t make it past page two. If you’re on that level, my hat’s off to you. I digitize them and, here’s the important part, store them in an organized, backed-up vault. If that sounds daunting, let me put in other words; I take pics of them with my iPhone. Here’s the process:

  1. Download the Google Photos app. You could rely on iCloud, but it’s not as easy to move and organize them afterward. Google Photos offloads pics from your camera roll into your Google account automatically.
  2. Set up a work table near a window, but not so close that you’re in direct light. Start snapping, making sure your lens is perpendicular to the document. Google’s photo scan app also works well for this but requires four extra clicks per piece to auto straighten and optimize. I ain’t got that kind of time.
  3. Once your batch is “scanned,” select them all and add to a new album. You can be finished here and they’ll always be accessible in Google Photos. I take it one step further. I download the album (select all, press Shft + D and they arrive in a .zip) and save it to my local photo archive, which is a Network Attached Storage device that contains a few redundant hard drives. In the past, I’ve uploaded it right back into my google drive, because I wasn’t sure about the future of Google Photos or confident that I’d be able to find the online albums later. Using my local hard drives instead feel less paranoid.
  4. Strut around the house for a few minutes. You’ve just tackled a major project in hopefully less than 15 minutes. The digitized versions are not only manageable but ready to be printed in a series of photobooks that you’ll proudly display on graduation day.

I still save a few of the actual projects, but after digitizing them, most can go away. Yes, in the garbage. I know it’s difficult. But I need that space to store the children who will be home all day long once school’s out.

Action Photography Tips & Tricks

Article © 2018 by Jenna Caplette, with the expert assistance of Kathy Eyster, a member of the instructional staff at Bozeman’s F-11 Photo & The Print Refinery™.

Here’s the deal with photographing action: if you don’t get it right, you can’t fix it later with Photoshop. Out of focus is out of focus. Use these practical tips to get great action photos even with a point and shoot camera from photo instructor and digital imaging guru Kathy Eyster.

Choose the “sports” mode or a similar setting that uses a fast shutter speed.

Shoot in “continuous” shooting or “burst” mode. You’ll get as many frames as your camera can take for as long as you hold the button down, increasing your odds of getting a great picture. Your flash usually won’t fire in these modes, so this may not stop action in low-light situations.

Photographing the action closest to you will give you the best shots.

Use a technique called “focus lock.” Imagine you’re at a race and you want to photograph your sister crossing the finish line. The finish line isn’t going to move. Set your camera up and frame the shot that you want to get using the finish line as your point of focus. Hold the shutter button halfway down and then shoot just as your sister crosses the line. This allows the camera to pre-focus
on the spot where the action will be giving you a crisp, clear image.

Anticipate the action and start shooting ahead of time.

Try a technique called “panning.” Follow your subject with your camera, keeping the subject in the same spot in the frame. Your subject should be traveling left or right or vice-versa, rather than moving toward you or away from you. When a cross-country skier glides by, focus on the skier and press the shutter in continuous shooting mode. The skier will be sharp and the background blurry, expressing speed.

A large part of action photography is timing, which requires observation and strategy. The more you know about the pattern of activity, the better your images will be. However, it’s difficult to both watch an event and photograph it. If you decide to photograph, prepare to take a lot of pictures. Pack a spare battery and an extra memory card so you don’t run out of power or space on your memory card before the event ends. You’ll take hundreds of pictures and you’ll get a few you like. Toss the bad images, celebrate the good ones. Print. Repeat.

Be sure to visit Eyster’s helpful website for more tips you can use every day: essentialdigitalcamera.com.

Sneak Preview of What’s Coming from Apple This Fall

At Apple’s Worldwide Developer Conference keynote on June 4th, the company unveiled the first developer versions of all four of its operating systems: macOS 10.14 Mojave, iOS 12, watchOS 5, and tvOS 12. They won’t be available until this fall, likely in September or October, but here is a glimpse of what you can expect.

macOS 10.14 Mojave Adds Dark Mode, Enhances the Finder, and Gains Four iOS Apps

With the update to macOS, which Apple is calling “Mojave” after the southern California desert, the company is beefing up the Finder, adding visual enhancements, and bringing some familiar iOS apps to the Mac. Apple is dropping support for some older Macs, so you’ll need a Mac introduced since 2012 to run Mojave.

Productivity mavens with messy Desktops will appreciate a new Finder feature, which, when turned on, automatically gathers all the files on the Desktop into “stacks,” sorting them by file type, date, tag, or other criteria. Click a stack to expand it, much like a Dock stack today.

Apple has replaced Cover Flow view, which combined a large preview area and a file list, with the new Gallery view. Aimed at helping you browse in a folder of images, Gallery view displays a large preview of the selected file above a row of thumbnails for other items in the folder. A right-hand sidebar in Gallery view shows more information about the current file and lets you edit or mark up the file with Quick Actions (which you can create with Automator) without opening the file in an app. Press Space bar to preview a file with Quick Look, and you can apply appropriate Quick Actions to the file as well, all from the Finder.

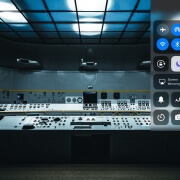
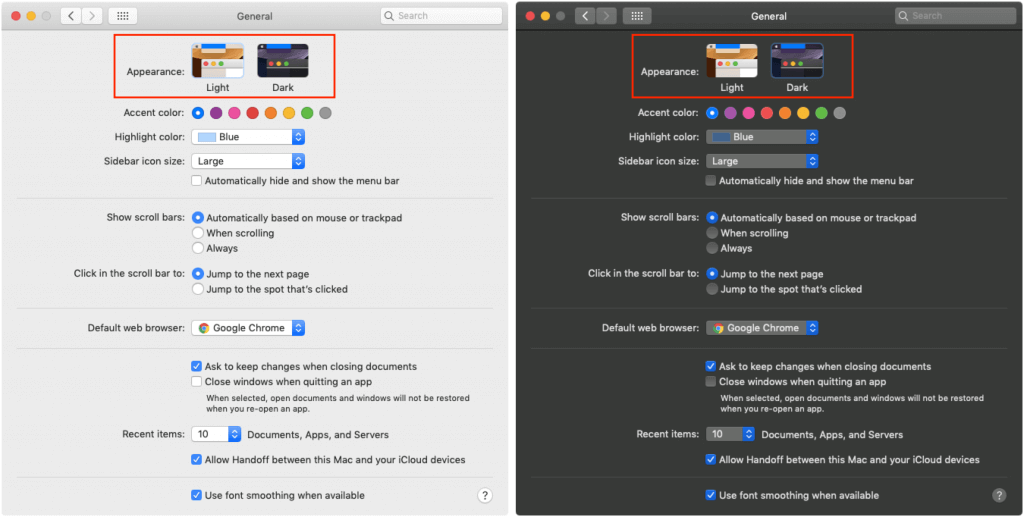
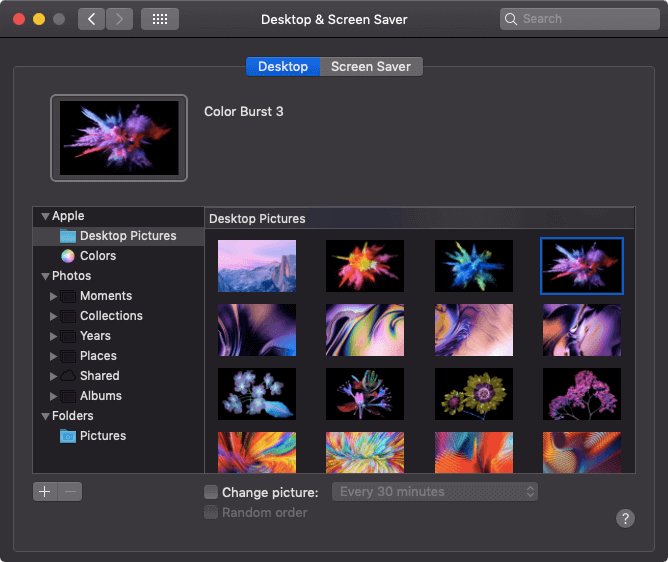
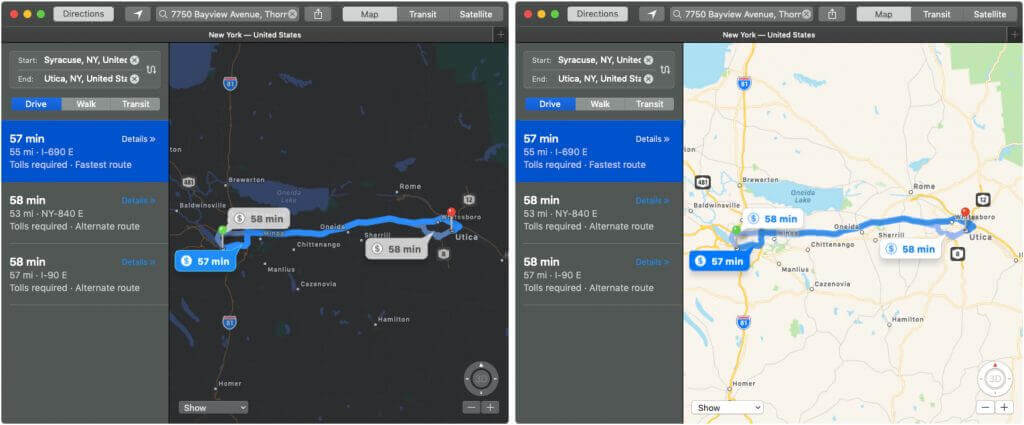
If you find the white backgrounds in the Mac’s windows too bright, you’ll like Mojave’s new Dark Mode (shown above), which intelligently reverses things to display white text in a largely black interface. Additional eye candy comes from Dynamic Desktops, which change the appearance of new Apple-provided Desktop backgrounds based on the time of day.

For those who take a lot of screenshots, Apple has given the Mac’s long-standing screenshot capabilities a visible interface that simplifies taking still screenshots or recording a movie of your actions. Plus, you can preview, edit, share, or delete a screenshot or movie immediately after creating it.

A new feature called Continuity Camera lets you use your iPhone’s camera in Mac apps, either taking a photo directly into a Mac app or scanning a document as a PDF.

Lastly, although Apple was emphatic that it won’t be replacing macOS with iOS, or merging the two, the company is working to make it easier for developers to create apps that work on both platforms. Independent developers won’t be able to do that until 2019, but Apple is testing the waters by bringing four familiar apps from iOS to the Mac: News, Stocks, Voice Memos, and Home. They look and work very much like their iPad counterparts, but rely on the mouse or trackpad, and use normal Mac interface elements like resizable windows.

iOS 12 Improves Performance, Provides Time Management Tools, and More

In the WWDC keynote, Apple emphasized that one of its main goals for iOS 12 is to improve performance, especially for older devices. Unlike Mojave, iOS 12 will support all the same devices as iOS 11, so those with an iPhone 5s or original iPad Air may benefit the most from this effort.

To address increasing concerns about how much we—and our kids—are using smartphones, Apple has made some important changes. Perhaps most important is the new Screen Time feature, which shows how often you use your iOS devices and how much time you spend in different apps. It also lets you set daily time limits for specific apps, so you can make sure you don’t spend too much time in Facebook, for instance. Even better, you can set such limits for your children’s devices via Family Sharing.

Do Not Disturb has become a more appealing feature, because you don’t need to worry about accidentally leaving it on for too long—it can now be set to turn off automatically after some time or when you leave a location, such as at the end of a class or when you leave your doctor’s office. (This feature also comes to the Apple Watch with watchOS 5.) Also new is Do Not Disturb During Bedtime, which ensures you won’t see enticing notifications on the Lock screen if you check the time on your iPhone in the middle of the night.

Getting too many notifications? Notification grouping gathers all the notifications from each app together on the Lock screen so it doesn’t fill up, but you can see them all at once when you’re ready. Plus, a new feature called Instant Tuning helps you reduce the number of notifications you see, right from the Lock screen.

If you’ve always wanted to automate repetitive actions in iOS, you’ll love the new Siri Shortcuts feature. You can use it to string together actions in different apps—send a message to your spouse that you’re leaving work, show the traffic conditions on your commute home, and start playing a podcast app—and then invoke them all via Siri with a custom phrase.

Other interesting changes in iOS 12 include these:

  • Apple has renovated the interfaces of several bundled apps, including iBooks (now called Apple Books), News, Stocks, and Voice Memos (which can now sync recordings with the Mac).
  • FaceTime is no longer limited to one-on-one conversations and can now include up to 32 people in a single FaceTime conversation. The Mac version of FaceTime gains this capability too.
  • Photos boasts improved searching, can unearth photos from your library in a new For You tab, and prompts you to share photos with friends who it recognizes in your photos.
  • Apple is working with colleges and universities to add Wallet support for contactless student ID cards so students can use an iPhone (or Apple Watch) for unlocking doors, paying for meals, and more.
  • CarPlay allows apps from non-Apple developers to take over the car’s screen so that you can use alternative mapping apps like Google Maps and Waze in a CarPlay-enabled car.

watchOS 5 Improves Workouts, and Adds Walkie-Talkie and Podcasts Apps

Apple has realized that the Apple Watch is popular primarily for fitness and communication, so the company focused on those areas for watchOS 5. Alas, watchOS 5 isn’t available on the original Apple Watch.

On the fitness side, the Apple Watch can now start many workout types automatically when it detects that you’re exercising, and end a workout automatically when it sees that you’ve stopped. It even provides retroactive credit for what you did before the workout was detected. Apple has added new Yoga and Hiking workouts, each with their own metrics, and the running and walking workouts now measure cadence (steps per minute).

For those running outside, the Workout app can also display the rolling mile pace—the pace for the last mile—and can sound an alarm if you’re going slower or faster than a specified pace. And for those who do better with social motivation, watchOS 5 provides 7-day activity competitions.

In terms of communication, watchOS 5’s marquee feature is the new Walkie-Talkie app. Once you and a friend have set it up, you can tap a big yellow button to talk to your friend—and they can reply—just as though you were using old-school walkie-talkies. It works over both Wi-Fi and cellular.

Apple is bringing the Podcasts app to watchOS 5, so you’ll be able to listen to podcasts from your wrist, assuming you have AirPods or a Bluetooth headset. Plus, watchOS 5 makes it possible for other audio apps to store audio on the watch, so it should get easier to listen to audiobooks and the like even when you don’t have your iPhone with you.

Other welcome changes in watchOS 5 include:

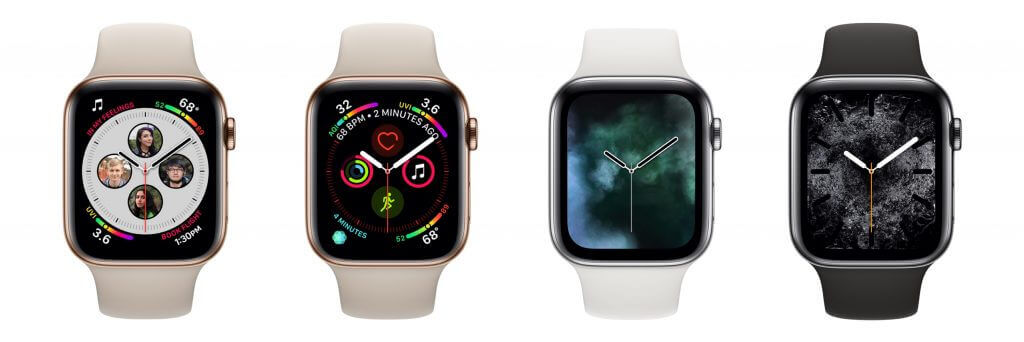
  • The Siri watch face has new options, including sports scores, heart-rate readings after workouts, and commuting times from Maps. Independent apps will also be able to contribute bits of data to appear in the Siri face.
  • Notifications can be interactive, so you could tap on your wrist to check in for a flight, confirm a restaurant reservation, or extend parking time. As with iOS 12, multiple notifications from the same app will be grouped.
  • Web links in Messages or email can be previewed on the Apple Watch.
  • When you raise your wrist to talk to Siri, you no longer have to say “Hey, Siri.

tvOS 12 Gains Dolby Atmos Support, Zero Sign-on, and a New Aerial Screensaver

Although the Apple TV often receives less attention than Apple’s other platforms, it still gains new capabilities with tvOS 12. Most notable among these is support—on the Apple TV 4K only—for Dolby Atmos audio, which makes audio sound more realistic by going beyond the simple right and left channels to provide 3D sound. You’ll need an Atmos-capable soundbar too, along with Atmos-compliant video content, but Apple will automatically upgrade anything you’ve bought from the iTunes Store to the Atmos version once it’s out.

Two other new features work on both the Apple TV 4K and the fourth-generation Apple TV but require support from both apps and TV providers: Zero Sign-on and Cloud DVR. Zero Sign-on figures out your Internet provider, and if it’s the same as your TV service, automatically detects apps that need authentication and logs you in to them. It will work only with Charter Spectrum at launch, but Apple is negotiating with more providers. Similarly, the new Cloud DVR feature lets you watch TV you’ve recorded via the Apple TV, if your TV provider supports it. In the U.S., that again means Charter Spectrum to start.

Apple put some work into the Apple TV’s gorgeous aerial screensaver, introducing a new view from space using imagery taken by astronauts on the International Space Station. Also, you can tap the Siri Remote touchpad while a screensaver is showing to see where it was taken.

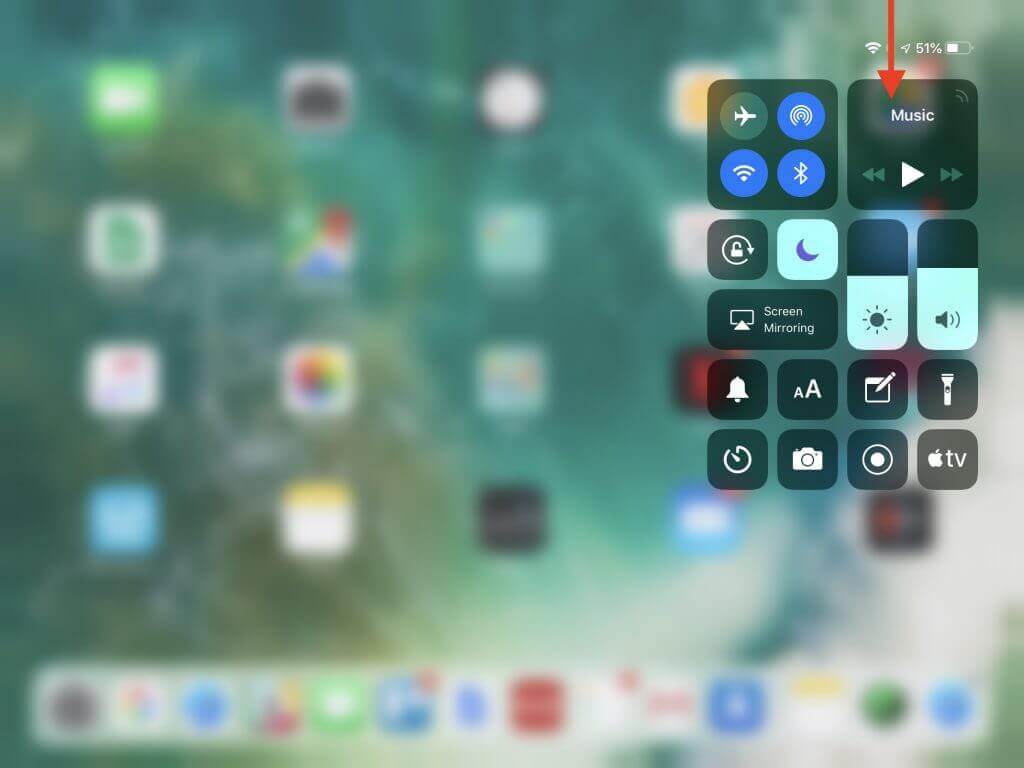
Finally, in conjunction with iOS 12, tvOS can autofill passwords saved on your iOS devices so you don’t have to type them on the awkward onscreen keyboard. And if iOS 12 detects an Apple TV, it automatically adds an Apple TV Remote button to Control Center on your iPhone or iPad. (You can do that now, but you have to add the button manually in Settings > Control Center > Customize Controls.)

Getting Ready for These OS Releases

Apple usually makes new versions of its operating systems available in September or October, in conjunction with new iPhones. That doesn’t mean you should upgrade immediately, and we always recommend that you hold off on upgrades until Apple had had a chance to address the inevitable bugs that come with the initial release of any major upgrade. So sit tight, and we’ll tell you more when the time is right.

That said, if these features sound enticing and you have a pre-2012 Mac, an iPhone 5 or earlier, an iPad that predates the iPad Air, or an original Apple Watch, some new hardware may be in your future.


Social Media: Apple has unveiled the next versions of its operating systems: macOS 10.14 Mojave, iOS 12, watchOS 5, and tvOS 12. Read on for the highlights of what you can look forward to this fall!

Use Copy as Pathname to Help Someone Find a File on the Mac

Have you ever needed to write directions for where to find a file on the Mac? That’s easy if it’s in a well-traveled location, like the Music or Pictures folder, but more difficult if it’s in an obscure hidey-hole. Rather than write out instructions like “Look in the Chrome folder inside Google’s Application Support folder in your user Library folder,” select the item in question, hold down the Option key, and choose Edit > Copy “ItemName” as Pathname. (A pathname, or path, is the sequence of nested folders that holds a file or folder, such as /Users/adrian/Library/Application Support/Google/Chrome.) Then paste the path into an email message or word processing document (or wherever you like). You’ll now have the entire thing exactly where you need it, and you don’t have to worry that you’ve accidentally left out a navigational step.

How to Recover Space by Offloading Unused Apps in iOS 11

Running low on space on your iPhone or iPad in iOS 11? This problem may be easier to deal with than you expect because Apple has added a quick way to free up storage space by removing unneeded apps. Go to Settings > General > iPhone/iPad Storage, where you’ll see a Recommendations section. This section may include an option to Offload Unused Apps with an estimate of how much space you could save. Tap Enable to allow iOS to remove apps that you haven’t launched in a while—this happens only if you’re low on space. iOS preserves any documents or data associated with the offloaded app, and the app’s icon remains on the Home screen, with a cloud badge. Tapping the app icon reloads it from the App Store, assuming it’s still available. If you find yourself waiting for apps to reload often and you can clear space in other ways, you can disable the feature in Settings > iTunes & App Store > Offload Unused Apps.

Did You Know Your EarPods Work as a Remote Shutter Button for Photos?

Have you ever composed the perfect photo in the iPhone’s Camera app and then been unable to tap the shutter button without jiggling the iPhone and blurring the image? That can be especially difficult with macro shots that require physical contortions to position the iPhone properly. Sometimes, pressing one of the physical volume buttons on the iPhone to trigger the shutter is the solution. But, even better, connect your iPhone’s wired EarPods and then press one of their volume buttons to take a photo. Bonus tip—the EarPods’ buttons also work to start and stop video recording!

Look Up All Sorts of Information with a Quick Click or Tap on the Mac

Apple makes it easy to look up information about any word you can see on your Mac, in nearly any app. To access this information, Control- or right-click the word and choose Look Up “word”, use the trackpad to tap the word with three fingers, or hover the pointer over it and press Command-Control-D. macOS displays a popover with a dictionary definition. And in 10.12 Sierra and later, you can also swipe right with two fingers on the trackpad (or click the buttons at the bottom) to see much more in the popover, including Wikipedia entries, apps, news, sports info, movies, TV shows, music, maps, Twitter accounts, and more. Give it a try a few times, and it might become a habit!