Sometimes, something goes wrong, causing Mail on the Mac to have trouble sending a message. When it does, you may see an error like the one below, encouraging you with a default button to try another configured server. Don’t do it! Always click Try Later. If that still doesn’t work, contact your favorite tech support professional to troubleshoot the problem with the SMTP server associated with the account from which you’re sending. Attempting to send through another SMTP server is a recipe for trouble because various anti-spam checks may fail, causing your message to be filtered as spam or bounced back to you. Worse, if you select a different server and click Try With Selected Server, Mail remembers that choice going forward, so you will have to reset it manually later.
(Featured image by iStock.com/Marut Khobtakhob)
Social Media: If Mail on your Mac throws an error about being unable to send a message, always have it try again later rather than switching to a different server. Otherwise, your messages may look like spam and be blocked.
https://f11photo.com/wp-content/uploads/sites/13/2023/06/PR-F11Photo-logo.jpg00F-11 Photohttps://f11photo.com/wp-content/uploads/sites/13/2023/06/PR-F11Photo-logo.jpgF-11 Photo2023-12-01 13:08:002024-01-01 22:47:22If Mail Fails to Send, Try, Try Again (Instead of Changing Servers)
Have you ever wanted to extract an object from a photo for use in another context? Starting with iOS 16 on a relatively recent iPhone, you can do that with many photos. In the Photos app, touch and hold the object, and if Photos can extract it, you’ll see a highlight run around its edges. Raise your finger, and a popover lets you copy the object, look up information about it, turn it into a sticker (in iOS 17), or share it. Or you can start dragging the object, switch apps with your other hand, and drop it into another app, like Messages. With Universal Clipboard, you can even lift an object on an iPhone, copy it, switch to Preview on your Mac, and choose File > New from Clipboard. File this one under Arthur C. Clarke’s Third Law, which states, “Any sufficiently advanced technology is indistinguishable from magic.”
(Featured image by Adam Engst)
Social Media: Starting with iOS 16, Apple made it possible to extract objects from photos. You can drag objects to other apps, copy them, turn them into stickers, and more.
https://f11photo.com/wp-content/uploads/sites/13/2023/06/PR-F11Photo-logo.jpg00F-11 Photohttps://f11photo.com/wp-content/uploads/sites/13/2023/06/PR-F11Photo-logo.jpgF-11 Photo2023-12-01 13:07:002024-01-01 22:47:27Lift Objects from Photos on the iPhone
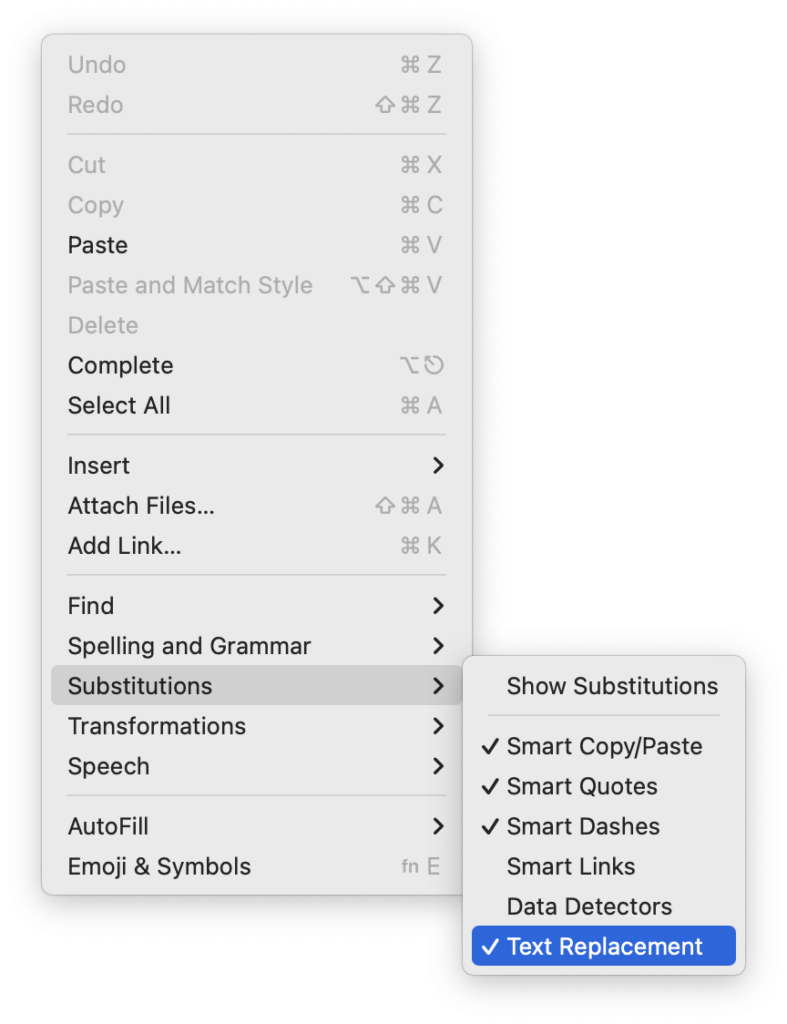
There’s little more annoying than accidentally touching the Caps Lock key while typing and having your text suddenly TURN INTO CAPITAL LETTERS, which we all know is seen as shouting. Unless you have some reason to type in capital letters regularly, you can prevent this mistake by disabling the Caps Lock key or remapping it to another modifier key. In macOS 13 Ventura and later, choose System Settings > Keyboard > Keyboard Shortcuts > Modifier Keys, and choose from the pop-up menu next to Caps Lock. (In earlier versions of macOS, open System Preferences > Keyboard > Modifier Keys.)
(Featured image by Adam Engst)
Social Media: If you very seldom want to type in all caps, disable or remap the Caps Lock key so an errant key press doesn’t turn it on accidentally.
https://f11photo.com/wp-content/uploads/sites/13/2023/06/PR-F11Photo-logo.jpg00F-11 Photohttps://f11photo.com/wp-content/uploads/sites/13/2023/06/PR-F11Photo-logo.jpgF-11 Photo2023-12-01 13:06:002024-01-01 22:47:31Use This Hidden Setting to Stop Triggering Caps Lock Accidentally
iOS’s Photo Shuffle wallpaper does a great job of identifying attractive photos for your Lock Screen. However, if you’re like us, you’ll sometimes wonder when or where you took a Lock Screen photo. Here’s how to figure that out. Touch and hold the Lock Screen when it’s displaying the photo in question, tap Customize, tap the Lock Screen wallpaper, tap the ••• button in the lower-right corner, and tap Show Photo in Library. Then you can swipe up to reveal more information about the photo, swipe left and right to see the photos on either side, or pinch to see it in the context of your entire photo library.
(Featured image by Apple)
Social Media: Do you sometimes wonder when or where you took a photo that iOS’s Photo Shuffle wallpaper is displaying on your Lock Screen? Us too, and here’s how to find out more.
https://f11photo.com/wp-content/uploads/sites/13/2023/06/PR-F11Photo-logo.jpg00F-11 Photohttps://f11photo.com/wp-content/uploads/sites/13/2023/06/PR-F11Photo-logo.jpgF-11 Photo2023-12-01 13:05:002024-01-01 22:47:36Locate a Featured Lock Screen Image in Photos
Although we’re cautious about recommending that people upgrade to the latest major release of macOS, we think Apple has done a good enough job with macOS 14 Sonoma that anyone who wants to upgrade can do so now. That doesn’t mean you have to upgrade immediately, but there’s no major reason most people need to delay.
Our confidence comes from our positive experience working with those who have upgraded to Sonoma and the fact that Sonoma has received only three updates so far. None included significant bug fixes:
macOS 14.1 fixed two bugs that could reset the System Services settings within Location Services and prevent encrypted external drives from mounting.
macOS 14.1.1 came with generic release notes, but the community discovered that it fixed a bug introduced in 14.1 that affected Photoshop and another that could prevent a new M3 24-inch iMac that shipped with macOS 13 Ventura from upgrading to Sonoma.
macOS 14.1.2 focused on fixing two WebKit-related security vulnerabilities that were exploited in iOS.
Apple will likely release another update before the end of the year, probably macOS 14.2, with some promised features, a few more bug fixes, and the usual handful of security improvements. After that, the company will continue with an update every month or so to address newly discovered bugs and security vulnerabilities.
That said, you can put off the Sonoma upgrade as long as you’re running macOS 12 Monterey or macOS 13 Ventura and are staying current with Apple’s security updates. Earlier macOS versions no longer receive security fixes, rendering them more vulnerable to attack. Possible reasons to continue delaying include:
You’re too busy. The upgrade process will take a few hours, plus some additional time to configure everything properly afterward. When you are ready to upgrade, aim for when a little downtime will be convenient.
You rely on incompatible software. The jump from Monterey or Ventura to Sonoma isn’t a big one, so most modern apps should have been updated by now. But if you’re still running macOS 10.14 Mojave or earlier with 32-bit apps, you’ll lose access to them if you upgrade. There’s nothing new here—32-bit apps stopped working in macOS 10.15 Catalina in 2019. Rather than delaying, consider running Mojave and your 32-bit apps in a virtual machine using VMware Fusion or Parallels Desktop.
You need consistent versions for workflow reasons. We’re unaware of any examples here, but it’s conceivable that a coworker could be stuck on an older version of macOS and older versions of shared productivity apps. If your upgrade would force you to update those apps and introduce compatibility issues when collaborating with that coworker, you may have to wait until your coworker can upgrade as well.
Sonoma won’t transform your experience of using a Mac, but it has new features you might appreciate. The most noticeable is probably desktop widgets that provide updated information at a glance—you can even add widgets from your iPhone. Sonoma also lets you turn websites in Safari into standalone apps, enjoy aerial screensavers from the Apple TV, create a video overlay of yourself on video calls when sharing your screen, autofill PDF forms, and use the keyboard while dictating.
Before You Upgrade
Once you’ve decided to upgrade to Sonoma, you have three main tasks:
Update apps: Make sure all your apps are as up-to-date as possible. If you regularly put off updates, now’s the time to let them complete so you have Sonoma-compatible versions.
Clear space: Sonoma may need as much as 25 GB of free space to upgrade, and the Sonoma installer itself is about 12 GB, so we recommend making sure you have at least 37 GB free. Don’t cut this close—you should always have at least 10–20% free space for virtual memory, cache files, and breathing room. Check in Ventura by choosing System Settings > General > Storage; in earlier versions of macOS, choose About This Mac from the Apple menu and click Storage. System Settings provides quick ways to free up space. Another easy one for iCloud Drive users is to Control-click large folders and choose Remove Download to “evict” the local versions of those files temporarily; Box, Dropbox, and Google Drive have similar features.
Make a backup: Never, ever install an update to macOS without ensuring you have at least one current backup first. In an ideal world, you’d have an updated Time Machine backup, a duplicate, and an Internet backup. That way, if something goes wrong, you can quickly revert.
Upgrading
After completing those tasks, ensure you won’t need your Mac for a few hours. There’s no telling exactly how long the upgrade will take, so never start an upgrade if you need the Mac soon.
Initiating the upgrade is just a matter of opening System Settings > General > Software Update in Ventura (System Preferences > Software Update in previous versions of macOS), clicking the Upgrade Now button, and following the instructions. If you’d like more handholding, check out Joe Kissell’s ebook Take Control of Sonoma.
After You Upgrade
Part of the reason to set aside plenty of time for your Sonoma upgrade is that there are usually cleanup tasks afterward. We can’t predict precisely what you’ll run into, depending on what version of macOS you’re running now and what apps you use, but here are a few situations we’ve noticed in the past:
macOS may need to update its authentication situation by asking for your Apple ID password, your Mac’s password, and if you have another Mac, its password as well. Don’t worry that your Mac has been compromised by malware—it’s fine.
Some apps may have to ask for various permissions even though you previously granted them. Again, that’s fine and won’t happen again.
If you use your Apple Watch to unlock your Mac and apps (and you should, it’s great!), you may need to re-enable that in System Settings > Touch ID & Password (or Login Password on a non-Touch ID-enabled Mac (previously, it was in System Preferences > Security & Privacy > General).
If you use Gmail, Google Calendar, or other Google services, you may need to log in to your Google account again.
Websites that usually remember your login state may require that you log in again. If you’re using a password manager like 1Password, that’s easy.
You may have to re-enable text message forwarding to your Mac. You do this on your iPhone in Settings > Messages > Text Message Forwarding.
With all that housekeeping done, it’s time to check out all the new features in Sonoma!
(Featured image by Apple)
Social Media: When should you upgrade to macOS 14 Sonoma? There’s no need to install it today, but we think it’s now safe for those who want to take advantage of the new features and integration with Apple’s other operating systems.
https://f11photo.com/wp-content/uploads/sites/13/2023/06/PR-F11Photo-logo.jpg00F-11 Photohttps://f11photo.com/wp-content/uploads/sites/13/2023/06/PR-F11Photo-logo.jpgF-11 Photo2023-12-01 13:04:002024-12-10 11:06:38Feel Free to Upgrade to macOS 14 Sonoma When You’re Ready
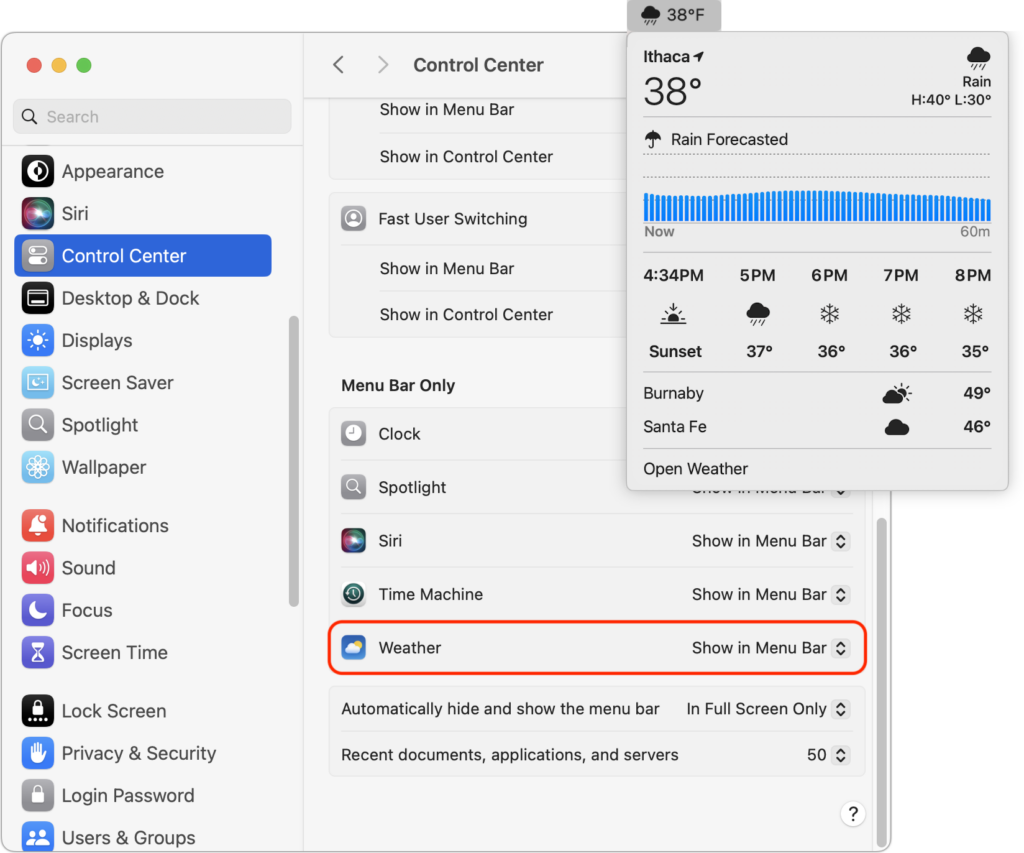
With macOS 13 Ventura, Apple brought Control Center from iOS to the Mac, providing a unified interface for features that users need to turn on and off regularly or that receive frequent adjustments, like screen brightness and audio volume. Clicking the Control Center icon in the menu bar brings it up, but it’s a small, hard-to-hit target. For faster and easier access to Control Center from within any app, press fn-C. (All current Apple keyboards have an fn key, but if you’re using a third-party keyboard that lacks one, you’re out of luck.)
(Featured image by Adam Engst)
Social Media: Control Center brings together controls for a collection of core macOS features, but its menu bar icon is small, making it hard for some to click. Luckily, there’s a hidden shortcut to bring it up quickly from the keyboard.
https://f11photo.com/wp-content/uploads/sites/13/2023/06/PR-F11Photo-logo.jpg00F-11 Photohttps://f11photo.com/wp-content/uploads/sites/13/2023/06/PR-F11Photo-logo.jpgF-11 Photo2023-11-01 14:08:002023-11-30 16:12:03Open the Mac’s Control Center with This Obscure Keyboard Shortcut
It’s easy to get caught up in what you’re doing and miss an alert for a Zoom meeting or a reminder to leave for an appointment. The Mac app In Your Face ensures that will never happen again by taking over the entire screen for notifications and requiring that you click a button to dismiss or snooze it. It can also play sounds repeatedly, lets you pick which calendars and reminder lists to use, gives you single-click access to videoconference links in events, and shows ongoing and upcoming events in the menu bar. In Your Face costs $1.99 per month or $19.99 per year, or it’s available in the $9.99 per month Setapp bundle of over 230 Mac apps.
(Featured image by Blue Banana Software)
Social Media: Are you often late to online meetings or in-person appointments because you were too focused on your work to notice the time? The In Your Face app ensures you’ll never miss an important meeting again.
https://f11photo.com/wp-content/uploads/sites/13/2023/06/PR-F11Photo-logo.jpg00F-11 Photohttps://f11photo.com/wp-content/uploads/sites/13/2023/06/PR-F11Photo-logo.jpgF-11 Photo2023-11-01 14:07:002023-11-30 16:12:07In Your Face App Guarantees That You Notice Appointment Alerts
If you use Siri, particularly on a HomePod, you’re probably accustomed to saying “Hey Siri” as the trigger phrase before your requests. In Apple’s new operating systems for 2023, you can now choose to invoke Siri using the traditional “Hey Siri” or just “Siri” (at least in Australia, Canada, the UK, and the US). You might appreciate being able to stop saying “Hey” every time, or you might find that using just “Siri” generates incorrect activations. (And if someone in your family’s name sounds like Siri, you may want to turn the feature off entirely!) There are four places to look:
iOS 17 and iPadOS 17: Settings > Siri & Search > Listen For
macOS 14 Sonoma: System Settings > Siri & Spotlight > Listen For
watchOS 10: Watch app > My Watch > Siri > Listen For
HomePod Software 17: Home app > long-press HomePod > Accessory Settings > Listen For “Siri” or “Hey Siri”
(Featured image based on an original by Apple)
Social Media: In Apple’s new operating systems for 2023, you can choose to invoke Siri with just “Siri” or the old “Hey Siri”—or turn the feature off entirely. We explain where to find the feature for each of your Apple devices.
https://f11photo.com/wp-content/uploads/sites/13/2023/06/PR-F11Photo-logo.jpg00F-11 Photohttps://f11photo.com/wp-content/uploads/sites/13/2023/06/PR-F11Photo-logo.jpgF-11 Photo2023-11-01 14:06:002023-11-30 16:12:10The “Hey” Part of “Hey Siri” Is Now Optional
Apple recently released watchOS 10.1, with support for the much-ballyhooed double-tap gesture that selects the primary action in many apps without requiring that you touch the screen! It’s available only on the new Apple Watch Series 9 and Apple Watch Ultra 2, where you activate it by raising your wrist and tapping your thumb and index finger together twice. On the main Apple Watch screen, a double tap opens the Smart Stack of widgets you would otherwise get by turning the Digital Crown, and subsequent double taps advance through the widgets. A double tap also activates the primary action in many apps, such as answering and ending phone calls, playing and pausing media, viewing and scrolling through messages, ending timers, stopping and resuming the stopwatch, snoozing an alarm, responding to reminders from the Workout app, and performing the primary action from notifications. Whenever you double tap, you’ll see this icon at the top of the screen. If you have a supported Apple Watch model, give it a try!
(Featured image by Adam Engst, article image by Apple)
Social Media: Apple’s promised double-tap gesture is now available in watchOS 10.1 for those with an Apple Watch Series 9 or Apple Watch Ultra 2. Give it a try to perform the primary action in a watchOS app without touching the screen.
https://f11photo.com/wp-content/uploads/sites/13/2023/06/PR-F11Photo-logo.jpg00F-11 Photohttps://f11photo.com/wp-content/uploads/sites/13/2023/06/PR-F11Photo-logo.jpgF-11 Photo2023-11-01 14:05:002023-11-30 16:12:13watchOS 10.1 Brings Double Tap to the Apple Watch Series 9 and Apple Watch Ultra 2
We’ve all had a friend or family member say, “Text me when you get home,” because they want the peace of mind from knowing you arrived safely. But what if something goes wrong—or you forget—so they never receive that text? They’ll be worried and won’t know where you are, if you’re OK, and so on.
In iOS 17, Apple has introduced the Check In feature to provide peace of mind—or in the worst case, to help emergency services. It’s conceptually simple. Before you leave to go somewhere, you create a Check In with someone—call them a safety partner—in Messages. You specify where you’re going and whether you’re driving, taking transit, or walking. Then, when you arrive, the Check In automatically ends, alerting your safety partner that you arrived. If you’re delayed en route, Check In takes that into account and extends the expected arrival time appropriately. If you fail to arrive, Check In shares your location and route with your safety partner. Also, if you make an Emergency SOS call or your iPhone or Apple Watch calls emergency services automatically during the Check In, it notifies your safety partner.
Not all situations revolve around following a specific route to a location, so Check In also supports timers. Perhaps a college student is going for an hour-long trail run and wants a friend to check on her if she’s not back as expected. She can use Check In to set a timer for 1 hour, share it with her friend, and when the timer ends, either tap the End button if she’s back or add more time if the run is going fine but taking longer than expected.
Although Check In may seem targeted at friends and family, it could have business uses as well. For instance, a destination Check In might work well for keeping tabs on a colleague traveling to a make-or-break pitch presentation.
Before you start using Check In with someone—in either direction—explain Check In to them and discuss an appropriate response if you or they fail to end Check In successfully. Responses should probably start with a quick text, followed by a phone call. If initial efforts to reach out are met with silence, contacting other people—friends, family members, neighbors, etc.—may be appropriate. At some point, depending on various factors, it will be time to call law enforcement. Of course, if the other person triggers an Emergency SOS during the Check In, call law enforcement immediately. At least in the US, if the person isn’t in your area, don’t call 911. Instead, find the law enforcement website for where the person is and call that organization’s 10-digit number. And here’s hoping it never comes to that!
Create a Check In
To get started with Check In, follow these steps:
In Messages, open a conversation with the person you want to be your safety partner (Check In doesn’t currently work with group conversations).
Tap the ⊕ button to the left of the message field, tap More at the bottom, and tap Check In.
The first time you invoke Check In, Messages walks you through a series of explanatory screens, one of which is important—the privacy level of the data shared with your safety partner if you don’t arrive. Select Full—we can see almost no reason why you wouldn’t want that person to be able to share your exact location and route with emergency services if something has gone wrong. (If necessary, tweak this setting later in Settings > Messages > Data.)
On subsequent uses of Check In, an unsent card appears in the Messages conversation, usually set for an hour in the future. The card isn’t sent automatically so you can customize it before sending it.
Tap the Edit button to adjust the timer or destination.
To change the timer duration, use the time picker and tap Done. Skip to the last step in this list.
To set a destination instead of a timer, tap “When I arrive” at the top of the screen.
Tap the Change button, and in the map, either search for a location or find one manually by pinching and zooming—touch and hold the map to drop a destination pin. At the bottom of the screen, select Small, Medium, or Large to set the size of the area in which you’ll arrive.
Tap Done to close the map and then select Driving, Transit, or Walking so Check In can estimate your arrival time based on your method of transportation.
If you want additional buffer time, tap Add Time and give yourself 15, 30, or 60 minutes beyond when Check In thinks you’ll arrive. This shouldn’t usually be necessary.
Tap Done.
Once you’re back to the Check In card in the Messages conversation, tap the Send button to start the Check In.
Note that safety partners can’t reject Check In cards.
End a Check In
Once you trigger a Check In, it can end in a few ways. First, you can cancel it before the timer completes or you arrive at your destination. Second, it can end successfully when you tap End when the timer finishes or when you arrive at your specified location. Third and finally, there’s the core purpose of the Check In, which is to alert your safety partner if you fail to respond to a timer or arrive where and when you said you would.
Cancel: To cancel a Check In, tap the Details button on the Check In card in Messages, tap Cancel Check In, and agree that you don’t want your safety partner notified. Timer and destination Check Ins look slightly different but act the same way. Your safety partner will only see that the Check In card in Messages says it has ended.
End successfully: For a timer Check In to end successfully, you must respond when the iPhone prompts you (below left). All your safety partner sees when that happens is a note in the Check In card that the timer ended (below right). You don’t need to interact with your iPhone for a destination Check In to end successfully—just arrive at the specified location. The safety partner’s Check In card updates to say that you arrived.
Check In fails to end (initiator): If you don’t arrive at your destination or fail to tap End when prompted, Check In gives you the option of adding time (below left) but after 15 minutes, tells you that it has alerted your safety partner (below center and right).
Check In fails to end (safety partner): More interesting is what your safety partner sees if you fail to complete a Check In. They’ll be alerted and can tap Details to see your location, when your devices were last unlocked, and more. They then have to figure out the best way to respond given your setup conversation.
It can take some practice to become fluid with Check In, so it’s worth testing it in everyday situations before using it when it might really matter. Once you use it a few times, you may notice Siri Suggestions offering to start it for you, making it even easier to initiate regularly. We hope you find that it provides some peace of mind and, in the worst-case scenario, helps someone in need of emergency services.
(Featured image by iStock.com/PeopleImages)
Social Media: The new Check In feature of iOS 17 can provide peace of mind by letting you specify a safety partner who will automatically be notified if you fail to arrive at your destination or complete a timer.
https://f11photo.com/wp-content/uploads/sites/13/2023/06/PR-F11Photo-logo.jpg00F-11 Photohttps://f11photo.com/wp-content/uploads/sites/13/2023/06/PR-F11Photo-logo.jpgF-11 Photo2023-11-01 14:04:002023-11-30 16:12:18Use iOS 17’s Check In Feature to Reduce Worry