September is here, which means that Apple will soon start releasing major upgrades for all its operating systems. Note that we say “start.” Apple will release iOS 16 and watchOS 9 alongside new iPhones and Apple Watch models in September. However, Apple has now acknowledged that iPadOS 16 will ship later in the fall—perhaps in October—as version 16.1, likely in conjunction with iOS 16.1 and possibly alongside macOS 13 Ventura. tvOS 16 isn’t interesting enough to worry about much either way.
Apple previewed these releases at its Worldwide Developers Conference in June, and many people have been testing the public betas since. Once Apple judges each of its operating systems to be ready for public consumption, the question arises—when should you upgrade?
Note that we say when and not if. There’s no harm in delaying a major operating system upgrade until Apple has sanded off rough edges that slipped through testing. But waiting too long puts you at risk from security vulnerabilities, increases compatibility annoyances, and prevents you from taking advantage of new features. Plus, when you buy a new Mac, iPhone, or iPad after these operating systems have shipped, you’ll get the latest version, which could pose problems for your existing apps or compatibility with older hardware or workflows. It’s best to be prepared if you have to replace a device unexpectedly.
Given that we don’t know precisely when each operating system will come out, here’s our recommendation for the general upgrade order that we anticipate and how long we suggest waiting after the release appears. Remember, always make a backup before upgrading a Mac, iPhone, or iPad so you can revert if necessary.
iOS 16
It’s usually safe to upgrade iOS fairly quickly because Apple puts significant effort into ensuring that the new iOS version is a good experience for those who buy the new iPhones that come with it. However, because iPhones are so crucial to our everyday lives, it’s worth delaying the upgrade to iOS 16 for a few weeks, just in case. After that, you can install it and enjoy the new features.
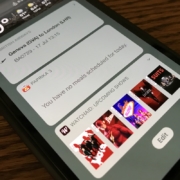
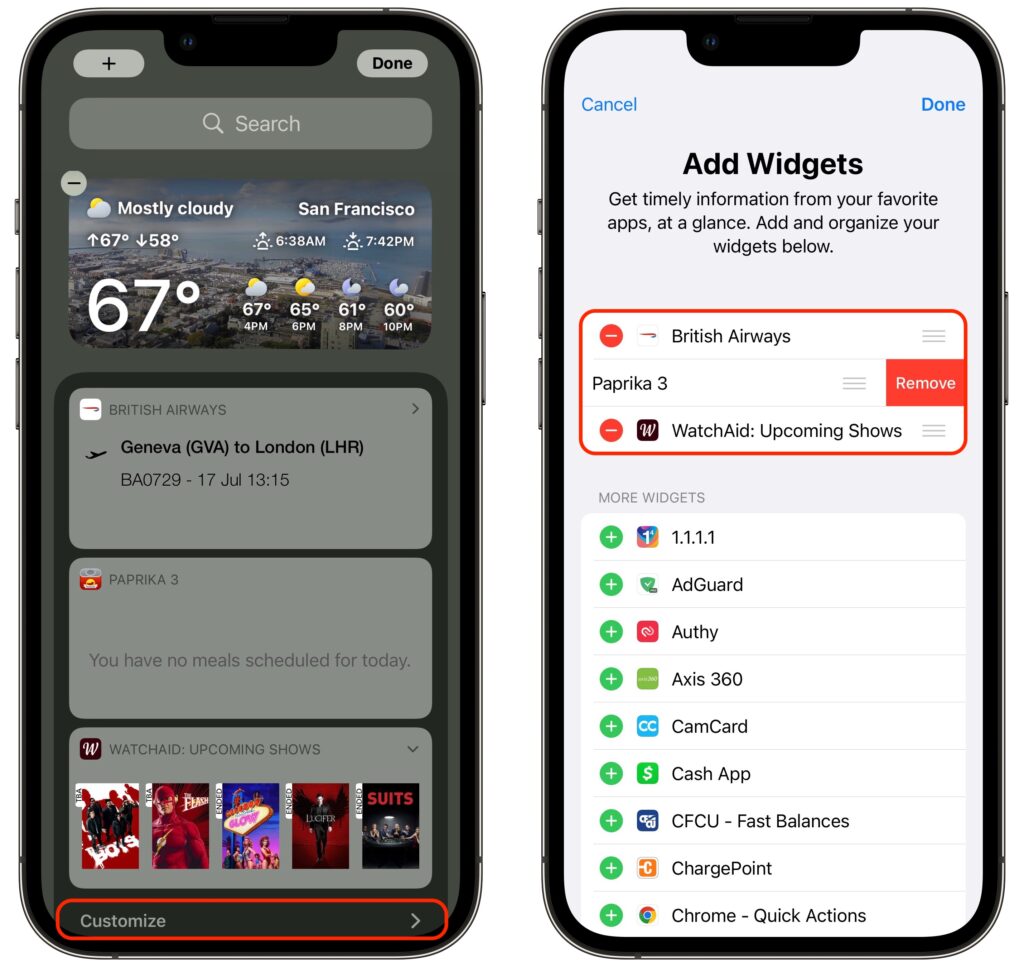
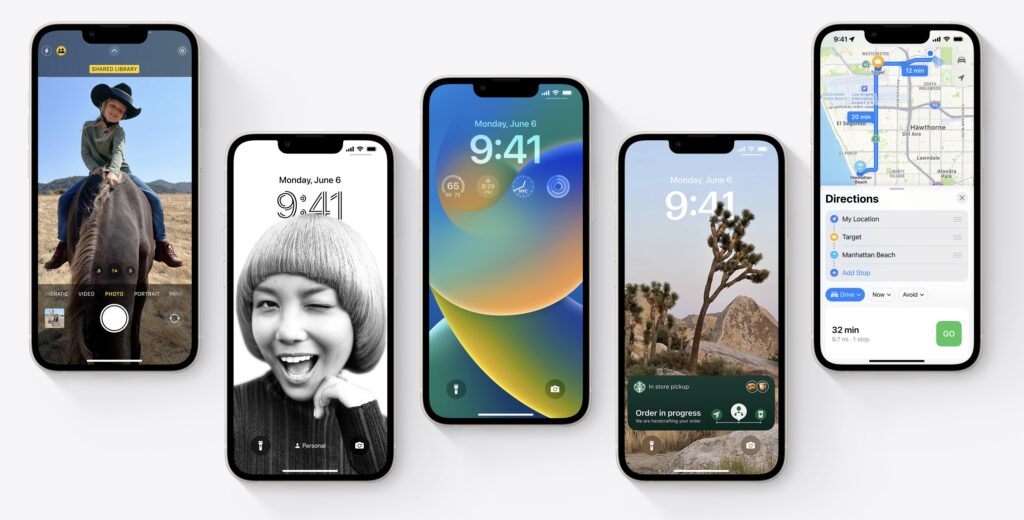
You’ll likely enjoy iOS 16’s customizable Lock screen, which lets you specify the font, color, and placement of various options, all of which appear with photos that can shuffle throughout the day. Widgets can now appear on the Lock screen too, providing at-a-glance weather and other info even without unlocking your iPhone. The new dictation capabilities that let you talk, select, and type without switching modes may also be game-changing for some, and dictation will even add punctuation automatically and let you enter emojis with voice commands.

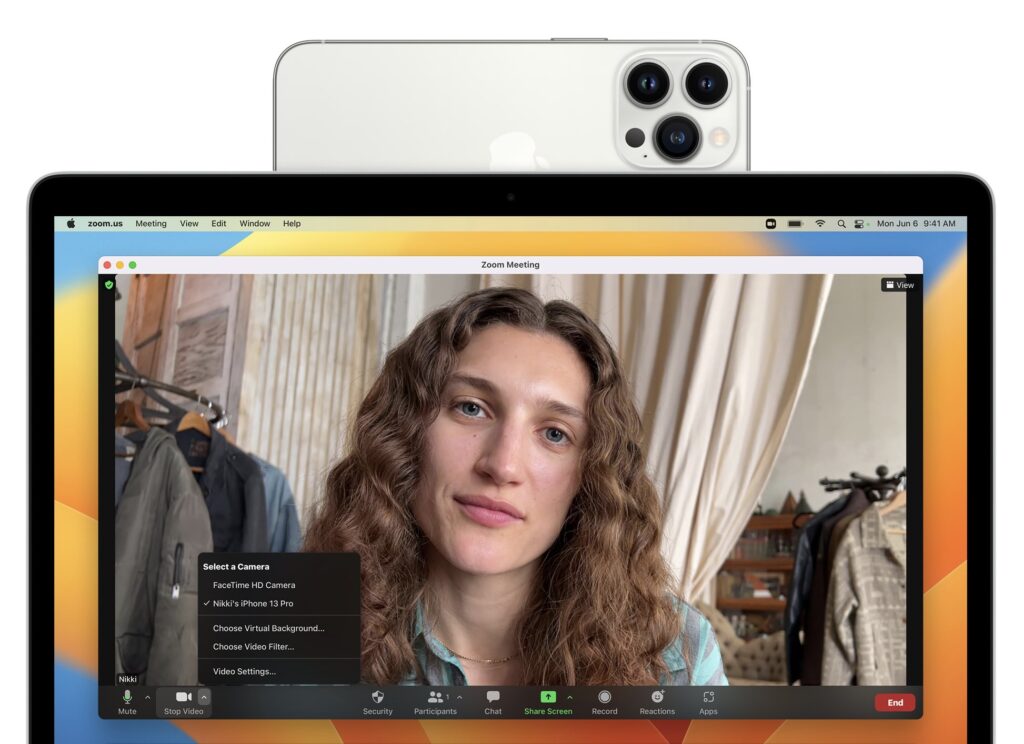
However, some features may not be fully available at the start due to Apple’s tight integration of operating systems. Messages will finally let you edit messages after sending, undo sending, and mark messages as unread—but editing and unsending won’t work for messages sent to people running anything earlier than iOS 16, iPadOS 16, and Ventura. We’re unsure if Apple will enable iCloud Shared Photo Library, which lets you automatically share an entire library of photos with family members or friends, until iPadOS 16 and Ventura are out as well. Similarly, the Continuity Camera feature of iOS 16, which lets you use your iPhone as a webcam for your Mac’s videoconferencing apps, won’t be available until Ventura ships.
watchOS 9
Once you upgrade your iPhone to iOS 16, there’s no reason to delay upgrading your Apple Watch to watchOS 9. You may not even notice the difference since none of the changes are likely to force changes in your usage patterns.
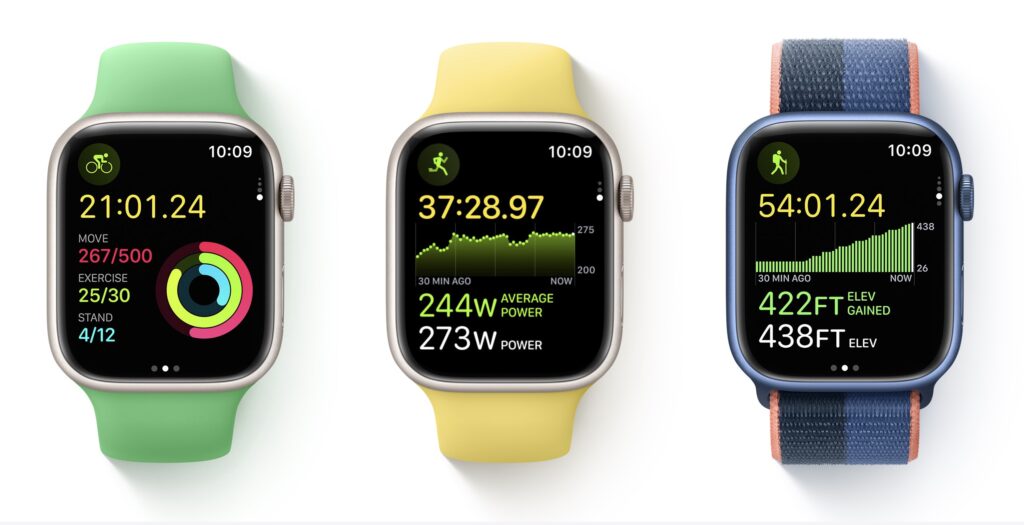
New features include new views and more metrics in the Workout app, including a display of heart rate zones and pace feedback. You can customize workout and recovery intervals, race against previous routes, get running form metrics, and see your running power. Also new is a Medications app that helps you remember to take medications and log them from reminders. And, of course, there are more watch faces.
tvOS 16
We don’t know when Apple will release tvOS 16, but the changes are so minimal that it doesn’t matter much. tvOS 16 will support more Bluetooth gaming controllers, provide full support of the Matter smart home standard, and offer more integration with your other Apple devices, such as with workouts in Apple Fitness+.
Unless something in that list encourages you to upgrade as soon as it’s out, we suggest letting your Apple TV (the fourth-generation model and later) upgrade itself when it gets around to it, assuming you have automatic updates turned on in Settings > Software Updates.
iPadOS 16
iPadOS 16 may not be available until October, but once it ships, our general advice is that it’s fine to update. For the most part, iPadOS is a superset of iOS, so if anything, Apple should have had some time to fix any early bugs that cropped up in iOS 16 before releasing iPadOS 16.
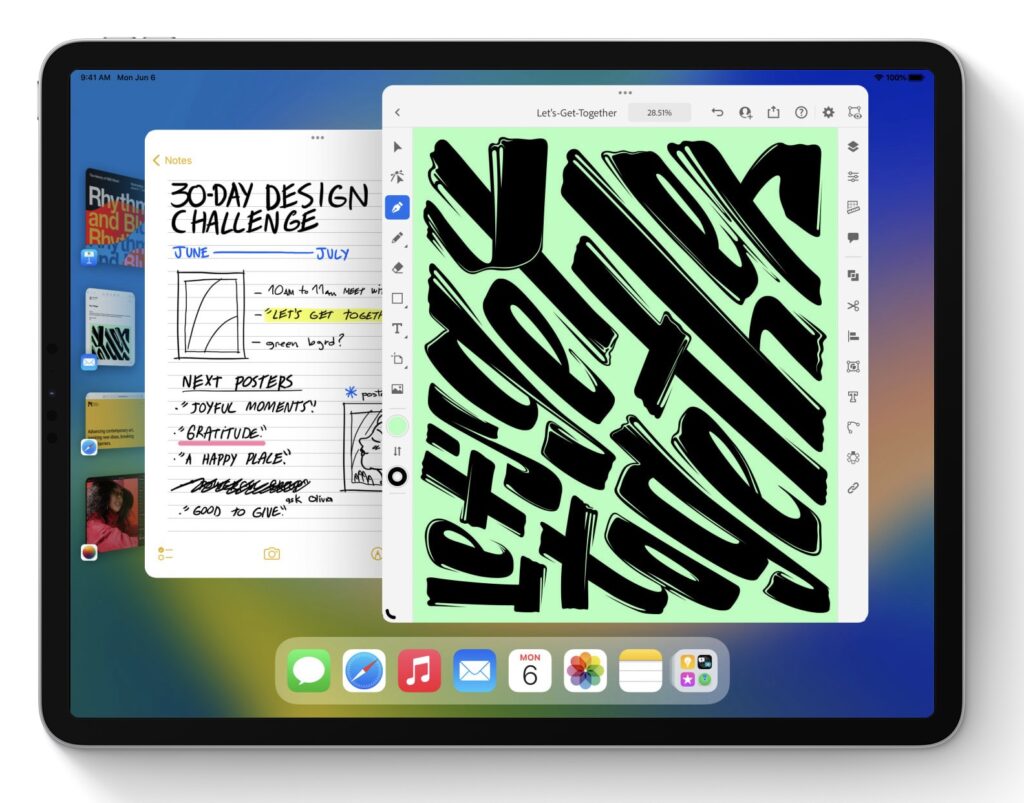
The big new feature in iPadOS 16—if you have an M1-equipped iPad like the latest iPad Air or iPad Pro—is Stage Manager, which brings a structured windowing system to the iPad and Mac. Stage Manager lets you stack up to four apps in an overlapping view, providing additional sets of apps off to the side in a sort of secondary Dock. If you connect your iPad to an external display (along with a keyboard and pointing device), it offers another separate workspace, so you can work more fluidly in multiple apps at once.
If you want to see more on screen, a new display scaling mode shrinks interface elements and content. It may make Stage Manager and Split View more helpful. You’ll also likely enjoy a better search in Mail, plus options to undo sending, schedule sending, follow up on sent messages, and add rich links. (These Mail features are shared with iOS 16 and Ventura.) Last but not least, the iPad finally gets its own Weather app.
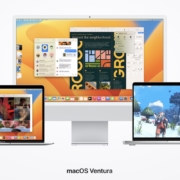
macOS 13 Ventura
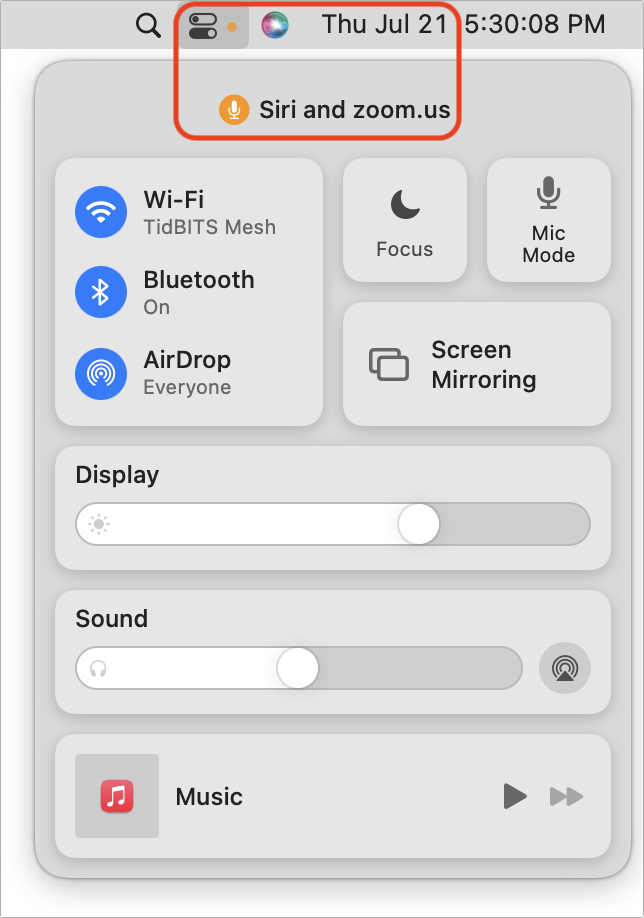
The hardest upgrade decision revolves around upgrading your Mac to macOS 13 Ventura, and that assumes you can upgrade at all, given that Apple has dropped support for all Macs released before 2017. The main new feature that you might find compelling is Stage Manager, although most longtime Mac users probably already feel comfortable with their window management skills. If you spend a lot of time in video calls, the new Continuity Camera feature that lets you use your iPhone (running iOS 16, natch) as a high-quality webcam with support for Center Stage—which enables the camera to follow you as you move around—may also be attractive. And, of course, you’ll get the new Messages, Mail, and iCloud Shared Photo Library features that Apple added to iOS 16 and iPadOS 16.
We always encourage caution when upgrading to a new version of macOS. Wait at least a few months before upgrading your primary Mac to Ventura. App compatibility isn’t usually a long-term problem with iOS and iPadOS, but many people rely on older Mac apps that may not work in the latest version of macOS. Even once you’re confident that your apps will work properly in Ventura, there may be workflow or intra-office compatibility concerns if some people upgrade and others don’t. And, of course, unanticipated bugs could crop up at inconvenient times—important work takes place on Macs! Please, do not upgrade to Ventura without checking with us first. With luck, the start of the new year will have brought both the bug fixes and app updates necessary to give the green light.
(Featured image by Apple)
Social Media: Apple is gearing up to release macOS 13 Ventura, iOS 16, iPadOS 16, watchOS 9, and tvOS 16. We take a brief look at the features worth upgrading for and suggest when to upgrade each of your Apple devices.