Posts

watchOS 9’s New Low Power Mode Could Help Older Apple Watches

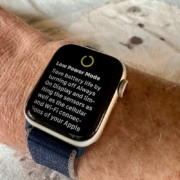
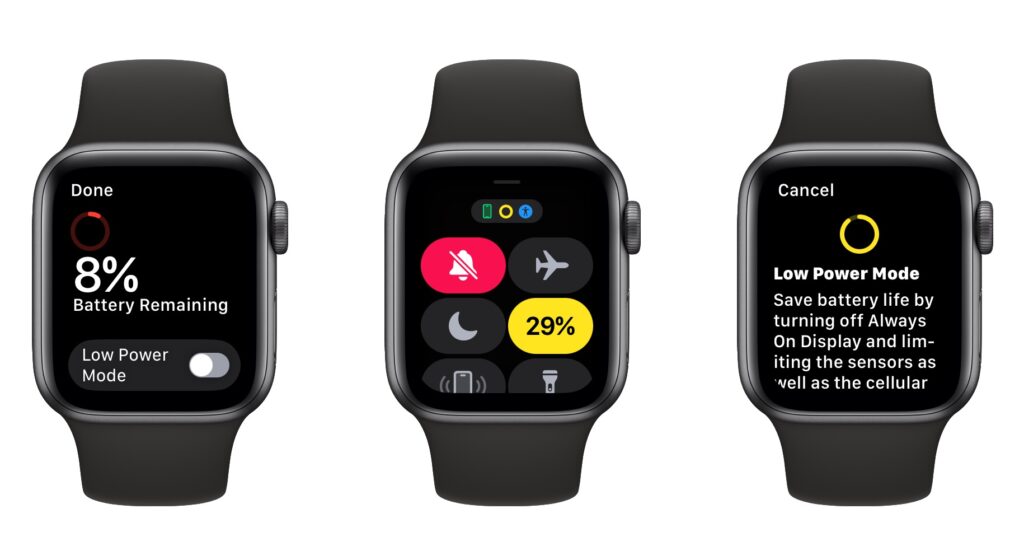
Until watchOS 9, Low Power Mode on the Apple Watch turned the smartwatch into a dumb watch that only told the time. With watchOS 9 on an Apple Watch Series 4 or later, however, a new Low Power Mode reduces the watch’s capabilities while keeping it largely functional. It turns off the Always-On display, heart rate notifications, background heart rate and blood oxygen measurements, and the automatic start workout reminder. When your iPhone isn’t nearby, it disables Wi-Fi and cellular connections and incoming phone calls and notifications. Other features will be slower: making a phone call, refreshing background apps and complications, Siri requests, and some interface interactions. (You can still use the Workout app in Low Power Mode and record metrics like heart rate and pace. Go to Settings > Workout on the Apple Watch to turn Low Power Mode on automatically whenever you start a workout.) watchOS 9 prompts you to turn on Low Power Mode when your battery drops to 10%, or you can enable it manually by swiping up from the bottom of the screen to open Control Center, tapping the battery percentage button, and enabling the option.

(Featured image by Adam Engst)

Find Apple Watch Apps Faster in List View

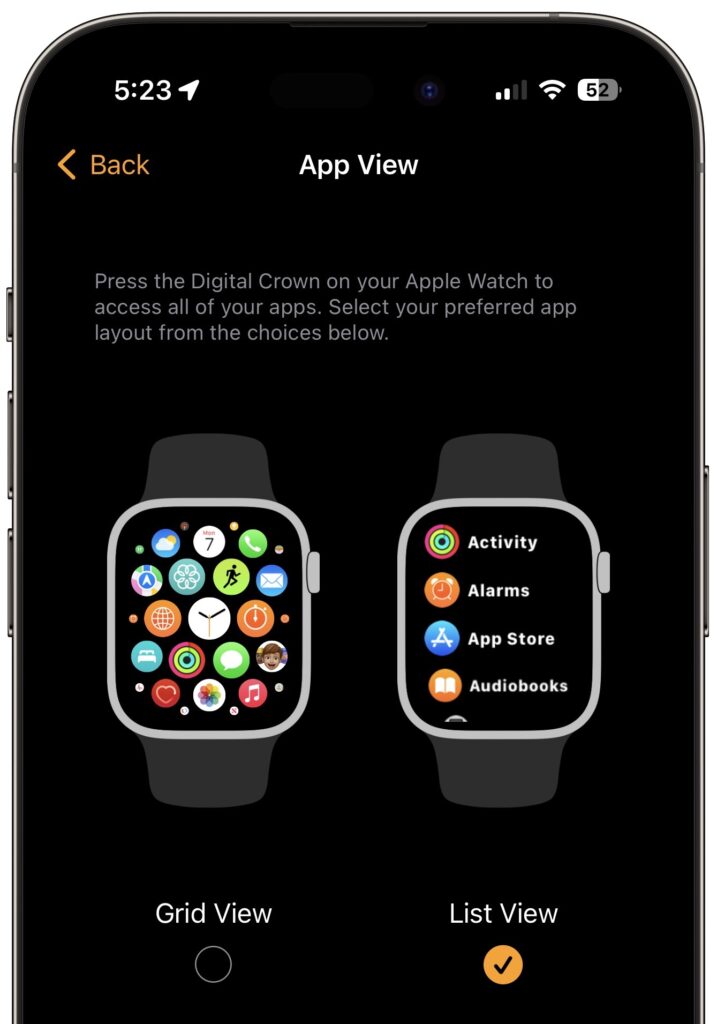
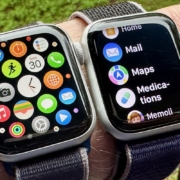
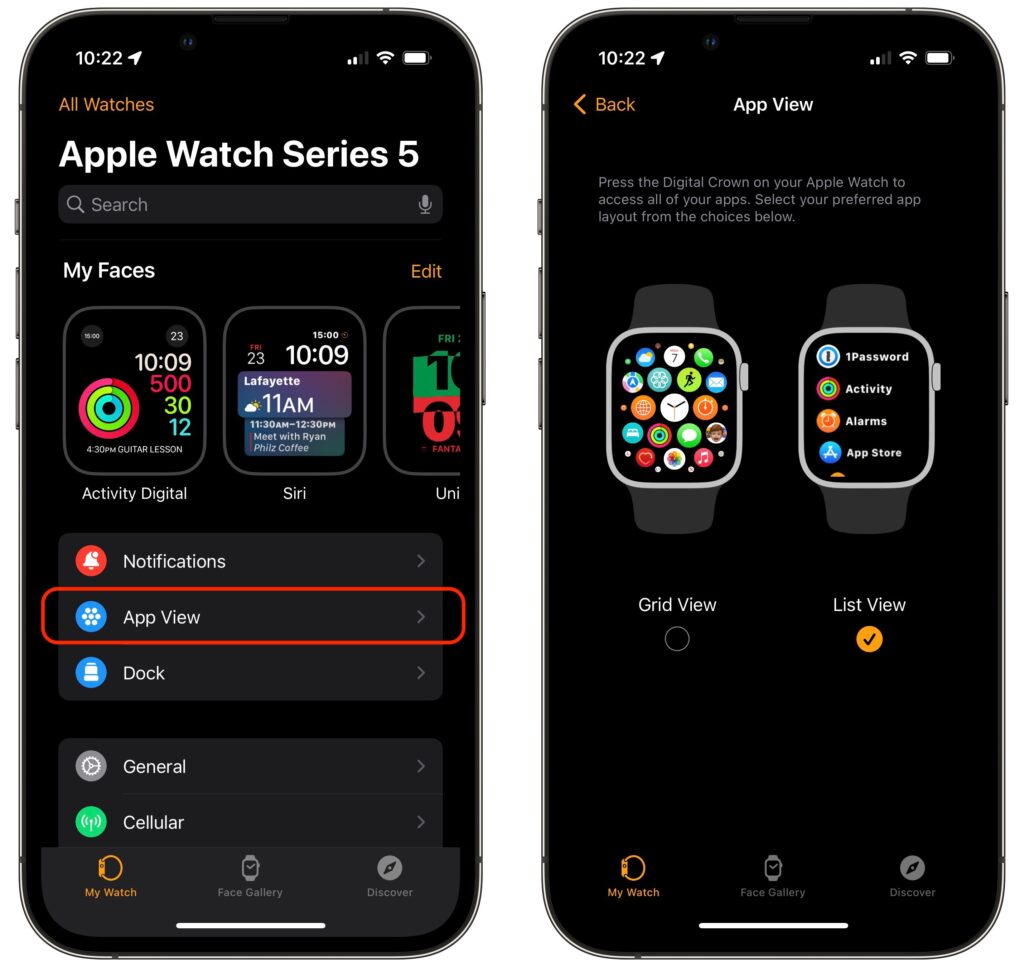
Every so often, we encounter someone struggling to find and launch an app on their Apple Watch because they have trouble seeing and interacting with the icon-centric grid view layout. If you’re in that camp, there’s a better way. In the iPhone’s Watch app, tap My Watch at the bottom, and then tap App View. Then select List View, which provides an alphabetically sorted, scrolling list of all your apps. From then on, it’s easy to press the Digital Crown to show the apps, turn it to scroll, and tap an app to launch it.

(Featured image by iStock.com/raditya)

Did You Know That Siri on a HomePod Can Control Alarms on Other Devices?

Siri has plenty of tricks up its sleeve, and we’ve just discovered a new one. Let’s say you set iPhone alarms to wake up and remind you to take medication throughout the day. However, if you don’t have your iPhone handy when those alarms go off, it can be annoying (for both you and others) to find your phone and stop or snooze the alarm. If you have a HomePod, it turns out that you (or someone else) can say, “Hey Siri, snooze the alarm” or “Hey Siri, stop the alarm.” Siri usually asks for confirmation—just reply with “Yes”—and sometimes tells you to continue on the iPhone, but it can be easier than finding the iPhone and stopping the alarm. (And yes, if you’re wearing an Apple Watch, you can stop the alarm from it as well. It’s also possible to set alarms on a HomePod directly, though they’re useful only if you’re guaranteed to be home when they go off.)

(Featured image by iStock.com/Antonio_Diaz)

With Apple Watch Faces, Too Much Choice Can Be Confusing

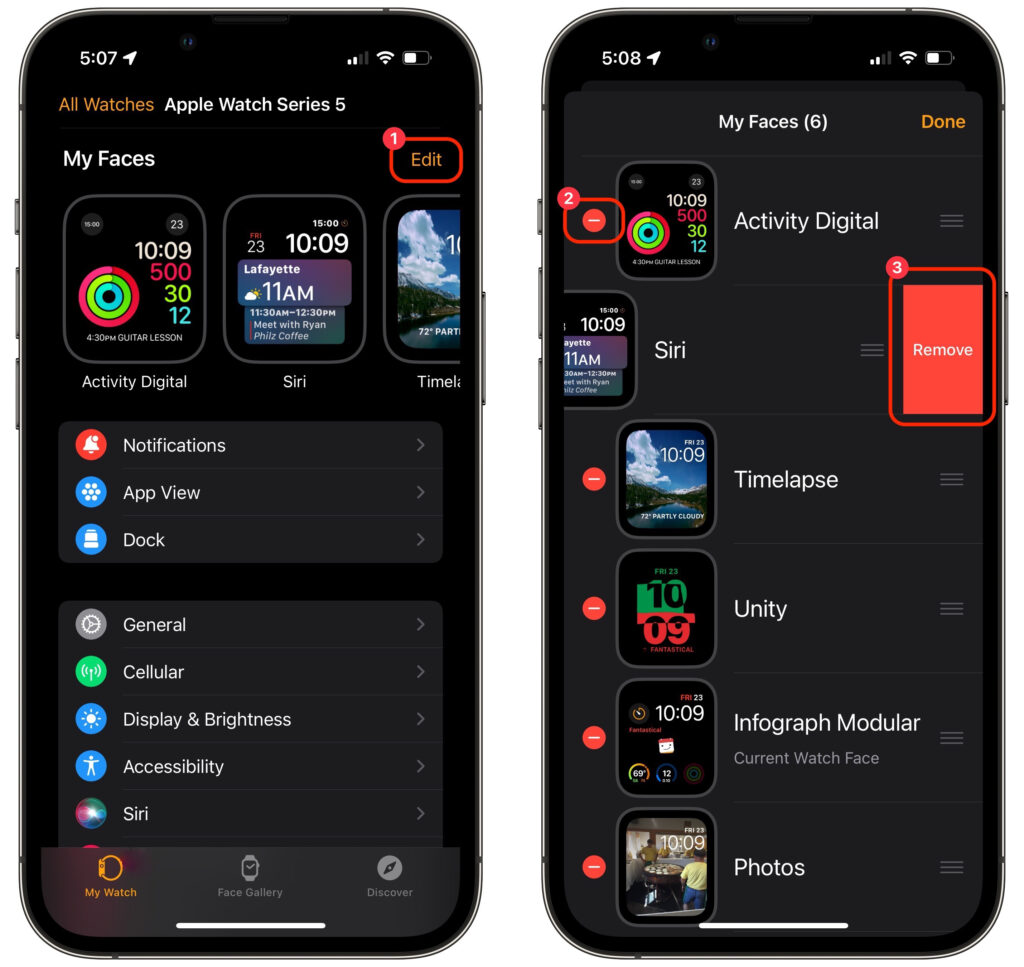
The Apple Watch has a lot to offer older people, including heart rate monitoring, atrial fibrillation detection, fall detection, and electrocardiogram recording. But if you are—or are helping someone who is—of the generation where watches once did nothing beyond telling the time, too many options can be overwhelming. Adding to the confusion is how easy it is to create and accidentally swipe between multiple watch faces, making it so the Apple Watch suddenly looks and works completely differently. If that’s an issue, use the Watch app to delete all but the preferred watch face. In Watch > My Watch, tap Edit to the right of My Faces ➊, tap the red delete button next to a face ➋, and then tap Remove ➌.

(Featured image by Adam Engst)

Nightstand Mode Makes Your Apple Watch a Helpful Bedroom Companion

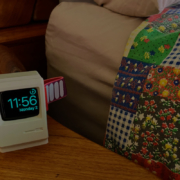
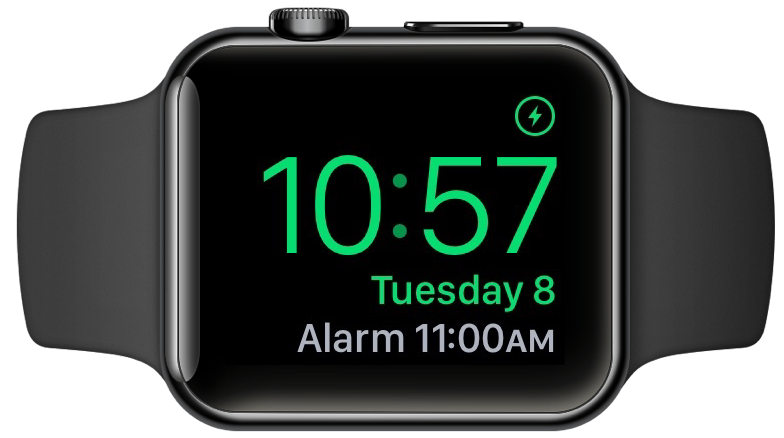
Most Apple Watch users charge their watch every night, putting it on a charger as part of a bedtime routine. If that’s you, make sure you’re not missing one of the Apple Watch’s best features: nightstand mode. When you enable it in the iPhone’s Watch app, in General > Nightstand Mode, a charging Apple Watch displays the charging status, current time and date (in a large, easily readable font), and the time of any alarm you’ve set. It uses a green color that won’t shock your eyes in the middle of the night, and after a minute, the screen goes completely dark. To see it again, tap the watch or—even better!—the surface it’s on. The screen lights up for 10 seconds before going dark again. (And yes, we love the little classic Mac stand.)

(Featured image by Adam Engst)

Live in the Future by Using Apple Pay on Your Apple Watch

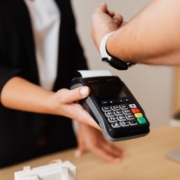
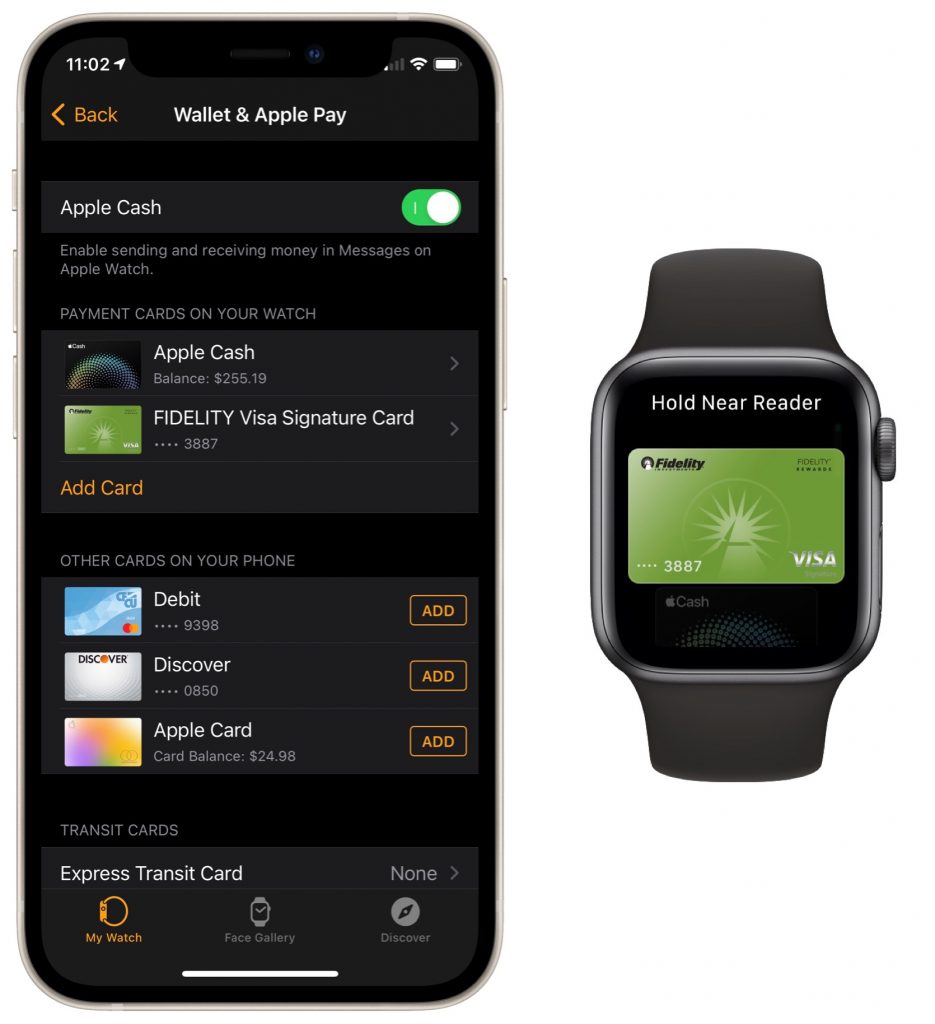
With mask wearing over the past year rendering Face ID ineffective at cash registers, we’ve become fond of using the Apple Watch for contactless payments with Apple Pay. We recommend it highly since it’s so fast and convenient. Once you’ve set up a credit card in the Wallet app on your iPhone, switch to the Watch app, go to My Watch > Wallet & Apple Pay, and tap the Add button next to the desired card. From then on, to pay for a purchase, double-click the Apple Watch’s side button and put it very close to the reader. (We generally turn our arms so we can put the Apple Watch face flat on the reader.) It takes just seconds and tends to wow cashiers who haven’t seen it before.

(Featured image by Karolina Grabowska from Pexels)

Stop Apple Watch Timer Alerts with a Press of the Digital Crown

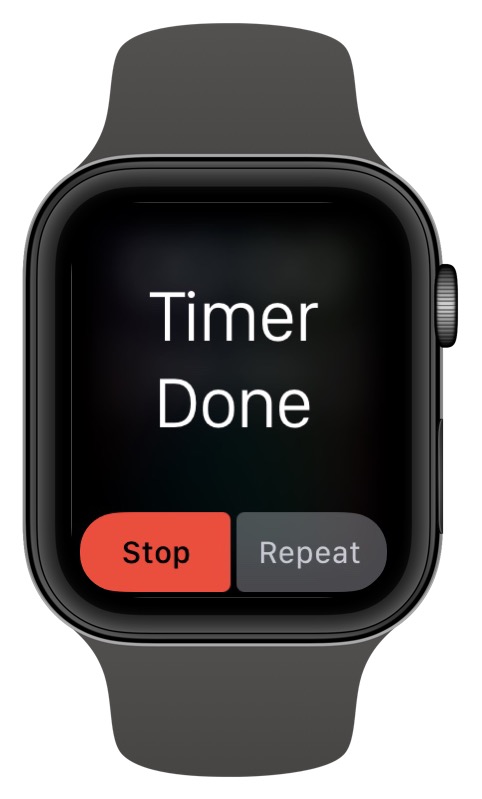
For those who cook, the Apple Watch provides a helpful Timer app that ensures we don’t forget whatever’s in the oven until it’s burnt to a crisp. Setting the timer is easy from the app’s interface, but even easier is using Siri: just hold the Digital Crown and say, “Set a timer for 8 minutes.” When the timer goes off, the watch makes a sound or vibrates and presents you with Stop and Repeat buttons. But often, when a timer goes off, you’re wearing oven mitts or moving quickly, making it hard to look at the watch and tap the Stop button. There’s a no-look alternative you may not have known about—just press the Digital Crown once (if the display is active) or twice (if the display is dimmed) to stop the timer.

(Featured image by Adam Engst)

Use Your Apple Watch to Unlock Your Mac, and Apps in Catalina

If you’ve resisted requiring a password on your Mac after it wakes up or comes out of the screen saver because it’s too much work to enter repeatedly, an Apple Watch can make authentication much easier. In previous versions of macOS, just wearing an unlocked Apple Watch is enough to enter your Mac’s password; in Catalina, the Apple Watch can also enter your password when prompted by apps. First, make sure your Apple Watch has a passcode (in Watch > Passcode), is on your wrist, and is unlocked. Then, in System Preferences > Security & Privacy > General, select “Use your Apple Watch to unlock apps and your Mac.” From then on, most of the time your Mac or an app wants your password, your Apple Watch will provide it automatically. (This feature requires that the Mac dates from mid-2013 or later, that all devices use the same iCloud account, and that the Apple ID uses two-factor authentication instead of two-step verification.)

(Featured image based on an original by Christin Hume on Unsplash)

Is Your Apple Watch Out to Lunch? Check These Settings

Is your Apple Watch failing to turn on its screen when you raise it, display notifications from your iPhone, or even update the time zone? watchOS has four modes accessible from Control Center (swipe up from the bottom of the screen) that are useful but can cause confusion if you forget to turn them off:

  • Silent Mode: In Silent mode, your Apple Watch won’t make any sounds, but will provide haptic feedback you can feel on your wrist.
  • Theater Mode: When in Theater mode, your Apple Watch not only turns on Silent mode, it also keeps the screen dark unless you tap the screen or press a button.
  • Do Not Disturb: As with Theater mode, enabling Do Not Disturb turns on Silent mode and prevents notifications from lighting up the screen.
  • Airplane Mode: Invoking Airplane mode turns off the Apple Watch’s Wi-Fi and Bluetooth radios, and the cellular radio if your watch supports that. Without Wi-Fi and Bluetooth, the watch can’t communicate with your iPhone and will thus miss notifications and time zone changes.

Apple’s New AirPods Add “Hey Siri,” More Talk Time, and Optional Wireless Charging

If you use Apple’s AirPods, you’re probably a fan. But if you haven’t tried them, you may not realize what you’re missing. They pair quickly and reliably with all your Apple devices, provide excellent audio quality, and sit comfortably in most people’s ears (more so than the wired EarPods). The AirPods are Apple’s most popular accessory—the company sold 35 million in 2018.

Apple has now unveiled the second-generation AirPods, the first hardware update since their initial release in December 2016. A new Apple-designed H1 chip designed for headphones provides faster connections, more talk time (up to 3 hours), and the convenience invoking Siri with “Hey Siri.” (With the first-generation AirPods, you can configure a double-tap to bring up Siri—when the AirPods are active, look in Settings > Bluetooth > AirPods.)

The new AirPods still cost $159 with a standard Lightning-based charging case, but Apple has also introduced the Wireless Charging Case, which is bundled with the new AirPods for $199 or available separately for both the first- and second-generation AirPods for $79. The Wireless Charging Case works with any Qi-compatible charging mat. It features a tiny LED indicator light on the front of the case to show the case’s charge status, and if you buy from Apple online, you can now get 19 characters of personalized engraving on the front of the case.


Social Media: Apple just released the second-generation AirPods with faster connections, more talk time, “Hey Siri,” and an optional Wireless Charging Case. The AirPods were great before, and now they’re better than ever. Details at: