Apple’s September crop has ripened, and the company has once again picked a basket of new and updated hardware for us. At its Far Out event on September 7th, Apple unveiled four iPhone 14 models, three new or updated Apple Watch models, and the second-generation AirPods Pro.
After the announcement, Apple said that iOS 16 and watchOS 9 would become available on September 12th, with iPadOS 16.1 and macOS 13 Ventura to arrive in October. As we’ve said before, wait a week or two before installing iOS 16 and watchOS 9 on essential devices to avoid any last-minute bugs. Regardless of when you upgrade, make a backup right before, in case something goes wrong and you need to erase and restore.
Let’s look at each of the new products.
iPhone 14 Models Show Both Evolution and Innovation
With the new iPhones, Apple made a clean split between the regular and Pro models. On the lower end, Apple has the 6.1-inch iPhone 14 and the 6.7-inch iPhone 14 Plus—there is no iPhone 14 mini. On the high end, Apple pulled out all the stops for the iPhone 14 Pro and iPhone 14 Pro Max, again in those 6.1-inch and 6.7-inch sizes. Design-wise, the models are extremely similar to the iPhone 13, with squared-off sides and only very slight size changes.
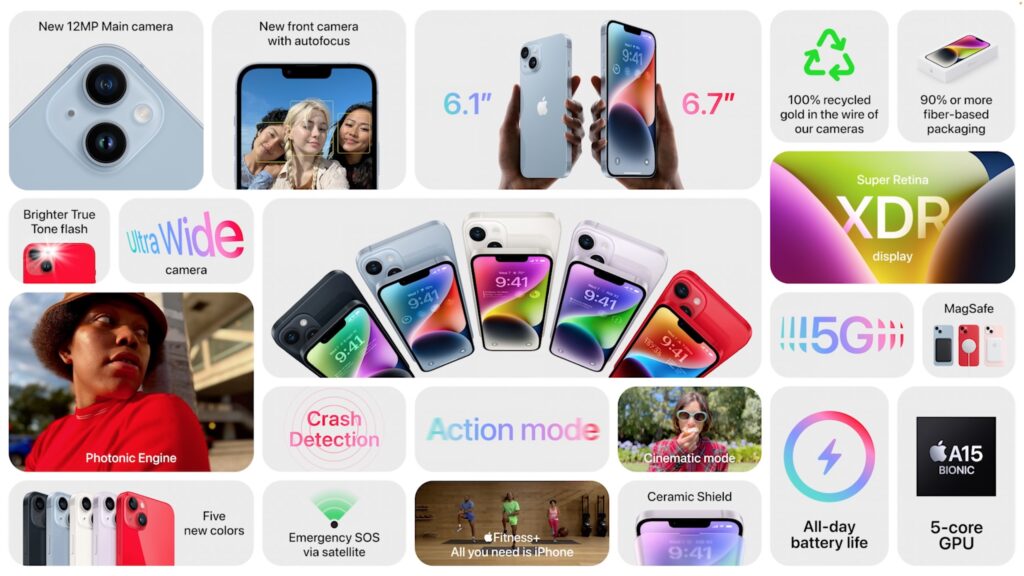
For the most part, the iPhone 14 and iPhone 14 Plus aren’t meant to be technologically exciting, relying on the same A15 Bionic chip as last year’s iPhone 13 models. As it usually does, Apple put more attention into the cameras, switching to a new rear-facing 12-megapixel main camera with a larger aperture for better low-light performance and a new front-facing TrueDepth camera that boasts autofocus for the first time. Apple also introduced a new Photonic Engine that leverages hardware and software to improve mid- and low-light performance for all its cameras. On the video side, a new Action mode provides advanced stabilization for smoother action videos, and Cinematic mode now supports 4K video at 24 fps and 30 fps.

More innovative—and present in both the regular and Pro models—are a pair of technologies we sincerely hope you never have to use. Crash detection relies on a variety of sensors in the iPhone to detect the changes in acceleration, air pressure, and sound that accompany car crashes. In the event of a crash, the iPhone’s Emergency SOS feature offers to call emergency services and notify your emergency contacts.
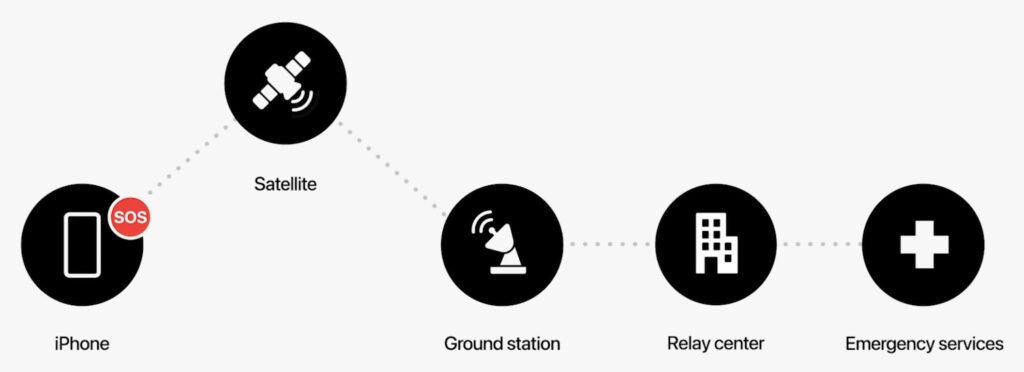
Even more technologically impressive is Emergency SOS via satellite, which enables very low bandwidth text message communication with emergency services using satellites when there’s no cellular coverage. The feature will help you point your iPhone at fast-moving satellites overhead, and it asks vital questions to distill key facts for emergency responders because even short messages may take over a minute to get through. More commonly, you’ll be able to manually share your location via satellite using Apple’s Find My system when you’re without cellular or Wi-Fi connectivity. All this is coming in November 2022 and will be available only in the US and Canada at first.
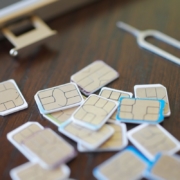
Apple’s final change to both the regular and Pro models—at least in the US—is a switch to eSIM. None of the iPhone 14 models sold in the US will have SIM slots. Most carriers support eSIM at this point, and when traveling to other countries, US iPhone 14 users will need to find roaming plans that support eSIM instead of buying and installing a local SIM card.
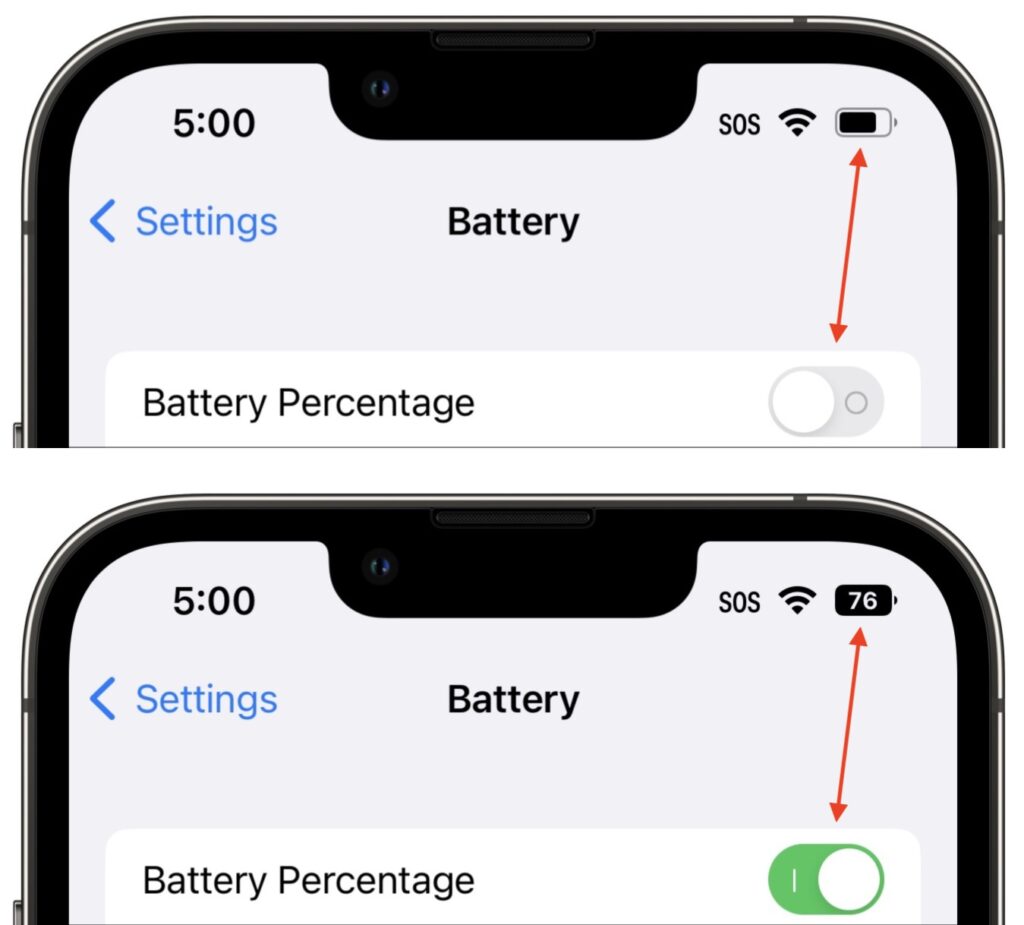
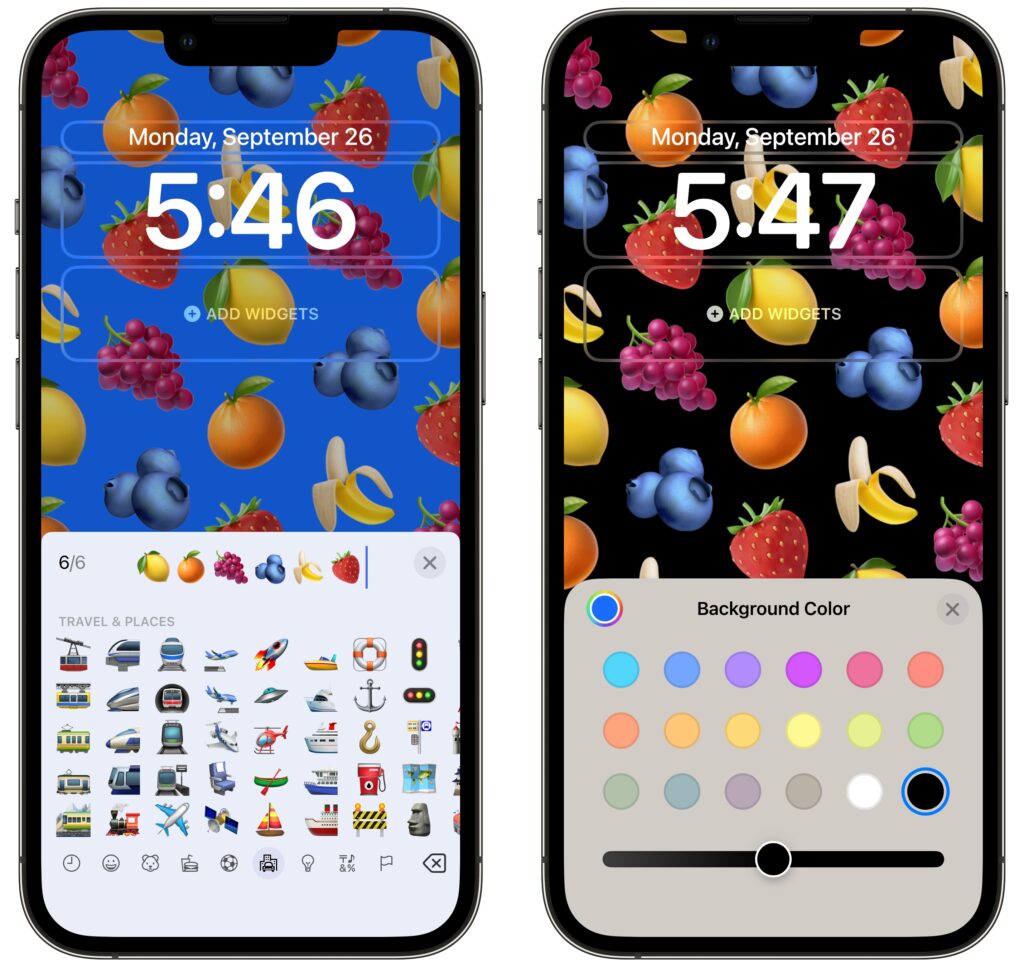
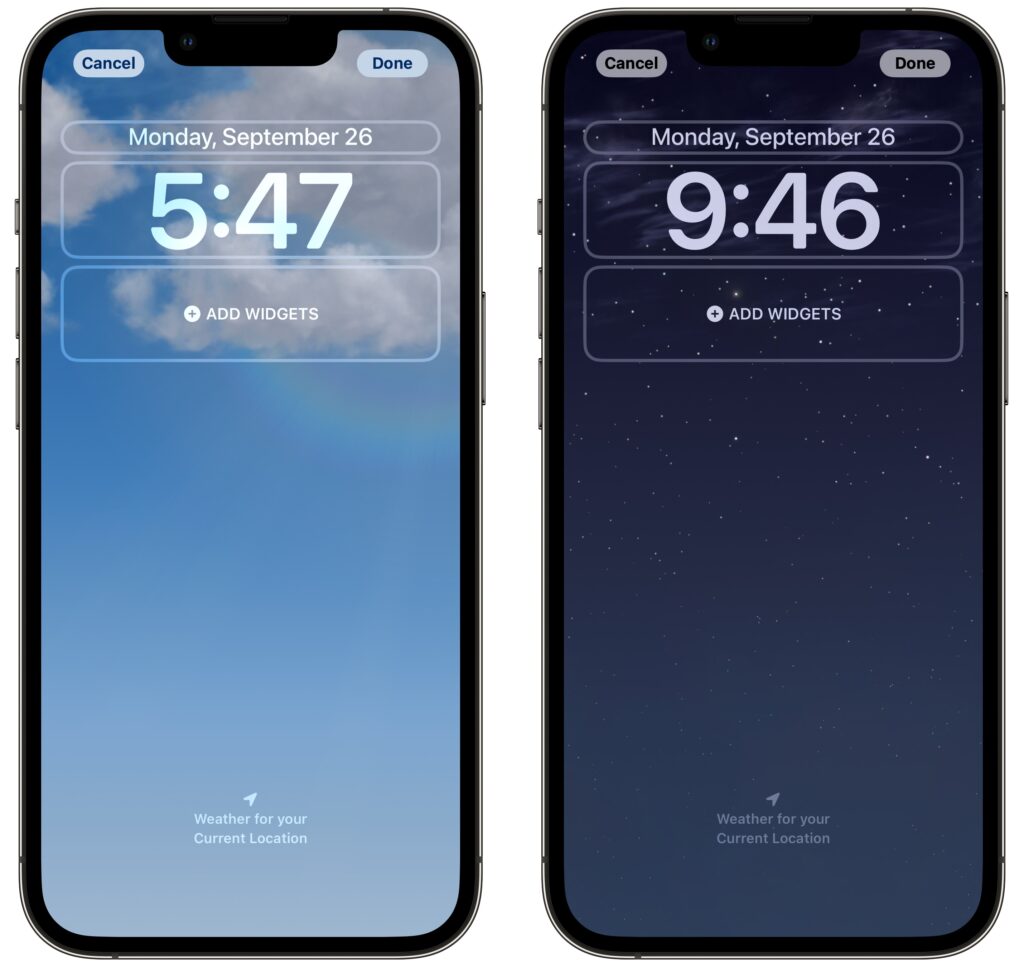
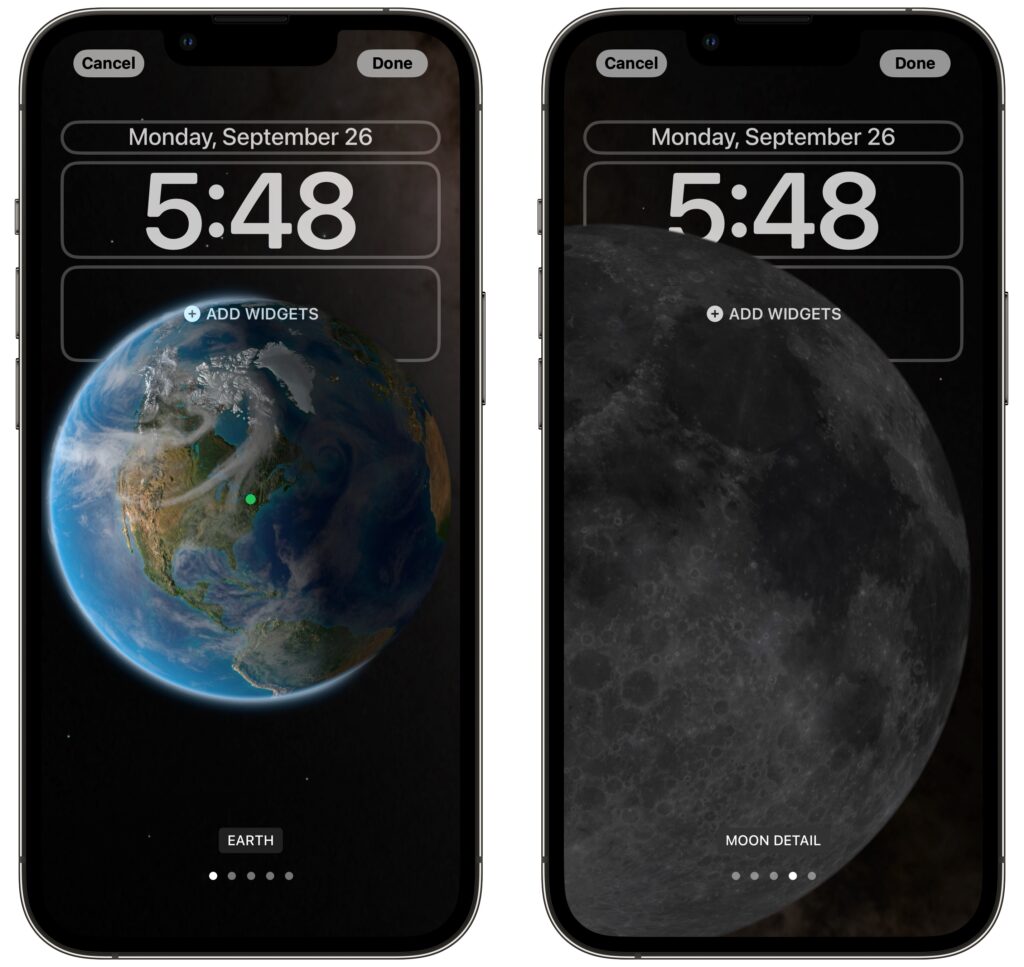
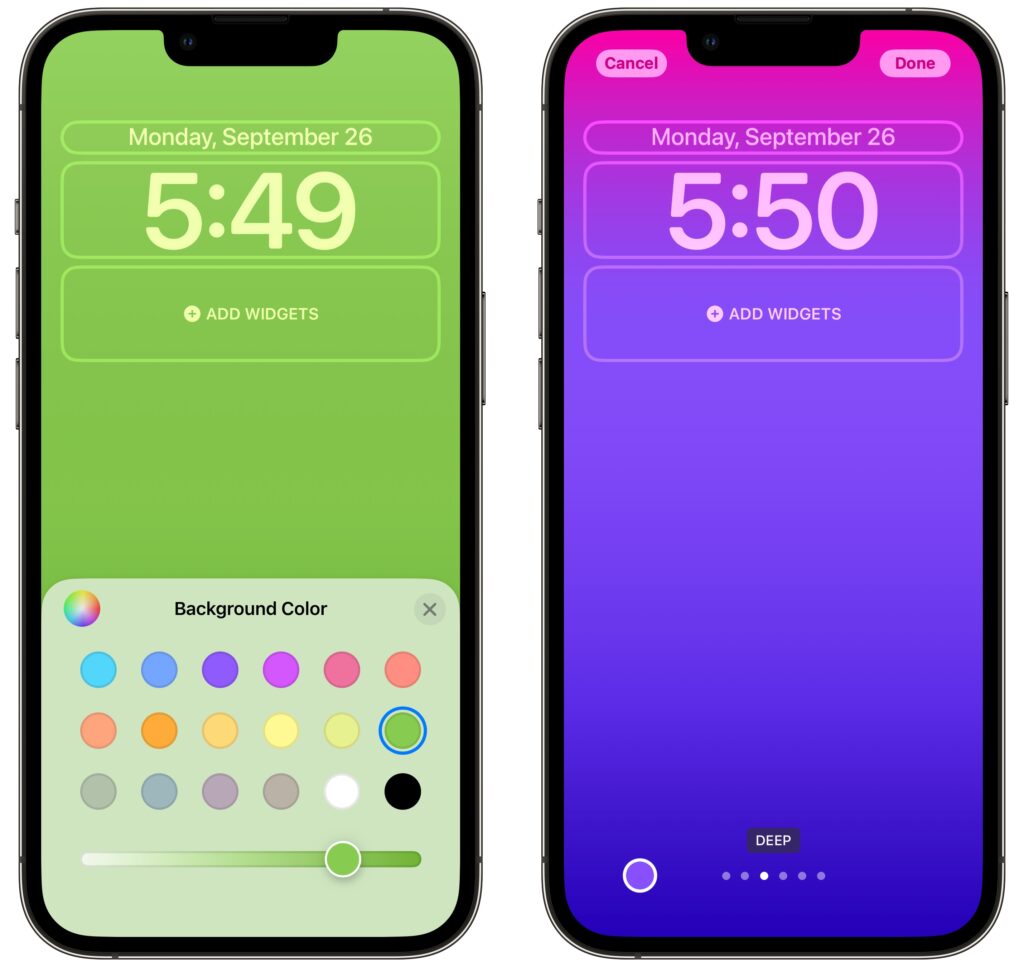
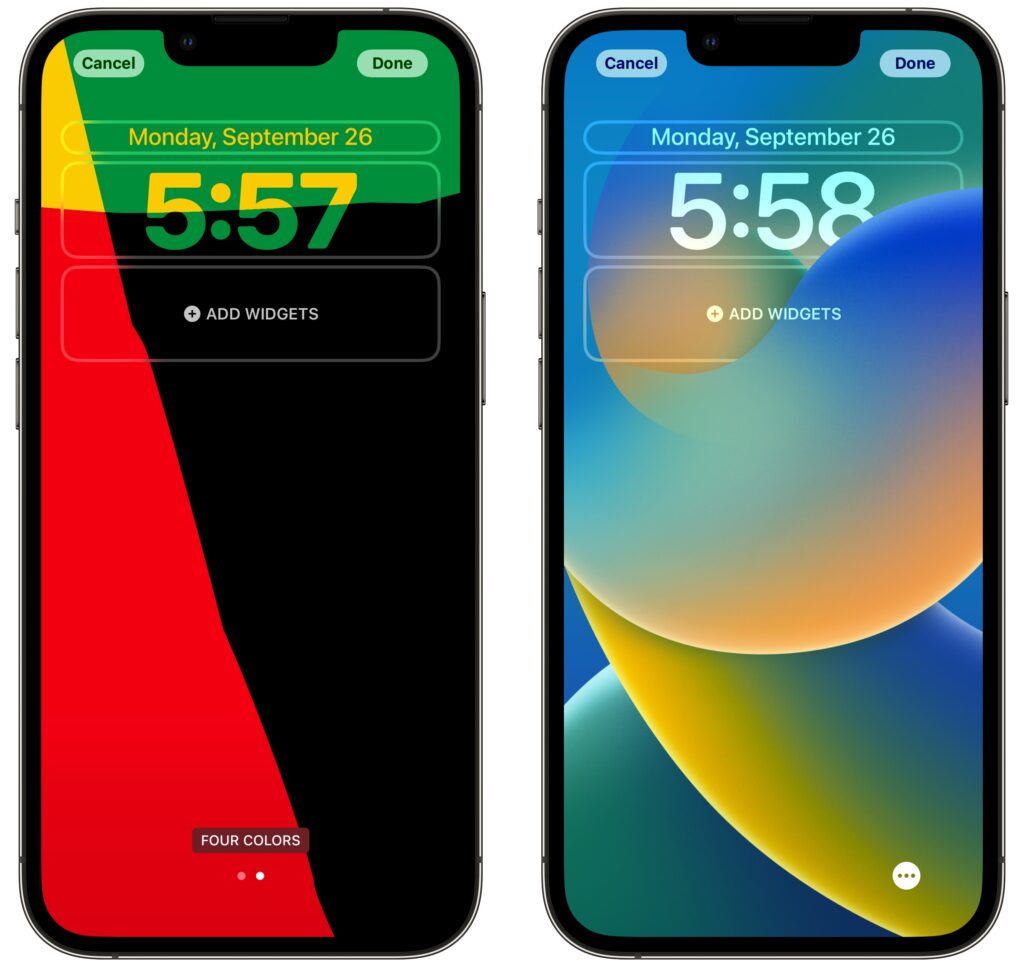
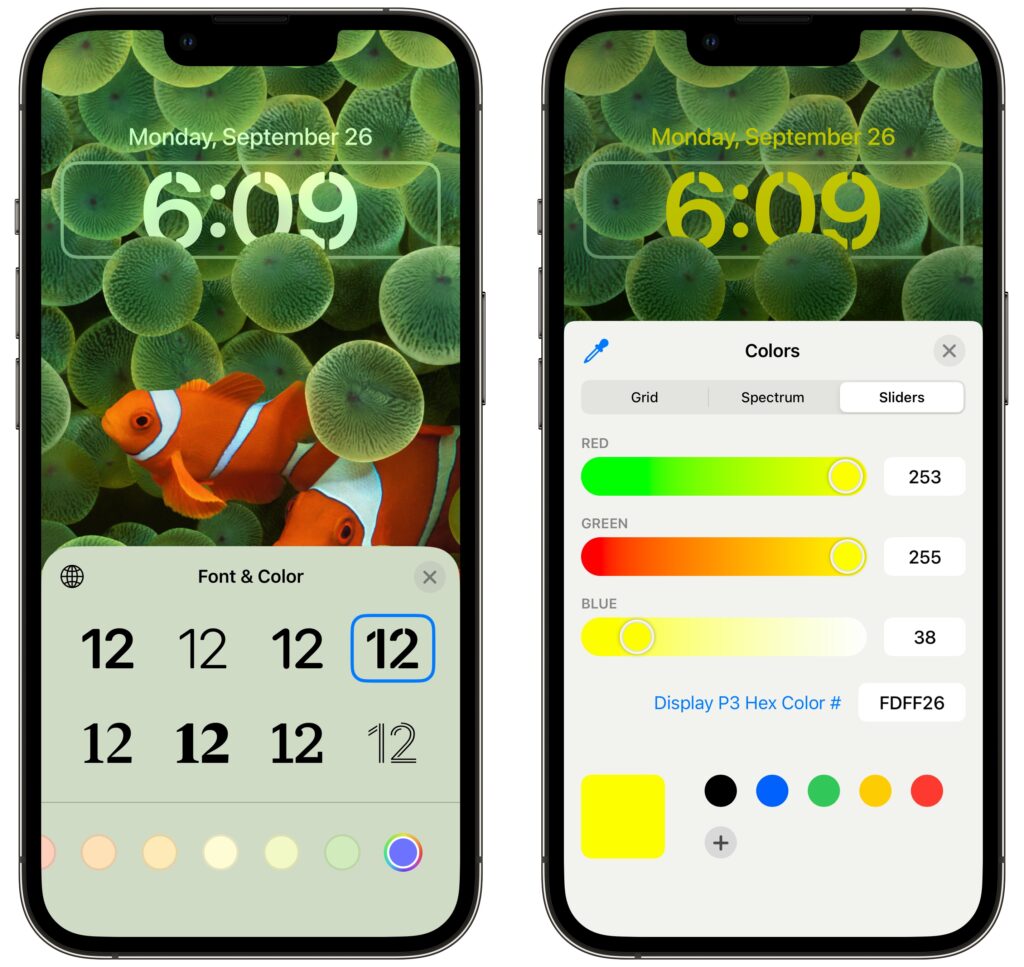
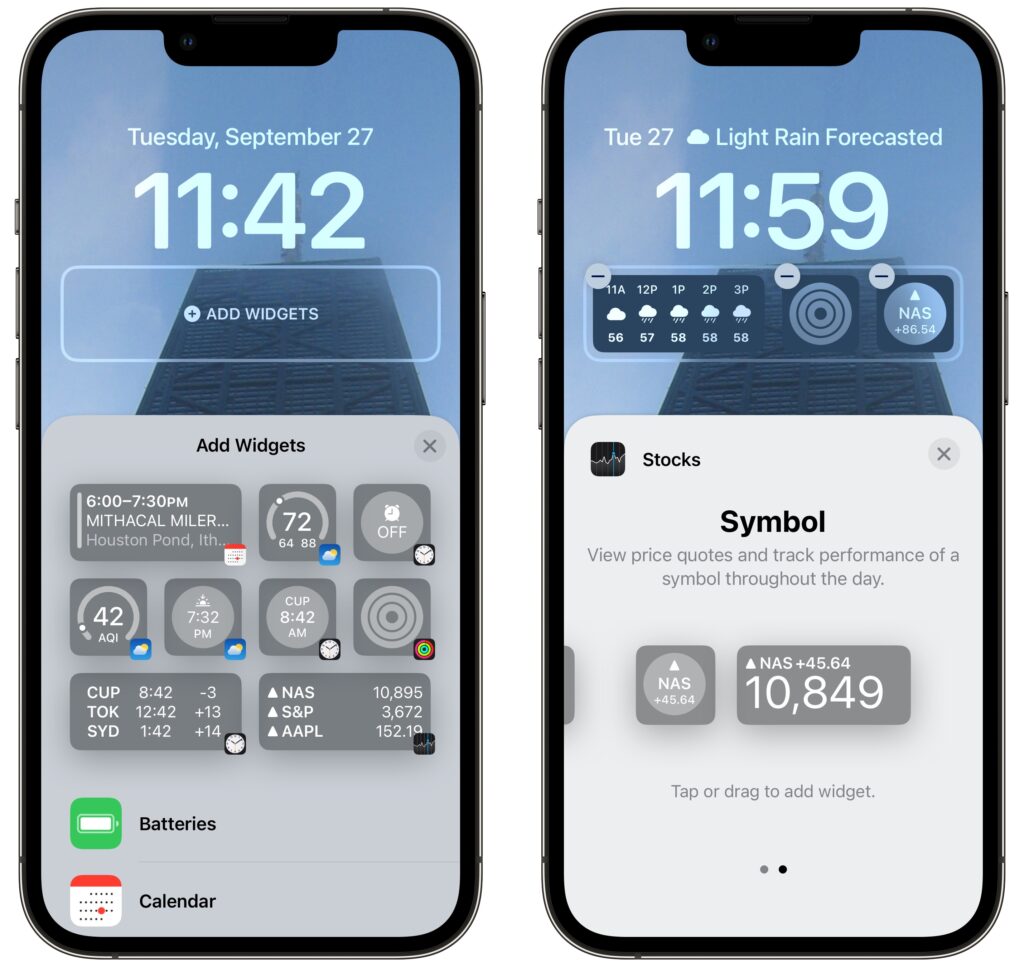
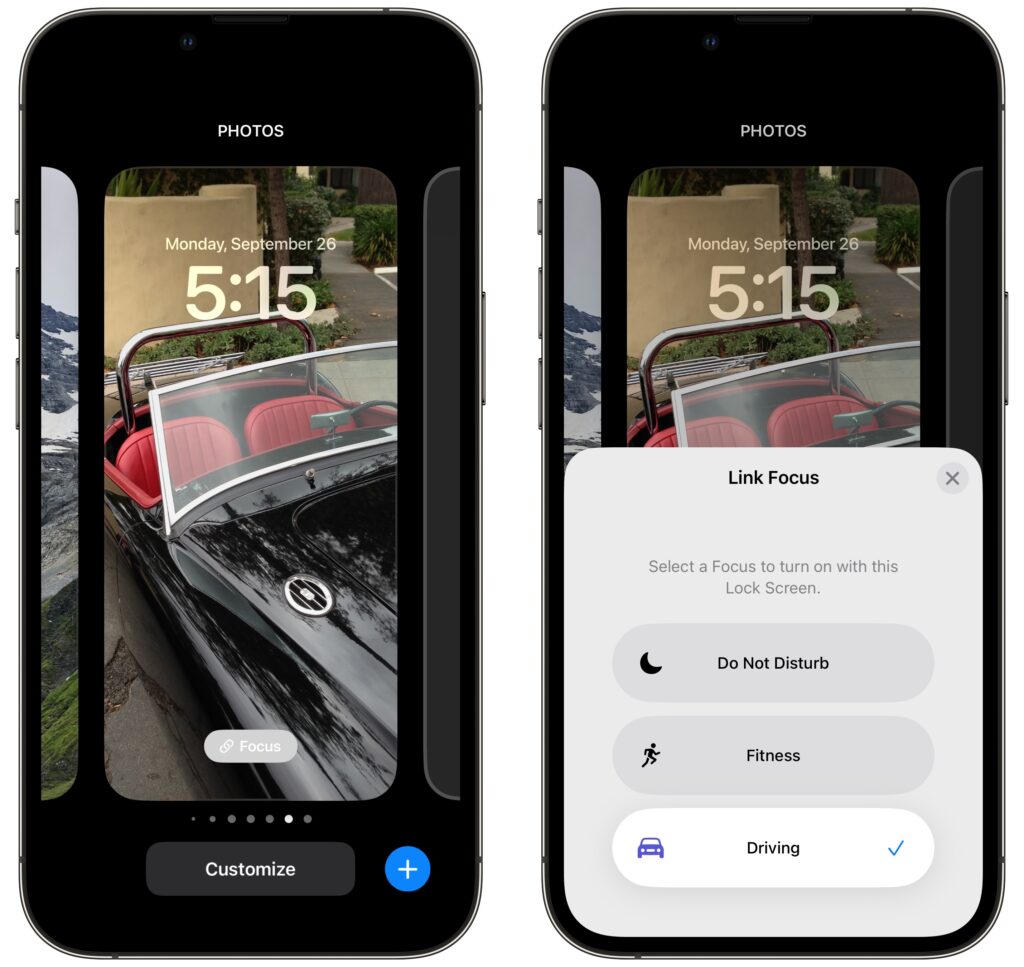
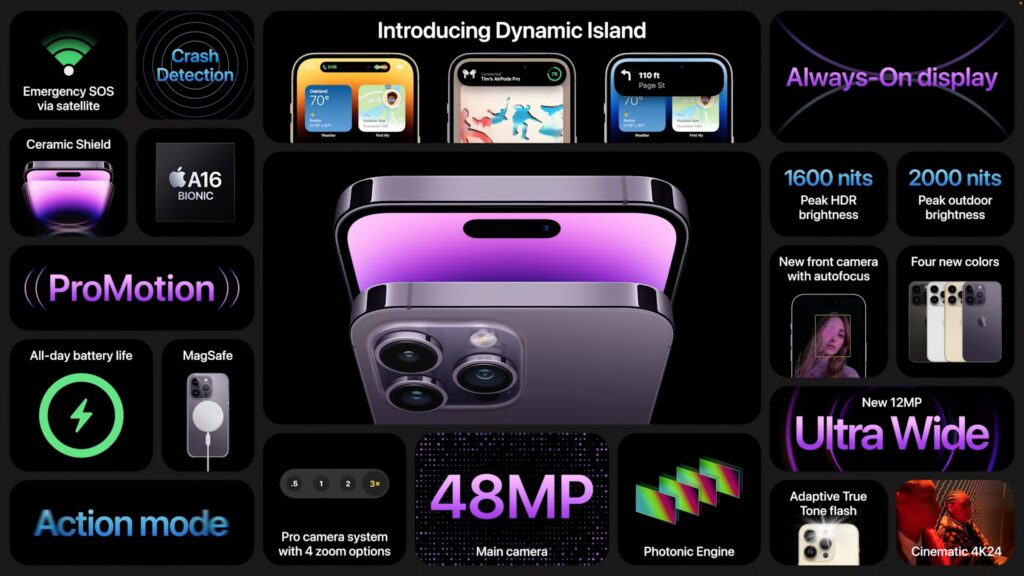
The iPhone 14 Pro and iPhone 14 Pro Max boast more exciting changes. The most obvious change is the switch to an Always-On display, much like recent models of the Apple Watch. You’ll be able to view the new Lock screen imagery and widgets at all times without even touching your iPhone. Thanks to a 1 Hz display refresh rate and intelligent dimming of wallpaper, it won’t hurt battery life. And when you’re actively using the iPhone 14 Pro, the screen will be brighter than ever for easier reading in direct sunlight.
Apple also shrunk the Face ID and TrueDepth camera sensor package that occupies a notch on the regular iPhone 14 models and older iPhones. On the iPhone 14 Pro, it’s now a small black lozenge at the top of the screen that can’t display anything but is integrated into a new feature called the Dynamic Island. Alerts and notifications, and a new dynamic notification type called Live Activities, appear to zoom out of and back into the black lozenge, and Live Activities appear on either side. It’s a clever design trick to make you think that portion of the screen is being used.
The Dynamic Island and Always-On display are made possible in part by Apple’s new A16 Bionic chip, which offers more performance and better efficiency than any other smartphone processor. The A16 Bionic handles the most demanding workflows and graphics-intensive games, and it also powers the iPhone 14 Pro’s computational photography features, performing up to 4 trillion operations per photo.
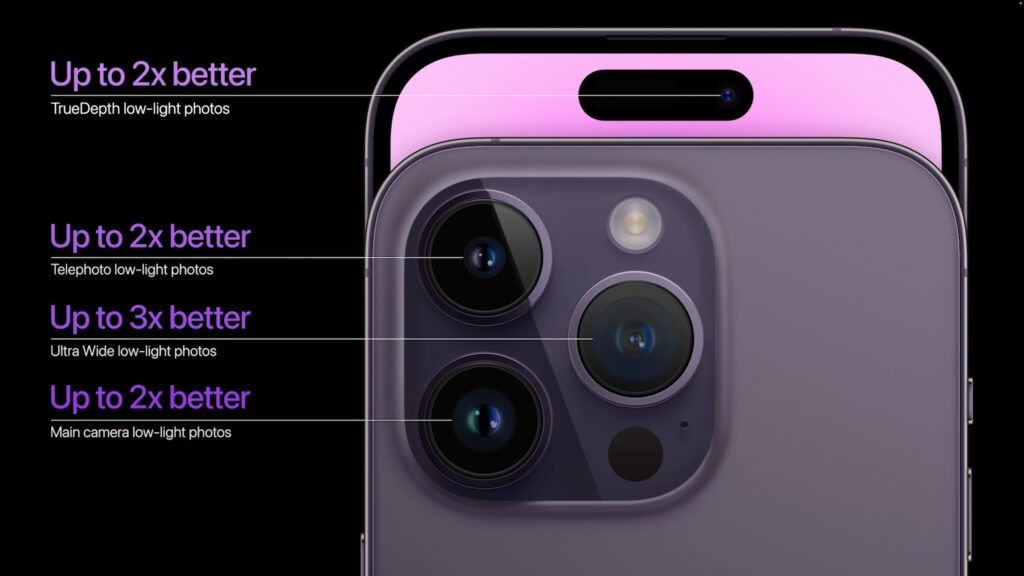
On that topic, the iPhone 14 Pro introduces even more powerful cameras. The main rear-facing camera is now a 48-megapixel camera with a quad-pixel sensor that combines four pixels into one for most photos, improving low-light capture and reducing file size to the equivalent of a 12-megapixel camera. However, the iPhone 14 Pro can also shoot ProRAW photos with the full 48 megapixels to capture unprecedented detail for later processing. The quad-pixel sensor also enables a 2x optical zoom in addition to the improved telephoto camera’s 3x optical zoom. The new 12-megapixel ultra wide camera provides sharper macro shots, and the new front-facing TrueDepth camera offers better low-light performance and autofocus for improved selfies. Apple also enhanced the Adaptive True Tone flash to change its pattern based on the focal length, distributing the light where it’s most needed. Finally, the iPhone 14 Pro gains the same Action mode and Cinematic mode video improvements found in the other iPhone 14 models.
All four iPhone 14 models start at 128 GB of storage, and the Pro models offer a 1 TB tier for those shooting a lot of ProRAW photos or video. Here are the 128 GB prices—add $100 for 256 GB, $300 for 512 GB, and $500 for 1 TB:
- iPhone 14: $799
- iPhone 14 Plus: $899
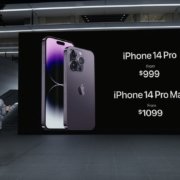
- iPhone 14 Pro: $999
- iPhone 14 Pro Max: $1099
You can pre-order starting at 5 AM PDT on September 9th, with delivery and in-store availability on September 16th, except for the iPhone 14 Plus, which ships on October 7th. The iPhone 14 and iPhone 14 Plus come in five colors: midnight, blue, starlight, purple, and (PRODUCT)RED. The iPhone 14 Pro and iPhone 14 Pro Max come in deep purple, silver, gold, and space black. The third-generation iPhone SE ($429), iPhone 12 ($599), iPhone 13 mini ($599), and iPhone 13 ($699) remain for sale as well.
Generally speaking, we wouldn’t recommend upgrading from an iPhone 13 that’s serving you well unless you’re switching to the iPhone 14 Plus to get a larger form factor or to one of the Pro models for the ultimate in camera capabilities. It’s easier to recommend an upgrade from an iPhone 12 model or earlier, given the improved camera capabilities.
Apple Watch Line Expands with Apple Watch Ultra
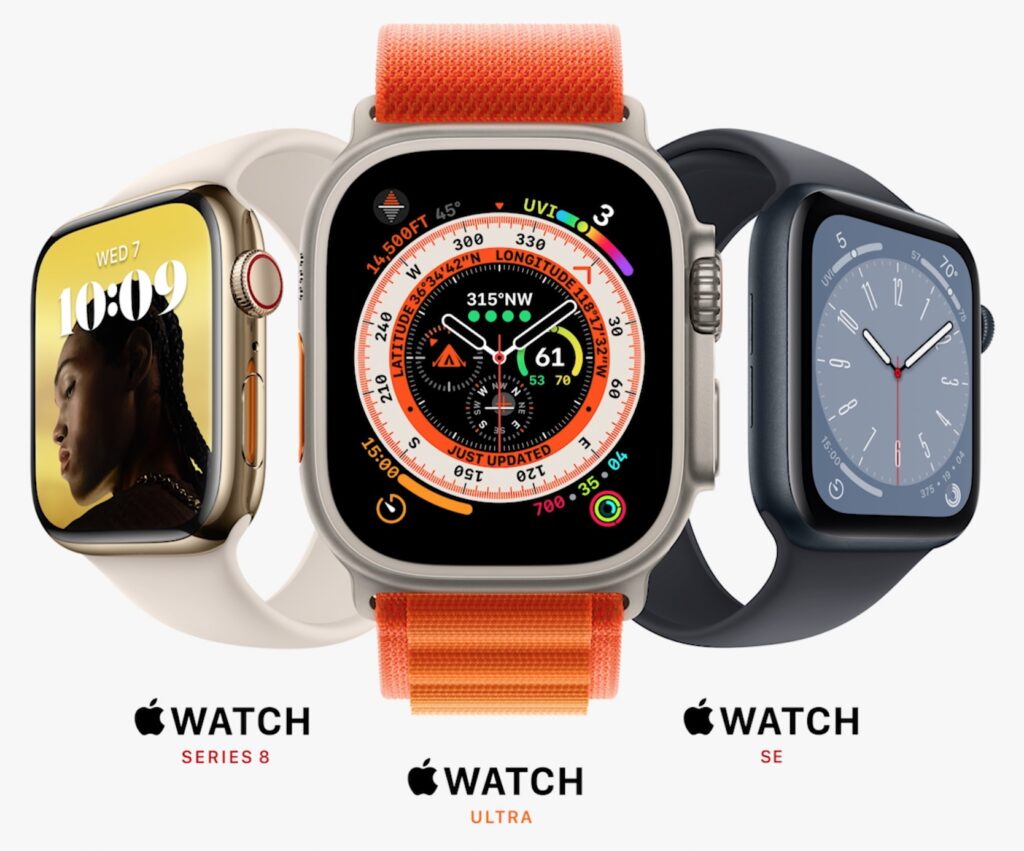
This year, Apple introduced not just one new Apple Watch, but three! The second-generation Apple Watch SE provides a better entry-level option, the Apple Watch Series 8 takes over as the flagship model, and the Apple Watch Ultra brings new capabilities to extreme athletes, adventurers, and the rest of us wannabes.
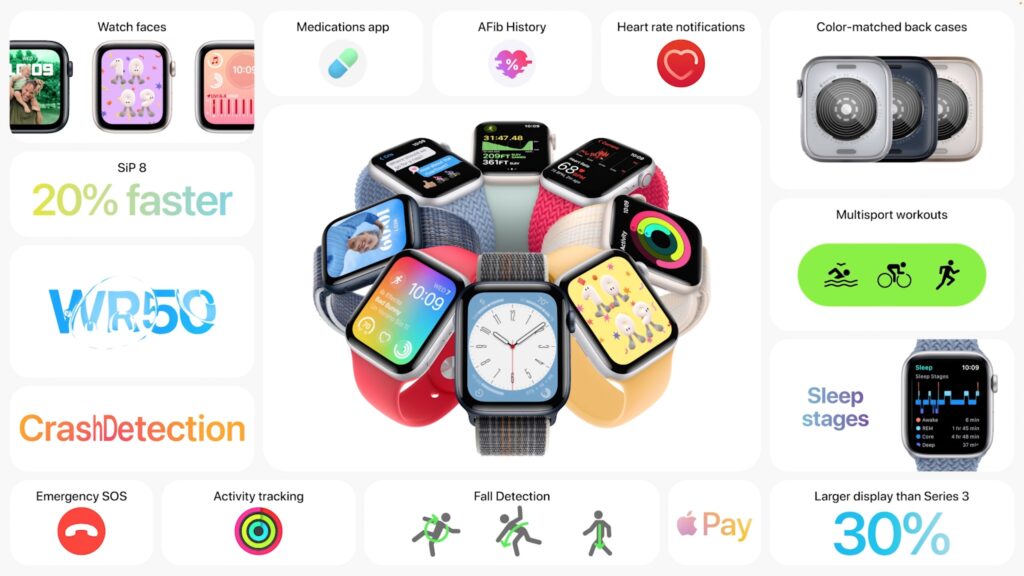
The second-generation Apple Watch SE doesn’t change much from the first-generation model. It has a 30% larger screen in the same 40mm and 45mm case sizes, it boasts the same S8 chip that powers this year’s Apple Watch Series 8, and it has new motion sensors that enable it to detect car crashes, just like the iPhone 14. But it still lacks the more-capable models’ Always-On display, blood oxygen sensor, ECG capability, and fast charging. It costs $249 for a GPS-only model or $299 for the GPS+Cellular model. The case is aluminum, and you can choose from midnight, starlight, and silver colors. You can order now for delivery on September 16th.
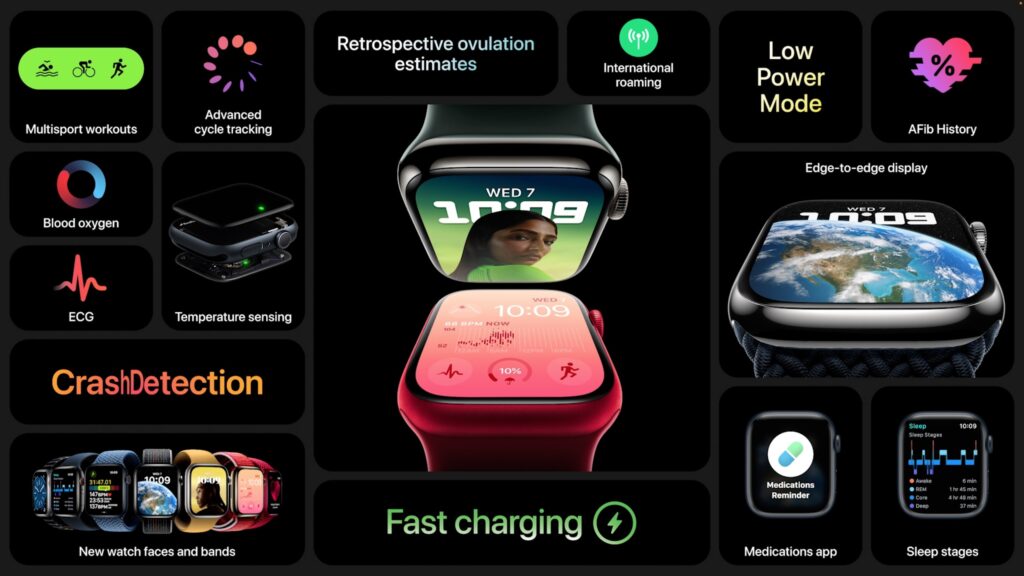
The Apple Watch Series 8 doesn’t change physically from the Series 7, but it gains a temperature sensor that Apple leverages for cycle tracking capabilities. We’re hoping Apple can get FDA approval to use the temperature sensor for other health-related options in the future—wouldn’t it be great if your Apple Watch could warn you that you might be getting sick? The Series 8 also gets the new motion sensors to detect car crashes, and travelers will be able to add a cellular Series 8 to an iPhone’s international roaming plan—likely for an additional fee—if the carrier in question supports it. The aluminum case comes in four colors—midnight, starlight, silver, and Product(RED)—and starts at $399 for GPS-only and $499 for GPS+Cellular. The stainless steel case comes in silver, gold, and graphite and starts at $699. Again, order now for delivery on September 16th.
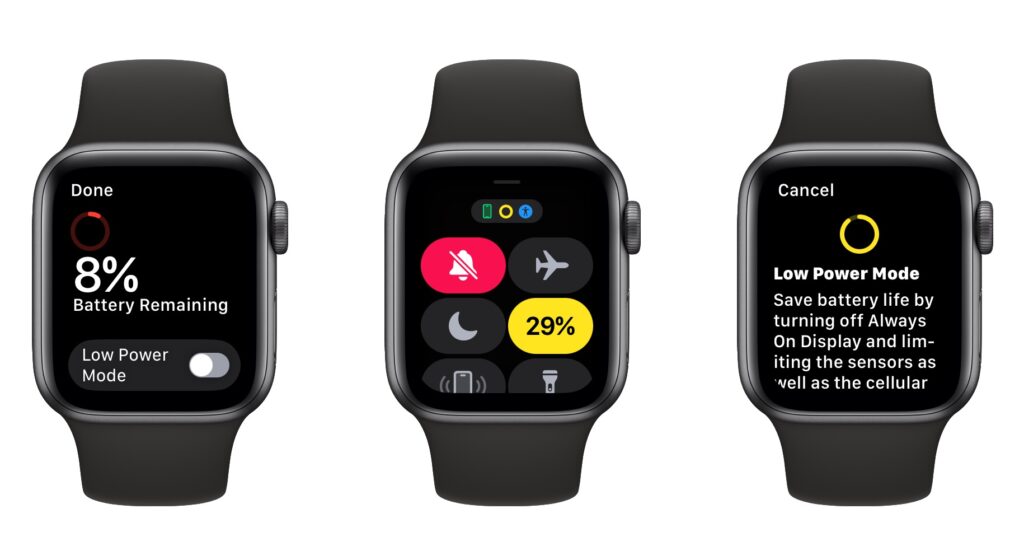
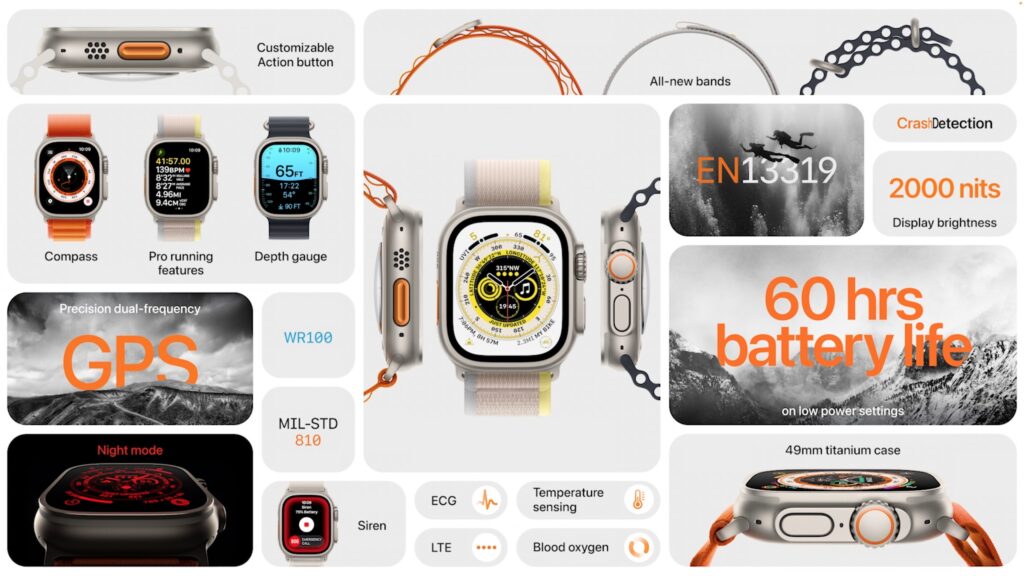
Most interesting is the new Apple Watch Ultra. It’s a completely new design with a 49mm titanium case and a flat sapphire front crystal embedded in the case to protect against side impacts. At 14.4 millimeters, it’s thicker than the other two models, which are only 10.7 millimeters, so it may look ungainly on people with smaller wrists. It features a new Action button that apps can use for their own purposes, along with a larger Digital Crown and side button to make it easier to control with gloves. The Always-On screen is brighter than ever, making it readable in direct sunlight. The larger size also gives it better battery life, with 36 hours in normal usage and up to 60 hours with an extended battery optimization mode Apple says is still coming.
Apple beefed up other specs in the Apple Watch Ultra as well. A new dual-frequency GPS works better in conditions that can block GPS signals. It includes dual speakers and a three-mic array for better audio output and input, even in windy conditions. If you need help being found in the wilderness, it boasts an 86-decibel siren that can be heard up to 180 meters away. It’s IP6X dust resistant and meets the US military standard MIL-STD 810H for environmental conditions. You can even take it diving down to 100 meters, and with the Oceanic+ app coming in a few months, the Apple Watch Ultra can act as a full dive computer.
On the software side, the Apple Watch Ultra includes a new Wayfinder watch face that displays a compass and has a Night mode that switches to red on black for easier reading in the dark. A redesigned Compass app provides multiple views, a backtrack capability to retrace your steps, and waypoints for easier navigation.
The Apple Watch Ultra offers a choice of three bands: Alpine (nylon with a G-hook clasp), Ocean (a stretch elastomer with extensions to fit over wetsuits), and Trail (a nylon sport loop with a tab for easier adjusting). You can order now for $799, and it will ship on September 23rd.
Second-Generation AirPods Pro Improves on Previous Generation
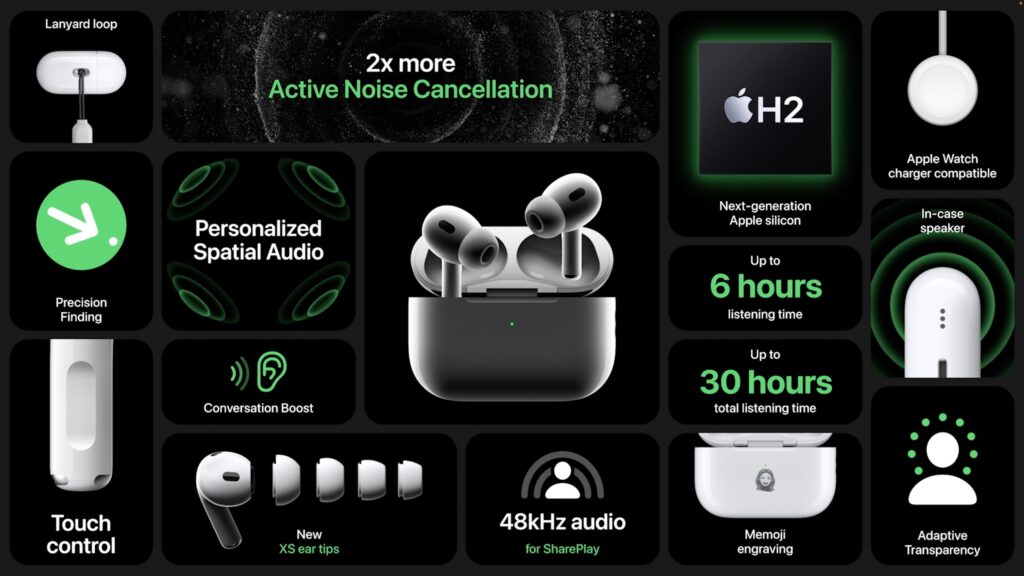
Finally, Apple announced the second-generation AirPods Pro. Both the earbuds and the charging case look essentially the same, with the main subtle external change being that you can now adjust the volume with light swipes up and down on the stems of the AirPods Pro. A new extra small ear tip should make the AirPods Pro fit more people’s ears.
Instead, Apple focused its efforts on the internals of the AirPods Pro. A new H2 chip, coupled with a new low-distortion driver and custom amplifier, promises a better audio experience. The H2 chip also improves the Active Noise Cancellation feature, cutting out up to twice as much ambient noise, and the new Adaptive Transparency mode lets you hear what’s happening around you while simultaneously reducing noise from harsh sounds in the environment. When used with iOS 16, you’ll also be able to use Personalize Spatial Audio to customize what you hear based on the size and shape of your head and ears.
Perhaps most welcome is the additional 1.5 hours of listening time with Active Noise Cancellation that the new AirPods Pro offer. The charging case provides four additional charges for a combined total of 30 hours of listening time, 6 hours more than the previous model. You can now charge the case from an Apple Watch charger, a MagSafe charger, a Qi charger, or a regular Lightning cable. The new case is sweat- and water-resistant, includes a lanyard loop, and can be found when lost more easily thanks to a built-in speaker and support for Precision Finding in the Find My app when used with a compatible iPhone.
Pricing for the second-generation AirPods Pro remains the same at $249. You can order starting September 9th, and they’ll arrive starting September 23rd.
(Featured image by Apple)
Social Media: At its Far Out event, Apple introduced the iPhone 14 lineup, three new Apple Watches—including the Apple Watch Ultra—and the second-generation AirPods Pro. All are worth a look for Apple users; read on for details: