At Apple’s Worldwide Developer Conference in June, the company unveiled the upcoming versions of its operating systems: macOS 14 Sonoma, iOS 17, iPadOS 17, watchOS 10, and tvOS 17. They won’t be available until September or October of 2023, and even once they ship, we recommend waiting a few weeks before upgrading your smaller Apple devices and holding off on macOS upgrades for a couple of months.
Regardless, it’s worth considering how these operating systems might impact your plans to buy new hardware in the next six months. Any Apple device you purchase now—or have bought in the last five years—can run the new operating systems. But some devices that can run the current macOS 13 Ventura, iOS 16, and iPadOS 16 won’t be upgradable to their replacements later this year. More importantly, some older devices that can be upgraded won’t support all the new features.
Here’s what you’ll need and compatibility gotchas to keep in mind.
macOS 14 Sonoma
For macOS 14 Sonoma, Apple has dropped support for Mac models released before 2018. That works out to five models across the iMac, MacBook Pro, and MacBook product lines. If you rely on one of those Macs and want to run Sonoma, think about when it would make sense to buy a new Mac, perhaps in early 2024. By then, all new Macs will likely ship with Sonoma. These Macs can run Sonoma:
- iMac: 2018 and later
- iMac Pro: 2017
- MacBook: None
- MacBook Air: 2018 and later
- MacBook Pro: 2018 and later
- Mac mini: 2018 and later
- Mac Pro: 2019 and later
- Mac Studio: 2022 and later
The specific 2017 Mac models that are stuck at Ventura are:
- iMac: 21.5-inch and 27-inch
- MacBook Pro: 13-inch and 15-inch
- MacBook: 12-inch
Unsurprisingly, some new features in Sonoma require sufficient processing power that they work only on Macs with Apple silicon—one of the M1 or M2 chips.
- Game Mode: This special mode automatically gives games top priority on the CPU and GPU, lowering usage for background tasks. It also reduces latency for wireless accessories, like game controllers and AirPods, for improved responsiveness.
- Just “Siri”: Although dropping “Hey” from the “Hey Siri” trigger phrase works on all iPhones with iOS 17 and iPads with iPadOS 17, it requires a Mac with Apple silicon or when using the AirPods Pro (2nd generation).
- Made for iPhone hearing aids: Apple-compatible hearing aids can now be paired directly with Macs, but only those with an M1 Pro, M1 Max, M1 Ultra, or M2. That works out to the MacBook Pro (14-inch, 2021), MacBook Pro (16-inch, 2021), Mac Studio (2022), and all Macs with the M2.
- Presenter Overlay: You can keep your image visible while sharing your screen on a video call, either in front of the shared screen or in a small movable bubble.
- React with your hands: During video calls, 3D augmented-reality reaction effects like hearts, confetti, and fireworks can be triggered with hand gestures, but only on Macs with Apple silicon or when using Continuity Camera with an iPhone 12 or later.
- Screen Sharing performance improvements: Apple has radically improved the performance of the Screen Sharing app over high-bandwidth connections, but it requires the advanced media engine in Apple silicon.
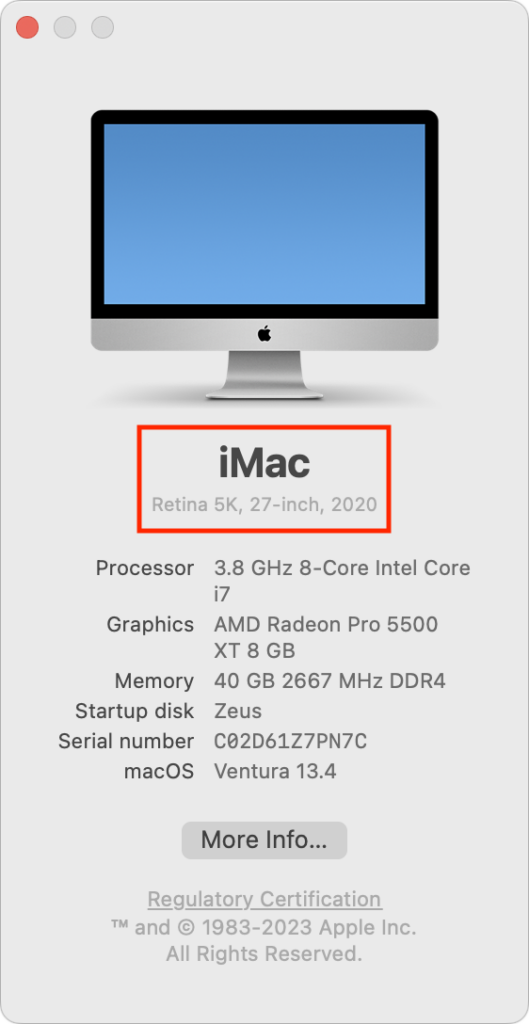
If you’re unsure which Mac you have, choose About This Mac from the Apple menu.

iOS 17
With iOS 17, Apple has maintained the same cutoff date as Sonoma, supporting all iPhone models released in 2018 and later. That means you’ll be able to run iOS 17 on these iPhones:
- iPhone 14/Plus/Pro/Pro Max
- iPhone 13/mini/Pro/Pro Max
- iPhone 12/mini/Pro/Pro Max
- iPhone 11/Pro/Pro Max
- iPhone SE (2nd generation or later)
- iPhone XR/XS/XS Max
Practically speaking, these iOS 16-compatible devices won’t be able to upgrade to iOS 17:
Several new iOS 17 features have more restrictive system requirements.
- Enhanced autocorrect: iOS 17 enhances autocorrect so it works better (and yes, it will let you use curse words), and it temporarily underlines autocorrected words so you can see which ones were changed. It requires an iPhone 12 or later.
- Inline predictions: Similarly, inline predictions of what you’re going to type—so you can just accept the suggestion rather than tapping out all those letters—require an iPhone 12 or later.
- Point and Speak: Those with vision disabilities might appreciate the Point and Speak feature that makes it easier to interact with physical objects that have text labels, but it works only on the Pro models of the iPhone 12, iPhone 13, and iPhone 14.
- React with your hands: The hand-triggered video call reactions require an iPhone 12 or later.
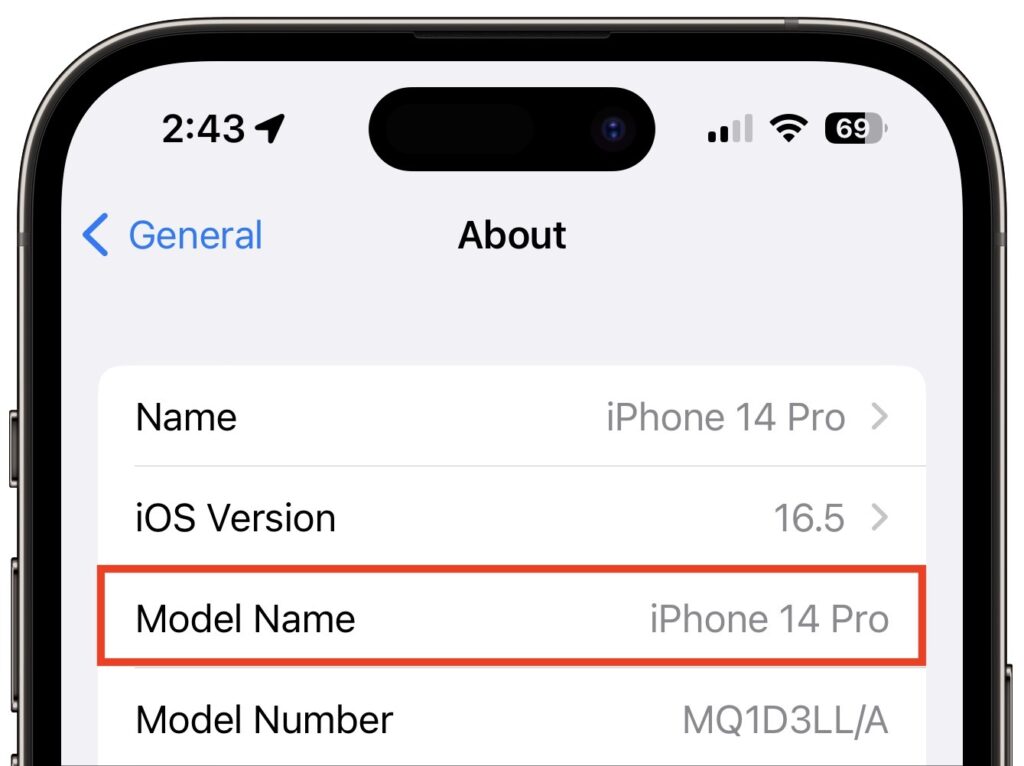
If you can’t remember which iPhone model you have, go to Settings > General > About and look next to Model Name. This works for the iPad, too.

iPadOS 17
It’s more involved to determine whether your iPad can upgrade to iPadOS 17 because there are four different iPad model types with varying capabilities. These models can run iPadOS 17:
- iPad Pro 12.9-inch (2nd–6th generation)
- iPad Pro 11-inch (1st–3rd generation)
- iPad Pro 10.5-inch
- iPad Air (3rd–5th generation)
- iPad (6th–10th generation)
- iPad mini (5th & 6th generation)
While that list encompasses a lot of iPads, a simpler way to look at it is that only three iPad models that can run iOS 16 won’t be able to upgrade to iOS 17:
- iPad Pro 12.9-inch (1st generation)
- iPad Pro 9.7-inch
- iPad (5th generation)
Because Apple extended overall iPadOS 17 compatibility somewhat further back than it did with iOS 17 and macOS Sonoma, quite a few iPadOS 17 features work only on select models:
- Back-to-back Siri requests: Although all iPhones will let you issue multiple requests to Siri without reactivating it, on the iPad, the feature works only on an iPad Pro 12.9-inch (3rd generation and later), iPad Pro 11-inch (1st generation and later), iPad Air (3rd generation and later), iPad mini (5th generation and later), or iPad (8th generation and later).
- Enhanced autocorrect: This improvement to typing requires an iPad Pro 12.9-inch (5th generation and later), iPad Pro 11-inch (3rd generation and later), iPad (10th generation), iPad Air (4th generation and later), or iPad mini (6th generation).
- External display cameras: If you want to take advantage of an external display’s camera while it’s attached to the iPad, you’ll need an iPad Pro 12.9-inch (3rd generation and later), iPad Pro 11-inch (1st generation and later), iPad (10th generation), iPad Air (4th generation and later), or iPad mini (6th generation).
- FaceTime with Apple TV: Using an iPad’s mic and camera for FaceTime on an Apple TV 4K (2nd generation) requires an iPad Pro 12.9-inch (3rd generation and later), iPad Pro 11-inch (1st generation and later), iPad (8th generation and later), iPad Air (3rd generation and later), or iPad mini (5th generation and later).
- Inline predictions: Getting suggestions about what to type next on the iPad requires an iPad Pro 12.9-inch (5th generation and later), iPad Pro 11-inch (3rd generation and later), iPad (10th generation), iPad Air (4th generation and later), or iPad mini (6th generation).
- PDF AutoFill: iPadOS 17 will use machine learning to analyze PDFs, and if it detects a form, you can fill it out automatically using your contact information. But only if you’re using an iPad Pro 12.9-inch (3rd generation and later), iPad Pro 11-inch (1st generation and later), iPad Air (3rd generation and later), iPad mini (5th generation and later), or iPad (8th generation and later).
- React with your hands: As with the iPhone and Mac, only some models let you trigger reactions with gestures: the iPad Pro 12.9-inch (5th generation and later), iPad Pro 11-inch (3rd generation and later), iPad (10th generation), iPad Air (4th generation and later), and iPad mini (6th generation).
- Screen Distance: This health-related feature is supposed to encourage kids to hold the iPad farther away to reduce the likelihood of developing myopia. But how many kids read on an iPad Pro 12.9-inch (3rd generation and later) or iPad Pro 11-inch (3rd generation and later)?
watchOS 10
The Apple Watch has a simple upgrade story: every model compatible with watchOS 9 can also run watchOS 10. That means everything from the Apple Watch Series 4 up through the Apple Watch Ultra, including the Apple Watch SE. (Look in the Watch app on your iPhone if you can’t remember which model you have.)
Two of the new features promised for watchOS 10 work only on specific models:
- The NameDrop feature that lets you transfer contact information wirelessly with just proximity works with all iOS 17-compatible iPhones, but it can communicate only with an Apple Watch SE, Apple Watch Series 6 or later, or Apple Watch Ultra.
- The Time in Daylight feature that helps parents track whether their kids are spending the recommended 80–120 minutes per day outside requires an Apple Watch SE (2nd generation), Apple Watch Series 6 or later, or Apple Watch Ultra.
tvOS 17
As with the Apple Watch, the Apple TV upgrade situation is easy to understand: tvOS 17 will run on the Apple TV HD and Apple TV 4K (1st and 2nd generation), just as with tvOS 16.
However, note that the promised option to let you use the mic and camera from an iPhone or iPad for FaceTime calls on the Apple TV works only if you have an Apple TV 4K (2nd generation). That might be the first real reason to upgrade from an older Apple TV.
(Featured image by Apple)
Social Media: Later this year, Apple will release macOS 14 Sonoma, iOS 17, iPadOS 17, watchOS 10, and tvOS 17. Here’s the hardware you’ll need to run these operating systems—and to support some of the whizzier features.
