Posts

The Secret Trick for Enabling Caps Lock When Typing in iOS

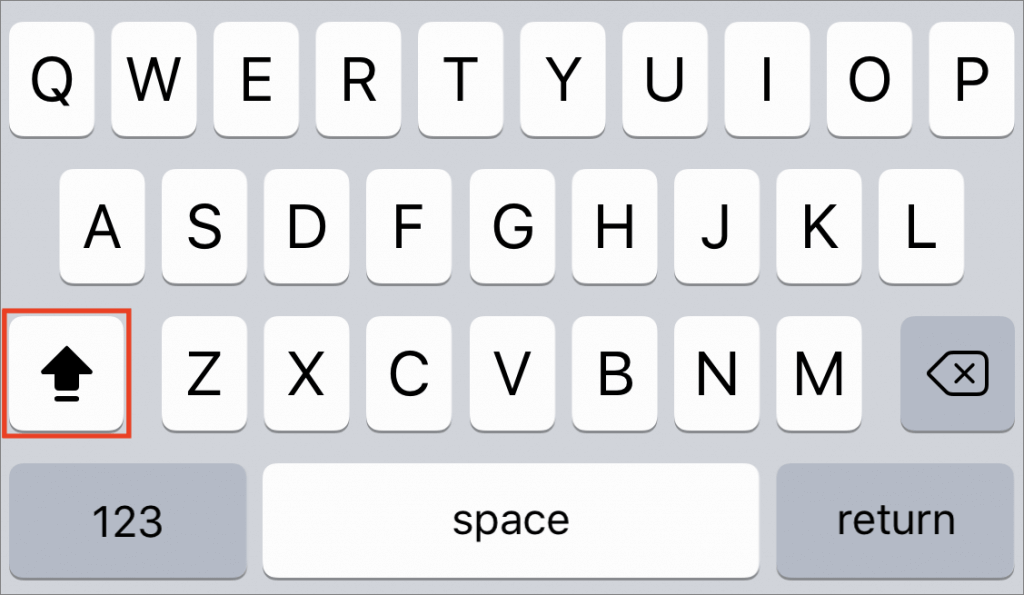
The Caps Lock key on Mac keyboards often feels extraneous, since it’s easy enough to hold the Shift key while typing multiple capital letters for acronyms like HIPPA or when you want to shout GET OFF MY LAWN! But if you need to do that on an iPhone or iPad, it’s annoying to keep tapping the Shift key to switch to the uppercase keyboard for each letter. Luckily, Apple has baked a time-saving trick into its onscreen keyboard. Tap the Shift key twice in a row to lock it on, type the letters you need, and tap it again to unlock it. Notice that when Shift is locked on, a horizontal line appears beneath the arrow on the Shift key.
Siri in Mojave Now Supports HomeKit and Find My iPhone

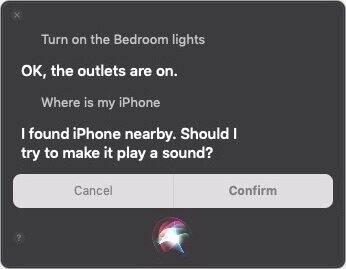
Siri on the Mac hasn’t been as useful as on iOS devices, but with macOS 10.14 Mojave, Apple enhanced the Mac version of Siri in a variety of ways. Apple says that Siri now knows about food, celebrities, and motorsports, but more interesting is how you can ask Siri to control your HomeKit devices (“Turn on the bedroom lights.”) and locate your iOS devices or AirPods via Find My iPhone (“Where is my iPhone?”).

File Messages Faster in Mail in Mojave

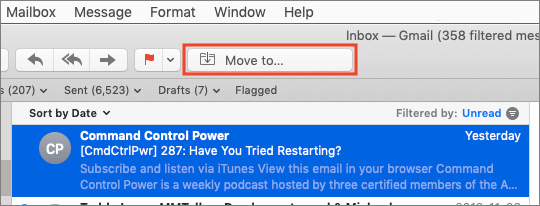
In macOS 10.14 Mojave, Apple exposed a feature of Mail that was useful, but hard to find and use. For several versions of Mail, you’ve been able to select a message and choose Message > Move To Predicted Mailbox to file the email in the suggested mailbox. (If the Move To command is disabled, Mail hasn’t yet learned how to move messages like the selected one. Once it sees you move messages from your mother into your Family mailbox, for instance, it will suggest that destination in the future.) In Mojave’s Mail, there’s also now a Move To toolbar button. If it can predict where the message will go, just click it; if not, click and hold to bring up a menu of all your mailboxes.

Use This Hidden Feature in Safari to Access Tabs on Your Other Apple Devices

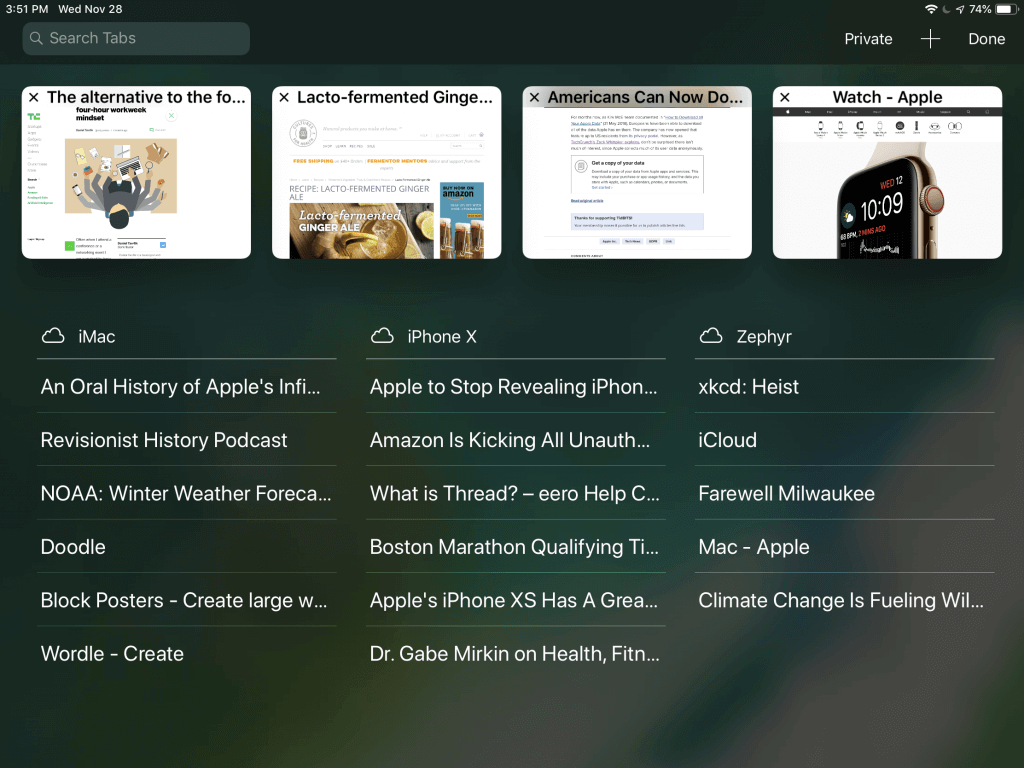
Browser tabs. They breed like bunnies, and if you’re like us, you have oodles of tabs open on your Mac, iPhone, and iPad. But you may not know that Safari has a great tab-management feature that lets you access all the open tabs on all your devices. (Make sure to enable the Safari switch in System Preferences > iCloud on the Mac and in Settings > YourName > iCloud in iOS.) This tab overview is easiest to find on the iPad, where tapping the tab  button displays local tabs as thumbnails at the top of the screen and lists tabs from other devices beneath. On the iPhone, scroll down to the bottom of the tab list to see them, and on the Mac, choose View > Show Tab Overview. Click or tap any tab to view it. To close an unnecessary tab, in iOS, swipe left and tap Close; in macOS, hover over the tab name and click the x button that appears.

So What Are All Those Stacks of Notifications in iOS 12?

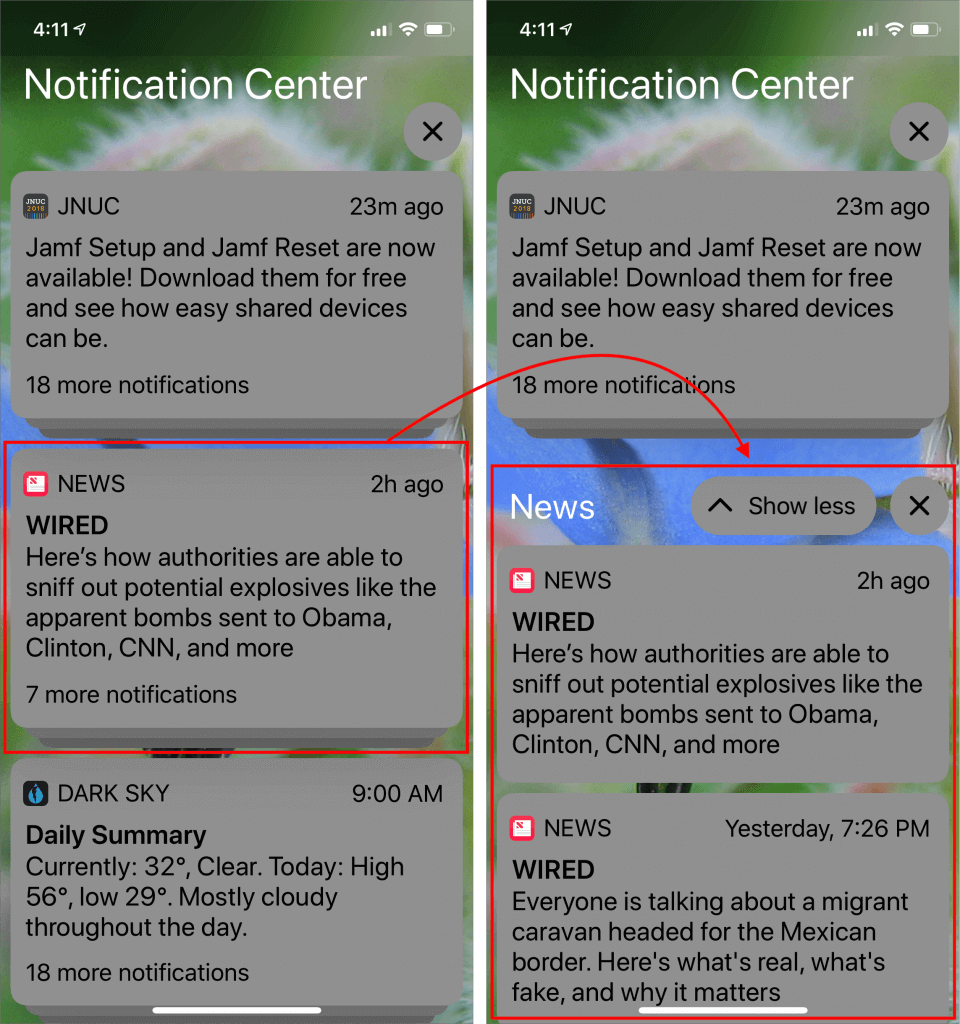
It can be easy to become overwhelmed by iOS notifications, particularly if you have chatty friends or apps. In iOS 12, Apple corralled notifications by grouping them into stacks so you no longer see an endless screen of alerts. To expand a stack of notifications on either the Lock screen or in Notification Center (swipe down from the top of the screen), tap the stack. Once you’ve expanded a stack, you can tap Show Less to restack it, tap the X button to remove the entire stack, or tap any individual notification to open it. By default, iOS 12 groups notifications intelligently, which might entail separate stacks for different Messages conversations, for instance. If that’s still too much, you can go to Settings > Notifications > App Name > Notification Grouping and tap By App to collect every notification from the app into the same stack.

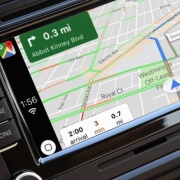
Finally! iOS 12 Lets You Use Google Maps or Waze in CarPlay

Before iOS 12, Apple Maps was the only mapping app you could run on the dashboard in a CarPlay-equipped automobile. But Maps doesn’t always work well, and some people prefer directions from Google Maps or the Google-owned Waze. Once you upgrade your iPhone to iOS 12 and update to the latest version of Google Maps or Waze for iOS, you’ll be able to use those apps on your CarPlay screen. Happy navigating!

Have You Noticed That Mojave’s Dock Shows Recent Applications?

The Mac’s Dock gives you quick access to frequently used apps, documents, and folders, and makes it easy to switch to a running app. In macOS 10.14 Mojave, the Dock has another feature: a list of apps you’ve used recently that aren’t on your default Dock. Icons for these apps appear between your Dock’s default apps and any documents or folders that you’ve added—look closely and you’ll notice subtle lines in the Dock that delineate this area. It always holds at least three apps, but expands to hold as many launched apps (note the subtle dot under the icon) as necessary; as you quit apps, their icons disappear until you’re back down to three. If you don’t like this change, turn off “Show recent applications in Dock” in System Preferences > Dock.

Tired of PDFs or Other Documents Opening in the Wrong App?

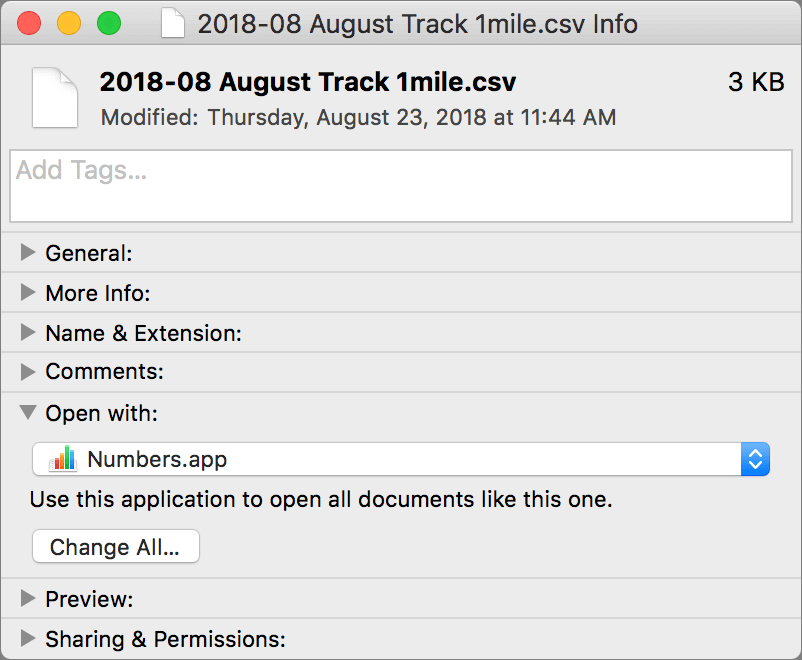
When you double-click a document, macOS uses the document’s file extension to figure out which app should open the file. So, by default, a PDF file called laser-squid.pdf opens in Preview because the Finder knows that everything with a .pdf extension should open in Preview. But what if you would prefer to open .pdf files in Adobe Reader, or you want comma-separated value (.csv) text files to open in Numbers? To change any mapping, select a file of the type in question and choose File > Get Info to open the Info window. In the Open With section, click the pop-up menu to choose the desired app and then click the Change All button.

A Hidden Trick that Lets You Navigate Your iPhone with One Hand

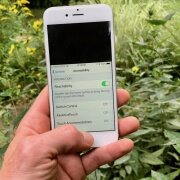
Unless you can palm a basketball, you may not be able to use an iPhone single-handed. But sometimes one hand is all you can spare. If you find yourself in such a situation, give Reachability a try. On a Touch ID–based iPhone, tap (don’t press) the Home button twice to slide the iPhone’s interface halfway down the physical screen, bringing everything into reach of your thumb. On the Face ID–equipped iPhone X, put your thumb in the bottom of the screen—about at the top edge of the Dock if you were on the Home screen—and swipe down. You can use apps normally for a tap or two, and then they’ll expand back to the full screen to show the full interface. If Reachability is off (or if you want to turn it off), go to Settings > General > Accessibility.

Make More Space for Documents by Putting Your Dock on the Side of Your Mac’s Screen

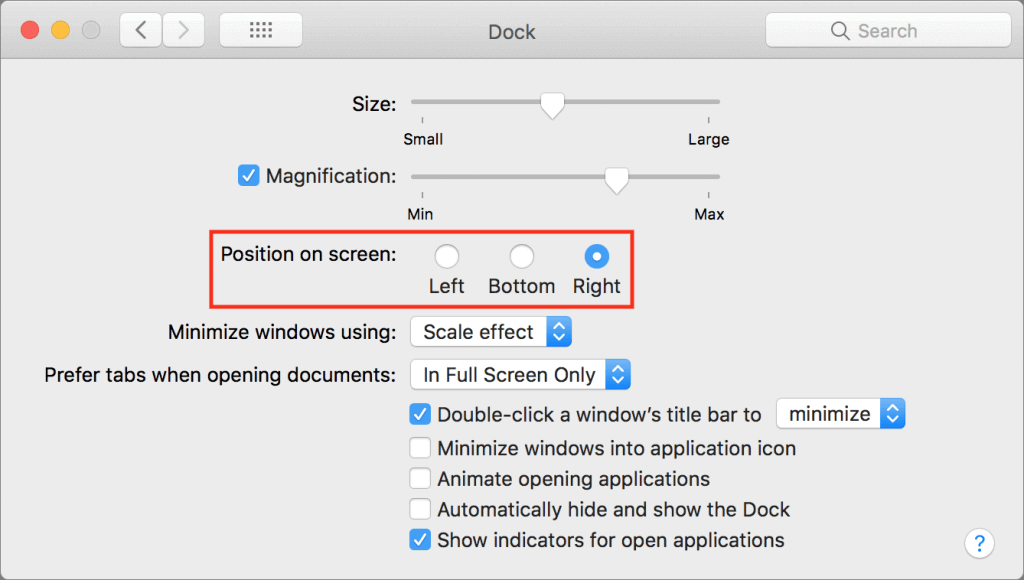
By default, Apple locates the Dock at the bottom of the Mac’s screen. If that location interferes with you seeing as much of your document windows as you’d like, you can set it to appear only when you move the pointer to the bottom edge of the screen. But there’s a better way: put the Dock on the side of the screen where there’s plenty of horizontal room and it won’t get in the way of most document windows. Open System Preferences > Dock, and select Right or Left from the Position on Screen radio buttons.