Apple’s 2021 Crop: Four iPhones, Two iPads, and an Apple Watch
September is traditionally when new iPhones are ripe for the picking, and this year’s crop is no exception. At its California Streaming event on September 14th, Apple unveiled four iPhone 13 models. Apple also announced the expected Apple Watch Series 7, but entirely unanticipated were an upgrade to the iPad and a redesigned iPad mini.
Left to the fine print in Apple’s press releases was the fact that iOS 15, iPadOS 15, and watchOS 8 will become available for download on September 20th. As we’ve said before, you should wait at least a week or two before installing them on essential devices, just in case some unpleasant bug manifests itself. Regardless of when you upgrade, make a backup right beforehand, just in case something goes wrong and you need to erase and restore.
Let’s look at each of the new products.
iPhone 13 Models Evolve from Their iPhone 12 Equivalents
Some new iPhones are revolutionary, others are evolutionary. The iPhone 13, iPhone 13 mini, iPhone 13 Pro, and iPhone 13 Pro Max fall into the latter category, improving on their iPhone 12 equivalents in numerous ways while maintaining the same industrial design (albeit with a smaller front notch) and core capabilities. There’s no shame in that, and these are without a doubt the best iPhones Apple has ever made. So what’s new?
Most of Apple’s attention went into improving the cameras and photo- and video-related functionality. The rear-facing dual-camera systems in the iPhone 13 and iPhone 13 mini have larger pixels and the sensor-shift optical image stabilization that was previously available only in the iPhone 12 Pro Max, providing better images in low-light photos and videos. The triple-camera systems in the iPhone 13 Pro and iPhone 13 Pro Max receive new sensors and lenses that also improve low-light performance and enable 3x zoom (up from 2x and 2.5x in the iPhone 12 equivalents). The new ultra-wide camera in the Pro models also significantly improves macro photography, capturing tiny subjects with a minimum focus distance of 2 centimeters.
All the iPhone 13 models offer three new and improved computational photography features: Photographic Styles, Smart HDR 4, and Cinematic mode. With Photographic Styles, the camera system automatically applies your photographic preferences (a bit like custom filters) to photos in real-time. Smart HDR 4 provides improved color, contrast, and lighting for each subject in group photos.
Cinematic mode brings to iPhone videos a cinematic technique called rack focus that emphasizes people or objects in a shot by focusing on them while blurring the rest of the scene. When enabled, Cinematic mode makes focus changes automatically during shots, for example in response to a person looking in a different direction or someone walking into the scene. You can also manually change the focus during or after capture.

Beyond the cameras, Apple put effort into several other important iPhone subsystems:
- A15 Bionic: Apple says the new A15 Bionic chip is the fastest smartphone chip ever, though it never said how much faster it is than last year’s A14 Bionic. Nevertheless, the A15 Bionic provides stellar performance that enables the near-magical computational photography features like Cinematic mode.
- Improved displays: The iPhone 13 and iPhone 13 mini have a brighter Super Retina XDR display with a higher contrast ratio for true blacks, all while being more power-efficient. The display in the iPhone 13 Pro and iPhone 13 Pro Max is brighter yet and supports Apple’s ProMotion technology that dynamically changes the screen refresh rate as needed from 10 Hz to 120 Hz, either preserving battery life or offering smooth video for games and movies.
- Longer battery life: Apple improved battery life with more power-efficient components, larger batteries, and technologies like ProMotion and Smart Data mode (which switches to LTE when 5G isn’t needed). The iPhone 13 mini and iPhone 13 Pro offer 1.5 hours more battery life than their predecessors, while the iPhone 13 and iPhone 13 Pro Max provide 2.5 hours more than theirs.
- 5G in more countries: The iPhone 13 models support more 5G bands for broader coverage and faster performance. Apple says that 5G support on the iPhone 13 will include 200 carriers in 60 countries and regions by the end of the year.
All four iPhone 13 models now start at 128 GB of storage, and the Pro models offer a new 1 TB tier for those shooting a lot of video. Here are the 128 GB prices; add $100 for 256 GB, $300 for 512 GB, and $500 for 1 TB:
- iPhone 13 mini: $699
- iPhone 13: $799
- iPhone 13 Pro: $999
- iPhone 13 Pro Max: $1099
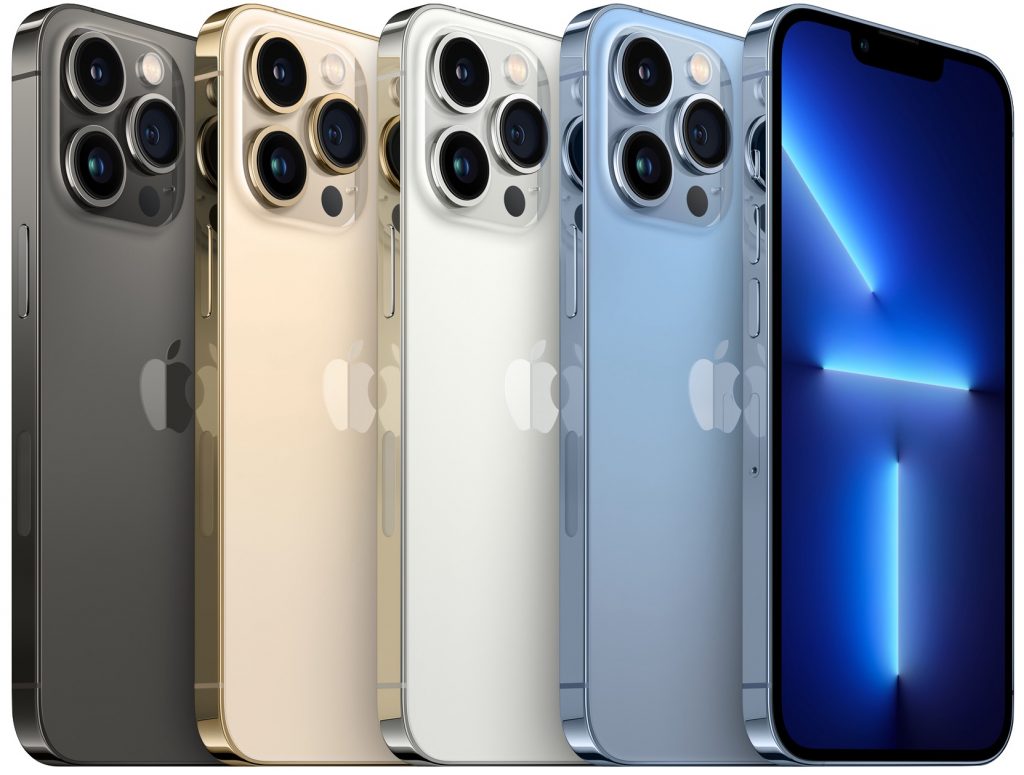
You can pre-order starting at 5 AM Pacific on September 17th, with delivery and in-store availability on September 24th. The iPhone 13 and iPhone 13 mini come in five colors: pink, blue, midnight, starlight, and (PRODUCT)RED. In contrast, the iPhone 13 Pro and iPhone 13 Pro Max come in graphite, gold, silver, and sierra blue. The second-generation iPhone SE ($399), iPhone 11 ($499), and iPhone 12 ($599) remain for sale as well.
Generally speaking, we wouldn’t recommend upgrading from an iPhone 12 model unless you’re switching to the iPhone 13 mini to get a smaller form factor or to one of the Pro models for the ultimate camera capabilities. It’s easier to recommend an upgrade from an iPhone 11 model or earlier, given the easier-to-hold squared-off industrial design and innovations like 5G and MagSafe that debuted with the iPhone 12 and continue in the iPhone 13.
Apple Watch Series 7 Is Bigger, Brighter, and Incrementally Better
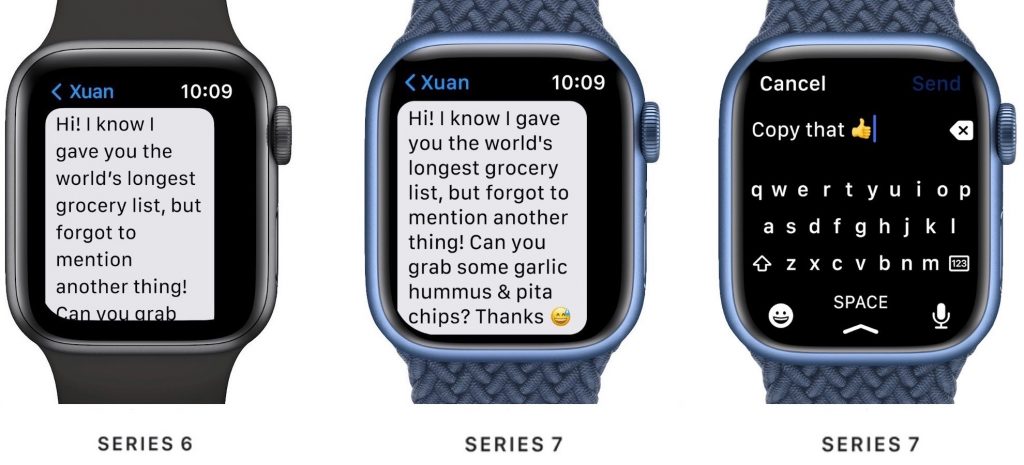
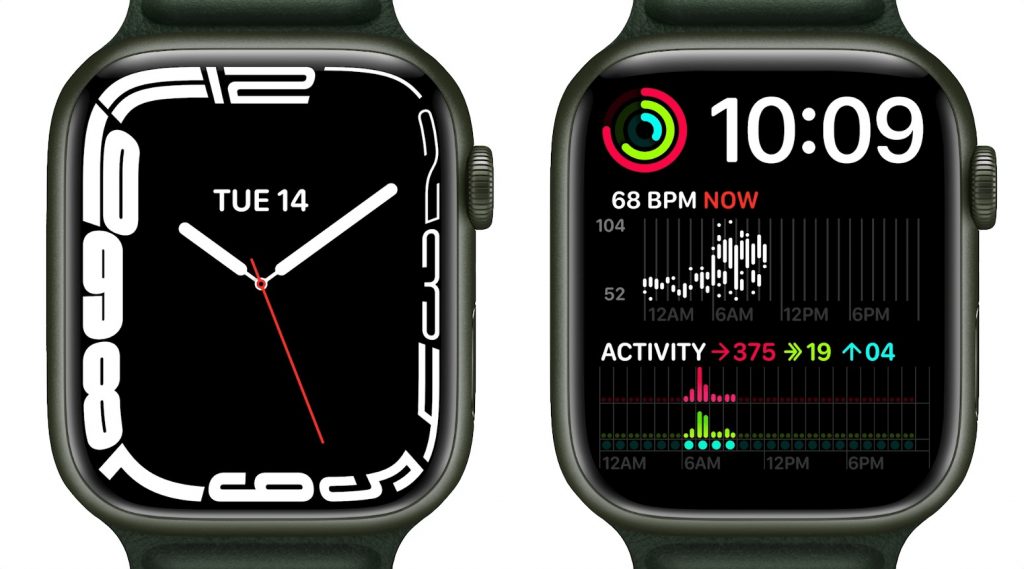
Much as with the iPhone 13, the new Apple Watch Series 7 doesn’t offer any new sensors or surprising new features. Instead, it improves on last year’s Series 6 in subtle yet welcome ways. Most notably, it boasts a larger display with nearly 20% more screen area than the Series 6 and over 50% more than the Series 3.

The larger screen can display about 50% more text than on the Series 6, making it easier to read text messages or emails with less scrolling. Apple also took advantage of the extra real-estate to add a full keyboard in watchOS 8, enabling you to enter text by either tapping or sliding your finger from letter to letter using Apple’s QuickPath technology.
A couple of new watch faces take advantage of the larger display. The dynamic Contour face animates throughout the day, pushing the dial to the edge of the display and emphasizing the current hour. Plus, a new Modular Duo face leverages the extra space to provide a pair of large, data-rich complications.
A physical consequence of the larger display is that the Series 7 comes in 41 mm and 45 mm sizes, replacing the 40 mm and 44 mm Series 6 models. However, existing bands remain compatible. The front crystal has a stronger and more robust geometry that’s over 50% thicker than on the Series 6, making it more crack-resistant. It’s also now IP6X dust-resistant for dirty environments, and it retains its WR50 water-resistance rating for swimming (but not scuba diving).
When your wrist is down, the Series 7’s always-on display is 70% brighter indoors, making it easier to check the time discreetly. Despite this, it continues to provide 18-hour battery life, and it charges 33% faster than the Series 6, thanks to a new charging architecture and Magnetic Fast Charger USB-C Cable. Charging for 45 minutes will get you an 80% charge, and 8 minutes of juicing up before bed is enough for 8 hours of sleep tracking.
There are a few new fitness-related features, such as automatic detection of Outdoor Cycle workouts and better fall detection algorithms during workouts—including cycling—but most of them come with watchOS 8 and will work on older Apple Watch models as well.
Pricing for the Apple Watch Series 7 will start at $399, although it’s easy to spend a lot more on different case materials, bands, and Hermès models. The aluminum models will come in five colors: midnight, starlight, green, a new blue, and (PRODUCT)RED; the stainless steel and Apple Watch Edition models continue in existing colors. There will also be new band colors. Apple hasn’t provided a date when you can order a Series 7, saying only “later this fall.”
We can’t recommend an upgrade from the Apple Watch Series 6 or Series 5, but if you’re limping along with an older watch whose battery is getting weak, the Series 7 will be a compelling upgrade.
Upgraded iPad Gets Better Camera, True Tone, and More Storage
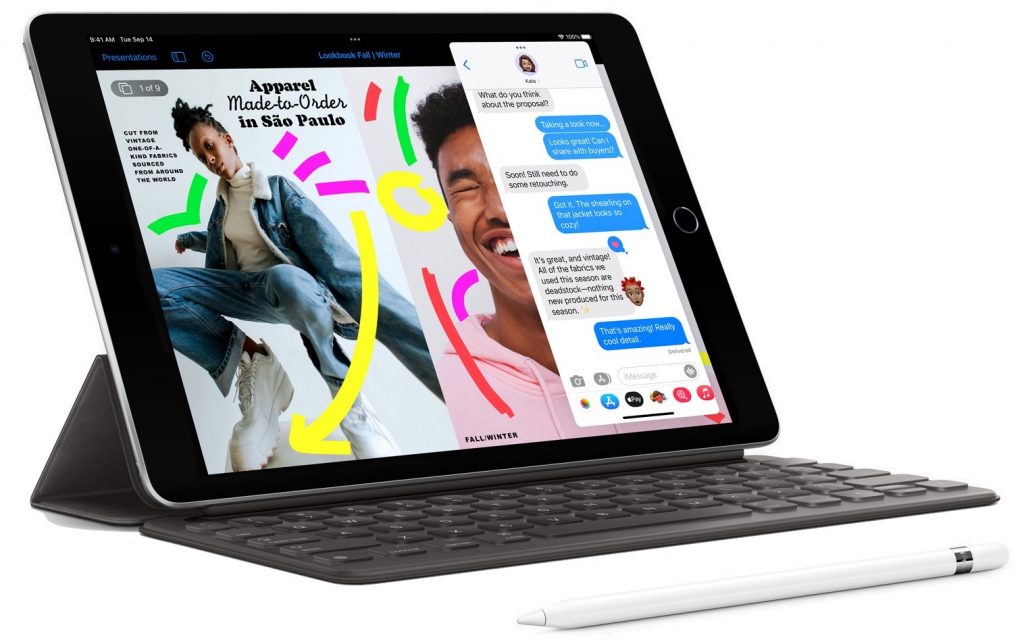
The base-model iPad has long been Apple’s best value, and with the changes the company brought to the ninth-generation iPad, it’s even more so. Apple improved the ninth-generation iPad in four ways:
- New front-facing FaceTime HD camera: This is the big one. Apple replaced the anemic 1.2-megapixel front-facing FaceTime HD camera with a 12-megapixel ultra-wide camera that supports the Center Stage technology previously available only on the iPad Pro. Center Stage zooms and pans to keep whoever is on camera centered and in focus. And yes, the front-facing camera is now nominally better than the 8-megapixel rear-facing camera, which is a little weird.
- A13 Bionic chip: It’s not the latest and greatest, but the A13 Bionic is a generation newer than the previous iPad’s A12 Bionic, and it should provide plenty of performance.
- True Tone display: Another feature swiped from the iPad Pro, True Tone automatically adjusts the display’s color temperature based on the ambient lighting conditions, making the screen easier to read in different environments.
- Double the storage: Previously, the iPad started at 32 GB of storage, which wasn’t enough to do much. Apple has now doubled the base storage level to 64 GB and the next level to 256 GB.
Despite these improvements, the price for the basic iPad remains $329 ($299 for education) in silver and space gray. It jumps to $479 for 256 GB of storage, and another $130 gives you 4G LTE connectivity at either storage level. Overall, the ninth-generation iPad is a better value than ever, and if you’re buying an iPad for anyone who doesn’t need lots of power, it’s a no-brainer. It’s available now.
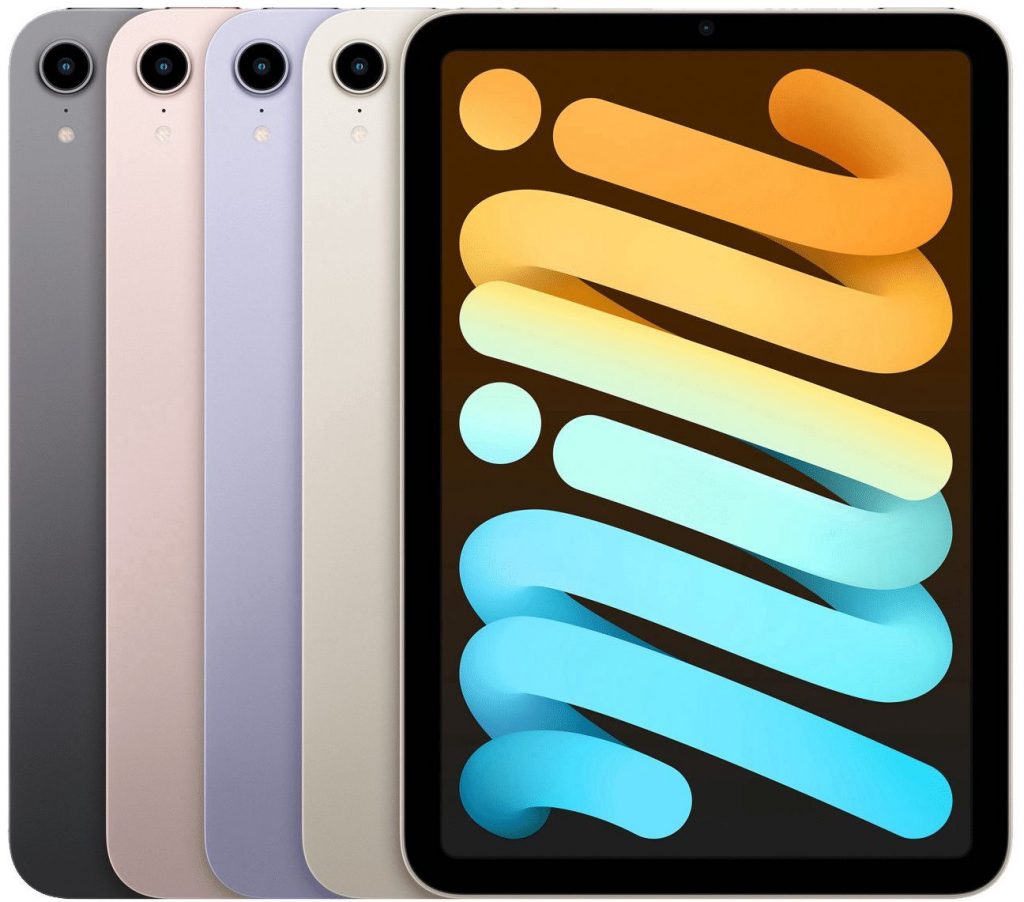
Redesigned iPad mini Mimics iPad Air
Even more surprising than the upgraded iPad was the redesigned sixth-generation iPad mini. It resembles nothing so much as a smaller iPad Air, with the same squared-off case design, an edge-to-edge 8.3-inch Liquid Retina display, Touch ID in the top button, and USB-C charging and connectivity. It’s powered by the same new A15 Bionic chip that’s in the iPhone 13 Pro.
Apple also significantly improved the iPad mini’s cameras, outfitting it with a pair of 12-megapixel cameras. The rear-facing camera can now shoot video in 4K resolution, and the front-facing camera supports Center Stage. For ultimate portable connectivity, you can now get the iPad mini with optional 5G wireless connectivity.
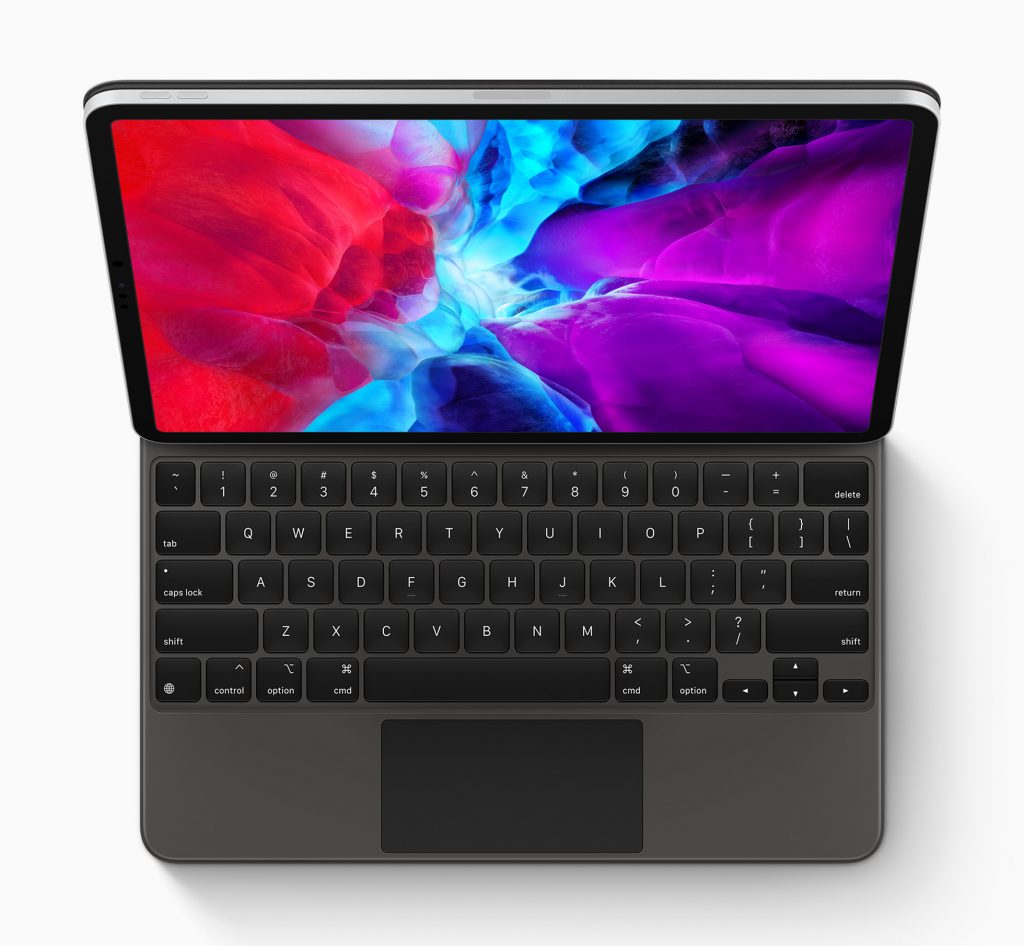
The main place where the sixth-generation iPad mini falls behind the iPad Air is in accessories. It does support the second-generation Apple Pencil, which sticks magnetically to the side, but it lacks the Smart Connector that enables Apple’s well-regarded keyboards. You can still use Bluetooth keyboards, but they don’t provide as integrated an experience.
Storage options remain the same, but Apple dropped the price by $30, making it $499 for a 64 GB configuration and $649 for 256 GB. Add $150 to either configuration for 5G wireless connectivity. The iPad mini comes in space gray, pink, purple, and starlight, and it’s available now.
Realistically, you’re buying an iPad mini only if you value its diminutive size over all else. It may not be worth upgrading from a fifth-generation iPad mini unless it no longer meets your needs in some way, but anyone who wants full iPad power in a small form factor will appreciate the redesigned sixth-generation iPad mini.
(Featured image by Apple)
Social Media: At its California Streaming event, Apple introduced the new iPhone 13 lineup, the Apple Watch Series 7, a redesigned iPad mini, and an upgraded iPad. Read on for details and our upgrade recommendations: