Posts

Easily Share Wi-Fi Passwords with Other People and Devices

You’re on vacation with your family, staying in an Airbnb, with multiple Apple devices to connect to the apartment’s Wi-Fi. Typing the password repeatedly would be a pain, but happily, Apple has added a password-sharing feature to all its operating systems. Once you enter the password on your iPhone, whenever someone else—or another of your devices—tries to connect to the Wi-Fi network, your iPhone will prompt you to share the password. Tap Share Password and then Done. It’s also a great way to share your home Wi-Fi password with a visitor. (For password sharing to work, both devices must have Wi-Fi and Bluetooth on and Personal Hotspot disabled, and you and the other person must have each other’s Apple ID email address saved in Contacts.)

(Featured image by Adam Engst)

Where to Find Lyrics in Apple’s Music Apps

It’s often tough to figure out exactly what a singer is saying (which can lead to some amusing mistakes), but for many songs in Apple Music, you can bring up full lyrics in the Music app, regardless of which device you’re using. On the Mac, click the speech balloon button in the upper-right corner to display the lyrics pane on the right side of the window. On an iPhone, tap the playback controls at the bottom of the screen to bring up the Now Playing view, then tap the speech balloon button in the lower-left corner to show lyrics. Music on the iPad is similar to the iPhone, but the speech balloon button is on the right side. With many songs, the lyrics will scroll as the song plays, but with others, you’ll just get a static display. Either way, you’ll know that the ants, my friends, are not blowin’ in the wind.

(Featured image by iStock.com/Chattrawutt)

The Best Characters to Use When Naming Files and Folders

Back in the early 1980s, DOS filenames couldn’t be more than 8 characters long with a period and a 3-character extension. That was limiting, so when Apple developed the Mac operating system in 1984, it allowed longer names and eliminated the need for an extension, although Mac OS X’s Unix roots meant a return of the filename extension in 2001. Since then, filename restrictions have loosened to the point where it’s easy to think that they no longer exist.

If only that were true! In some ways, the situation has become even cloudier, thanks to additional limitations from file-sharing services like Dropbox, OneDrive, and Box. (Google Drive’s native Web interface reportedly has no naming limitations, but files whose names contain Windows or macOS forbidden characters may not sync via Google Drive’s desktop software.) Plus, people tend to move files between operating systems more than ever before—if you’re sending a file from your Mac to a Windows user through Dropbox, you need to make sure that all three can deal with the filename.

At least length isn’t something that you generally have to think about these days, since both macOS and Windows—and the cloud services—accept filenames up to 255 characters in length. Technically speaking, Windows limits directory paths (the enclosing folder names along with the filename) to 255 characters, but even still, that shouldn’t be difficult to avoid.

What could go wrong if you run afoul of a naming restriction? macOS and Windows may simply not let you type the character—for example, you can’t put a colon in a Mac filename. Putting a period at the start of a Mac or Unix filename will hide the file. Cloud sharing services might rename the file, or you might encounter syncing issues where files don’t appear where they should. Certain characters can also cause trouble when files are used at the command line.

Here are the characters to avoid and the operating systems and services that prohibit them:

  • : (colon): macOS, Windows, Dropbox, OneDrive, Box
  • . (period): macOS (at the start of a name), Dropbox
  • / (forward slash): macOS, Windows, Dropbox, OneDrive, Box
  • (backslash): Windows, Dropbox, OneDrive, Box
  • < (less than): Windows, Dropbox, OneDrive, Box
  • > (greater than): Windows, Dropbox, OneDrive, Box
  • ” (double quote): Windows, Dropbox, OneDrive, Box
  • | (vertical bar or pipe): Windows, Dropbox, OneDrive, Box
  • ? (question mark): Windows, Dropbox, OneDrive, Box
  • * (asterisk): Windows, Dropbox, OneDrive, Box
  • ^ (caret): Windows (using FAT-formatted drives)

In addition, avoid using special characters like the © (copyright) symbol or emoji 🤷🏽‍♂️  in filenames. They might work locally, but all bets are off if you share the files in any way.

A few other recommendations:

  • Avoid unusual punctuation; in particular, note that OneDrive renames filenames containing:
    • , (comma) to ^J
    • # (number sign) to ^N
    • & (ampersand) to ^O
    • ~ (tilde) to ^F
  • Never start or end file or folder names with a space, and avoid spaces in filenames that will be uploaded to a Web or SFTP server.
  • Avoid putting more than one period in a filename, and don’t put a period after a filename extension.
  • Never assume that names are case sensitive—always make sure that similarly named items differ by more than just case.

If all that seems like a lot to keep in mind, here’s the simple rule that will ensure your filenames will work everywhere:

Name files only with uppercase (A-Z) and lowercase (a-z) letters, digits (0-9), and the hyphen (-) and underscore (_), plus a single period (.) and extension.

(Featured image by iStock.com/cosmin4000 and smartstock)


Social Media: You might think that you can name a file or folder any way you want, but macOS and Windows have restrictions on which characters you can use, and the prevalence of cloud sharing services makes it all the more important to avoid prohibited characters.

Apple Discontinues macOS Server—Start Your Migration Plans

In a move that should surprise no one, Apple has discontinued macOS Server, which started out as a server-focused version of Mac OS X and eventually morphed into a set of add-on network servers for macOS. Exactly what was in macOS Server varied over time, but in 2018, Apple trimmed it to just Profile Manager, Open Directory, and Xsan. That was made possible in part because Apple integrated Caching Server, File Sharing Server, and Time Machine Server into every installation of macOS 10.13 High Sierra and later. If you’re still using macOS Server, you can continue to download (look through your purchases) and use the app with macOS 12 Monterey, but it’s time to start planning your migration since Apple says macOS Server won’t work at all in the next version of macOS. Contact us if you need advice on the best way to proceed.

(Featured image by iStock.com/Daniel Megias)

Put Files in the Mac’s Trash Using the Keyboard

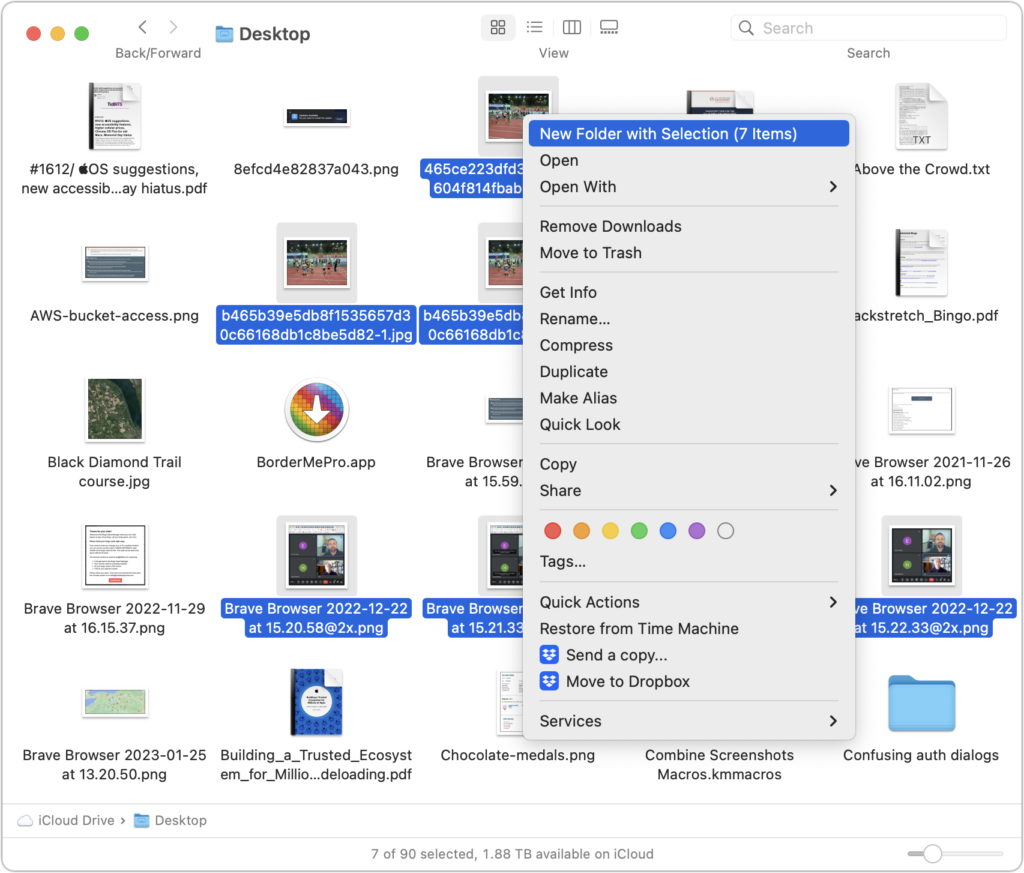
You know that you can drag files or folders to the Trash icon in the Dock for later deletion. And you probably know that you can select multiple items on the Desktop or in a Finder window by Command-clicking each one in turn (Shift-click to select a sequential range of items in a list view), after which you can drag them all to the Trash. But there’s no reason to expend effort mousing if you prefer to keep your hands on the keyboard—just press Command-Delete to send one or more selected files and folders directly to the Trash. Finally, if you need your disk space back right away, press Command-Shift-Delete to empty the Trash. However, we recommend not emptying the Trash frequently—that way, you have a chance to recover something you discover that you needed after trashing it.

(Featured image by iStock.com/FabrikaCr)

Understanding What “Vintage” and “Obsolete” Mean for Apple Products

Macs—and Apple products in general—tend to last a long time. It’s not unusual to see someone happily using an 8-year-old MacBook Pro. As much as it’s environmentally responsible to use electronics as long as possible, doing so may reduce your productivity or leave your business in a precarious situation if a hardware failure forces an upgrade at an inconvenient time.

Another factor to consider is whether or not you can get service and parts for your older device. It’s easy to assume that Apple will fix whatever you bring in, but unfortunately, that’s not the case. Apple has policies surrounding how long it guarantees to provide service and parts, which is reasonable. No one would expect Apple to repair a 128K Mac from 1984—many repair techs hadn’t even been born then.

All Apple products fall into one of three categories: current, vintage, and obsolete. Current products, which Apple defines as those that were sold within the last 5 years, are eligible for service and parts from Apple, Apple Authorized Service Providers, and Independent Repair Providers. In other words, if you bought your Mac new within the last 5 years, you won’t have any problem getting Apple to fix it.

(Independent Repair Providers are firms that have signed up for Apple’s Independent Repair Provider Program to provide out-of-warranty iPhone and Mac repairs using Apple-provided parts, tools, service guides, and diagnostics. Other repair shops can repair Apple products but may lack Apple certifications and have to source parts from other suppliers.)

Things get trickier with the other two categories:

  • Vintage: Apple considers a product to be vintage when the company stopped selling it more than 5 and less than 7 years ago. During this 2-year window, Apple says that service and parts may be obtained, subject to parts availability.
  • Obsolete: As you’d expect, a product is considered obsolete when Apple hasn’t sold it for more than 7 years. Apple will not service obsolete products, and service providers cannot order parts for them.

There is one exception to these policies. Mac laptops may be eligible for an extended battery-only repair period for up to 10 years from when the product was last distributed for sale, subject to parts availability. That makes sense since a new battery may be all an old MacBook needs to keep working.

Apple maintains a page listing all vintage and obsolete products. To determine which Mac model you have, choose About This Mac from the Apple menu. For iPhones, iPads, and iPods, Apple provides pages explaining how to identify your model.

Apple’s policies surrounding vintage and obsolete products shouldn’t make a huge difference to most users. That’s because once a Mac hits 5 years old, it’s likely that upgrading to a new model will provide significant benefits. Many businesses prefer a 3-year replacement cycle because they’ve determined that’s the sweet spot where increasing support costs and lower performance make it worth selling the old Mac and buying a new one that’s faster and more reliable.

Of course, there’s nothing wrong with keeping a Mac longer if it meets your needs and you don’t mind spending more on support. At some point, though, products in the vintage and obsolete categories are living on borrowed time.

(Featured image by iStock.com/Soulmemoria)


Social Media: It might be easier to repair vintage jeans than a vintage Mac. Read on if you want to understand Apple’s definitions of vintage and obsolete hardware and what they mean for support and repair.

Hidden Tricks for Navigating the Mac’s App Switcher More Quickly

Although the Mac’s Dock shows all your running apps, it’s often not the most efficient way to switch among them. Instead, turn to the App Switcher. You may know that pressing Command-Tab switches to the last-used app, making it easy to flip back and forth between two apps. However, if you press Command-Tab and continue to hold the Command key down, the App Switcher itself appears, with icons for all running apps. When you let up on the Command key, the App Switcher disappears, and you’ll switch to the selected app. To select an app, while the Command key is down, press Tab or Shift-Tab to cycle through the apps, or hover your pointer over the desired app. You can also click the desired app to switch to it instantly, without letting up on the Command key. And if you want to dismiss the App Switcher without switching apps, press Esc.

(Featured image by iStock.com/SIphotography)

Universal Control Arrives in macOS 12.3 and iPadOS 15.4

With the recent release of macOS 12.3 Monterey and iPadOS 15.4, Apple shipped Universal Control, the last major technology promised in its 2021 operating system upgrades. Universal Control enables you to use the keyboard and mouse or trackpad attached to one Mac to control up to three other Macs or iPads—you can even copy and paste or drag items between devices. It’s a great way to make more of your Apple devices while staying on task—no longer do you need to stop using your Mac to accomplish something on your iPad, and if you have both an iMac and a MacBook Air, it becomes trivially easy to use them simultaneously.

Universal Control can simplify grabbing a file from your MacBook Air while using your iMac, or it might make it easy to check something in an iPad-only app without switching from your familiar Mac keyboard and trackpad. For those who would benefit from more screen space, Universal Control simplifies keeping a Web browser window open on one Mac while you’re writing about it on another.

First, make sure all the Macs and iPads you want to use with Universal Control meet its system requirements. macOS 12.3 and iPadOS 15.4 are essential, and most (but not all) Macs and iPads that can run those versions are compatible. All the devices must be signed in to the same iCloud account, that account’s Apple ID must have two-factor authentication enabled, and no device can be sharing its Internet or cellular connection. Bluetooth and Wi-Fi must be turned on, and Handoff must be ​​enabled in System Preferences > General on the Mac and in Settings > General > AirPlay & Handoff on the iPad. That may sound like a lot, but most of those are defaults.

Apple says everything must be within 30 feet (10 meters), but in nearly all cases, you’ll want the devices to sit next to one another so you can easily see what you are doing on all the screens.

The only trick with setting up Universal Control is that it must be initiated from a Mac. Open System Preferences > Displays, click the Universal Control button, and in the dialog that appears, enable all three switches. Only the first one is necessary; the other two make connecting in the future easier.

After you click Done, you’ll return to the Displays preference pane, where any available Macs and iPads should appear, much like they were external monitors. If they don’t show up, click the Add Display pop-up menu and select the device you want to control under “Link Keyboard and Mouse.” You can also select them in Control Center, after clicking Displays. As long as you’ve selected “Automatically reconnect to any nearby Mac or iPad,” you shouldn’t have to repeat this step.

(The “Mirror or Extend to” section of the Add Display pop-up menu is where you select devices to use as external displays for your Mac. Macs running Monterey appear here courtesy of AirPlay, as do Apple TVs; iPads appear thanks to Apple’s Sidecar technology.)

Drag the device screen icons to match where they sit on your desk. The screenshot above indicates that you’d move the pointer from the double-screen iMac to the right to control the MacBook Air and down from the middle of the iMac screens to control the iPad.

When your pointer moves to another device’s screen, everything you do from then on will affect apps on that Mac or iPad, with one caveat. After the pointer moves to another device, you usually need to click once to create “focus,” which means specifying which window should receive subsequent clicks and keystrokes. If you forget to do this (it will become second nature quickly) and start typing, keystrokes will go to the previous device.

To help you move data between your devices, Universal Control offers two additional features beyond clicking and typing:

  • Copy and paste: As you might expect, you can copy data on one device with Command-C, move the pointer to another device, and paste it into an app on the second device with Command-V.
  • Drag and drop: Alternatively, you can drag files and other types of data from one device to another. This works well between Macs, and you can also move data between Macs and iPads in many situations, such as dragging an Apple Pencil sketch from an iPad and dropping it in a graphics app on the Mac. If a drag doesn’t work, try copy and paste or fall back on sharing the data via AirDrop or iCloud Drive.

Keep in mind that once you’ve turned it on, Universal Control has no concept of primary and secondary devices. In practice, you’ll probably use one keyboard and pointing device to control everything, but that’s not necessary. You can use a trackpad and keyboard connected to any device to control any other device, switching whenever you’d like.

Since Apple labels Universal Control as a beta, you may experience occasional dropouts or rough edges. If it loses track of a device, try putting the device to sleep and waking it again, and if that doesn’t work, open the Displays preference pane and select the device from Add Displays again.

Controlling one Mac from another is extremely fluid because the pointer and keyboard act exactly as expected. However, if you haven’t previously used a trackpad and hardware keyboard with an iPad, you may find its approach somewhat surprising. It’s a hybrid between a traditional pointer and a touchscreen, so the pointer is attracted to Home screen icons and many other controls, transforming it into a selection highlight. Either way, Universal Control just works. Give it a try!

(Featured image by Apple)


Social Media: With macOS 12.3 Monterey and iPadOS 15.4, you can now use your Mac’s keyboard and pointing device to control up to three other Macs or iPads with Apple’s new Universal Control. Learn more at:

Use Reduce Transparency for a Consistently Colored macOS Interface

For years now, Apple has made transparency a part of the macOS interface, which has the effect of blending the menu bar into the background and making menus and some windows take on the background hue, as you can see on the left side of the illustration below. For many people, transparency blurs the interface, making it harder to differentiate interface elements from the wallpaper. It also causes problems for screenshots meant for publication because the images end up with unrepresentative color levels. To prevent that from happening, open System Preferences > Accessibility > Display and select Reduce Transparency. It can be a significant difference, as you can see on the right side of the illustration below.

(Featured image by Adam Engst)

Where to Check macOS, iOS/iPadOS, and iCloud Storage Status

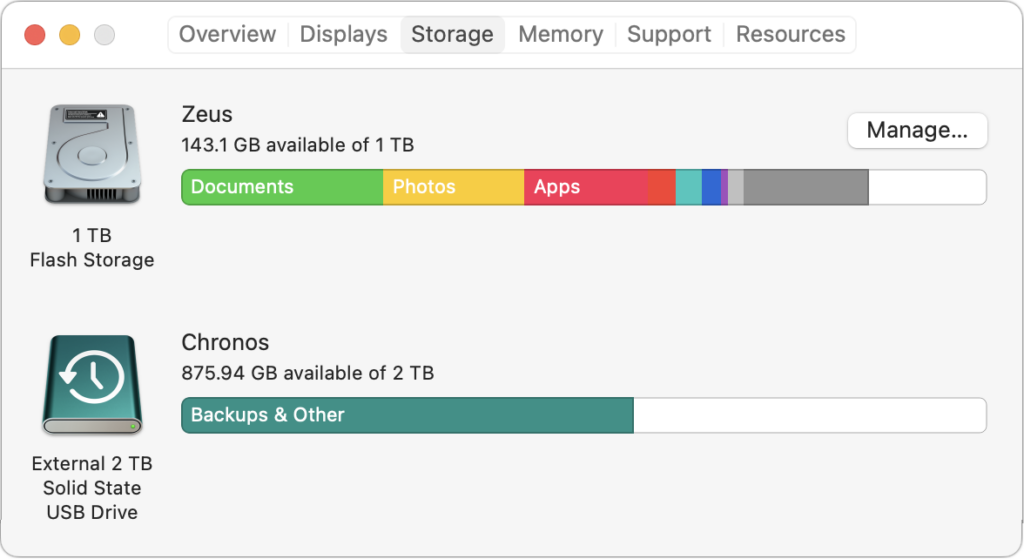
There’s little more frustrating than running out of space, which always seems to happen at just the wrong time. Luckily, Apple makes it easy to check any time, before it becomes a problem. On the Mac, choose About This Mac from the Apple menu and click Storage. On an iPhone or iPad, navigate to Settings > General > iPhone/iPad Storage. For iCloud, you can look in either System Preferences > Apple ID on the Mac or in Settings > Your Name > iCloud > Manage Storage on an iPhone or iPad. Once you know how much space is consumed by what, you can more easily clear unnecessary data.

(Featured image by iStock.com/alphaspirit)