Photos makes it easy to create and switch between libraries. That’s good when photos need to be kept completely separate. For instance, a real estate agent might want to keep personal photos separate from house photos taken for work. But too much separation is annoying—you have to keep switching between libraries, and it’s easy to import new photos into the wrong one.
If you struggle with multiple Photos libraries, never fear—you can merge them. Unfortunately, the process is slow, can require a lot of disk space, and may result in the loss of some metadata. You have three options: merging through iCloud Photos, using the PowerPhotos utility, and merging by exporting and importing. Each has pros and cons.
Merge through iCloud Photos
Apple’s iCloud Photos service offers the best solution for merging libraries. The trick is that whenever you designate a library as your System Photo Library, Photos automatically uploads all images that aren’t already present, adding them to the photos already in iCloud Photos. It also retains all the metadata surrounding your photos—titles, keywords, albums, facial recognition, projects, and more.
On the downside, using iCloud Photos almost certainly won’t be free unless you have so few photos that the combined library will fit within the free 5 GB of iCloud space Apple gives everyone. Almost everyone will have to pay for additional storage space ($0.99 per month for 50 GB, $2.99 for 200 GB, or $9.99 for 2 TB) for at least the month in which you’re doing the merge. iCloud Photos is a good service, so it’s likely worth paying for anyway.
More problematic is that the iCloud Photos way of merging will be very slow. If you haven’t already started using it, it could take a week or more to upload many thousands of photos. Plus, it will probably download the entire cloud-based collection of photos to each library whose photos you want to merge, so you may need a lot of local disk space too.
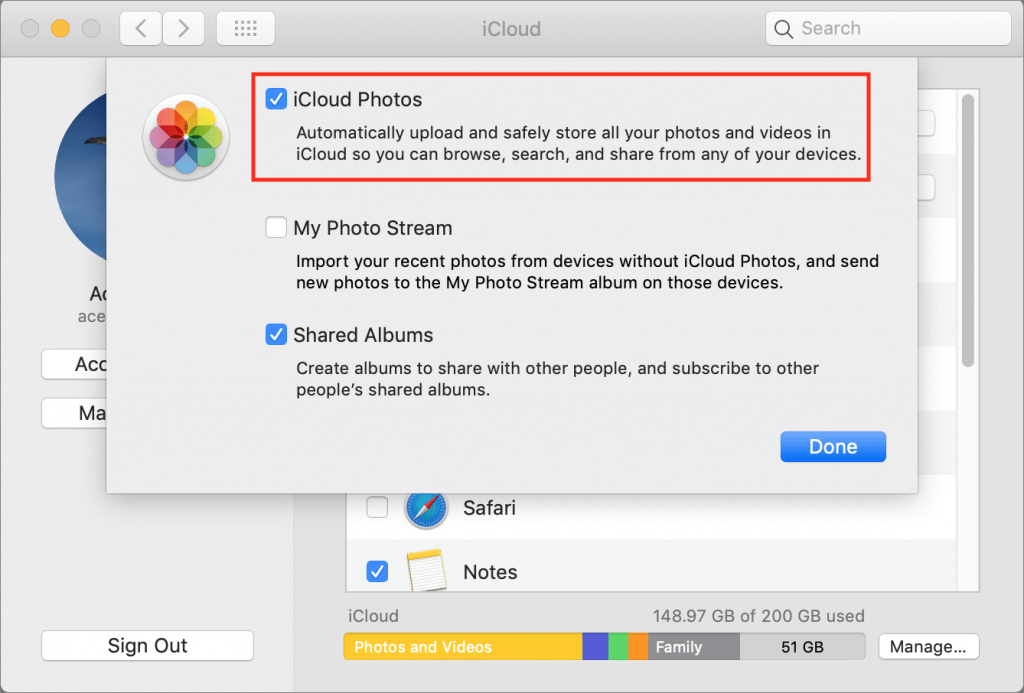
If you haven’t previously used iCloud Photos, go to System Preferences > iCloud and click the Options button next to Photo. In the dialog, select iCloud Photos.

Now, starting with the smallest Photos library and working up in size, follow these steps for each library you want to merge:
- Double-click the Photos library to open it.
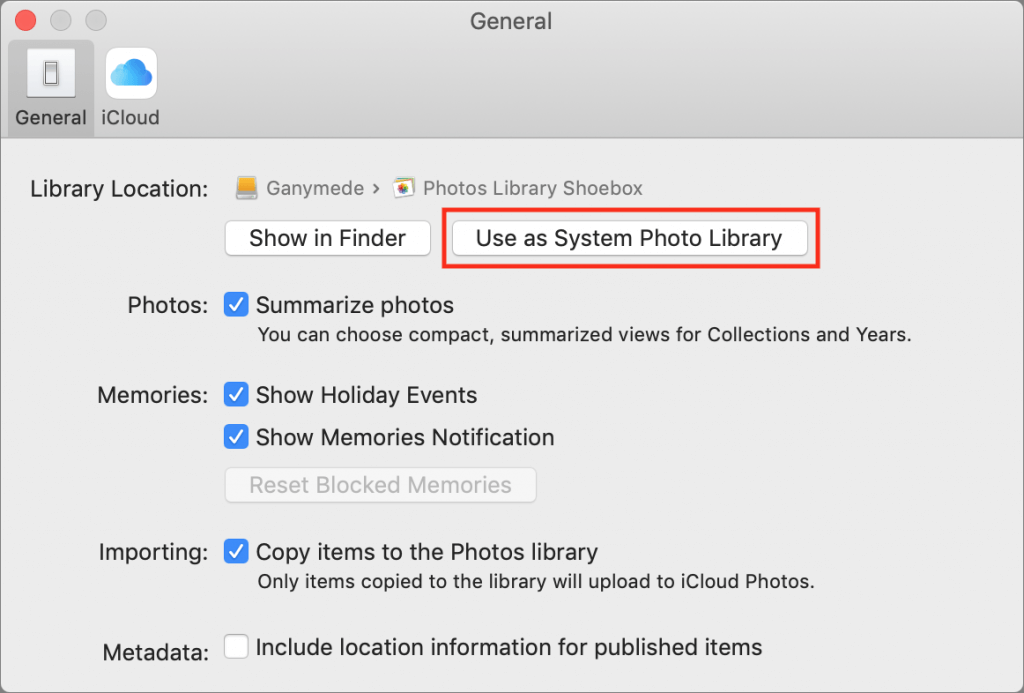
- In Photos > Preferences > General, click Use as System Photo Library. (If it’s dimmed out, that library is already set as the System Photo Library.)
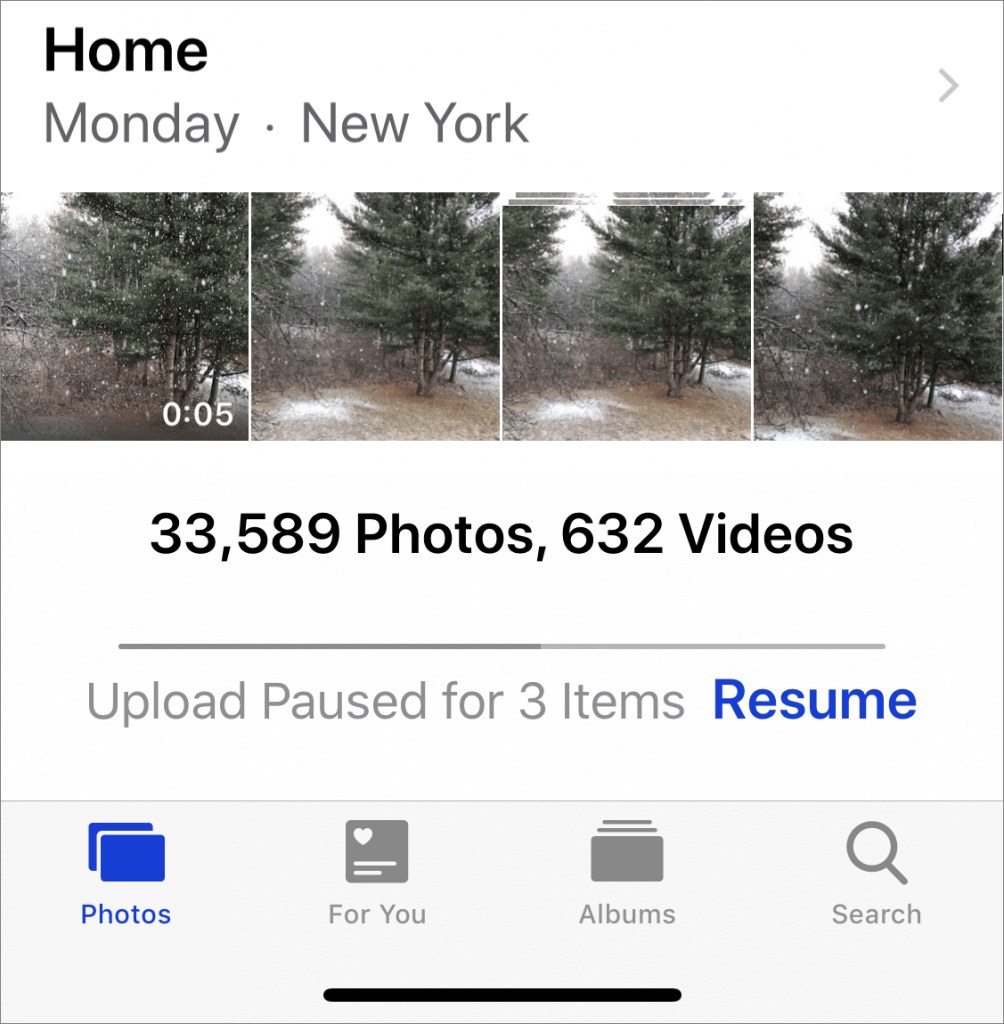
- Wait for photos to upload. Scroll to the bottom of the Photos view to see the progress. A Pause link will appear there during uploading—click it if you need to keep Photos from overwhelming your Internet connection. Once the photos have all uploaded, go back to Step 1 with your next Photos library.
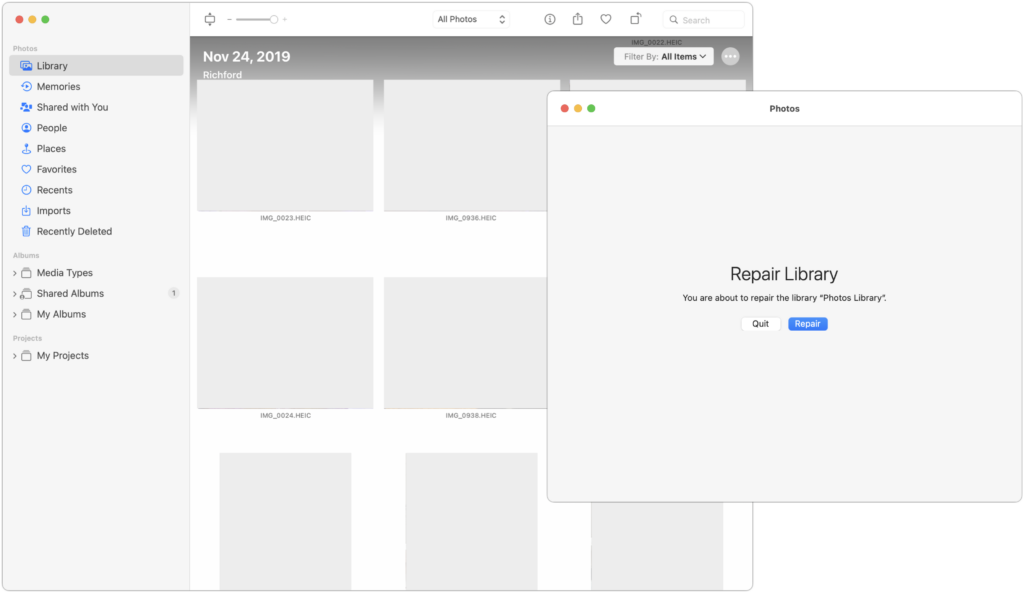
When you’re done, the last Photos library becomes the one you’ll keep, and you can delete the others. Needless to say, make sure you have good backups first!
Merge with PowerPhotos
The $30 PowerPhotos from Fat Cat Software provides a variety of extra capabilities when working with Photos. It helps you to create and manage multiple libraries, copy photos between libraries, find duplicates, and—most important for this topic—merge libraries.
Because PowerPhotos is working entirely on your Mac’s drive, it’s fast and it doesn’t require huge amounts of extra disk space. Unfortunately, unlike the iCloud Photos approach, which brings in both originals and any edits to those photos, PowerPhotos can import only your original photos or the versions that you’ve edited, not both. Plus, it can’t merge facial recognition data, smart albums, or print projects.
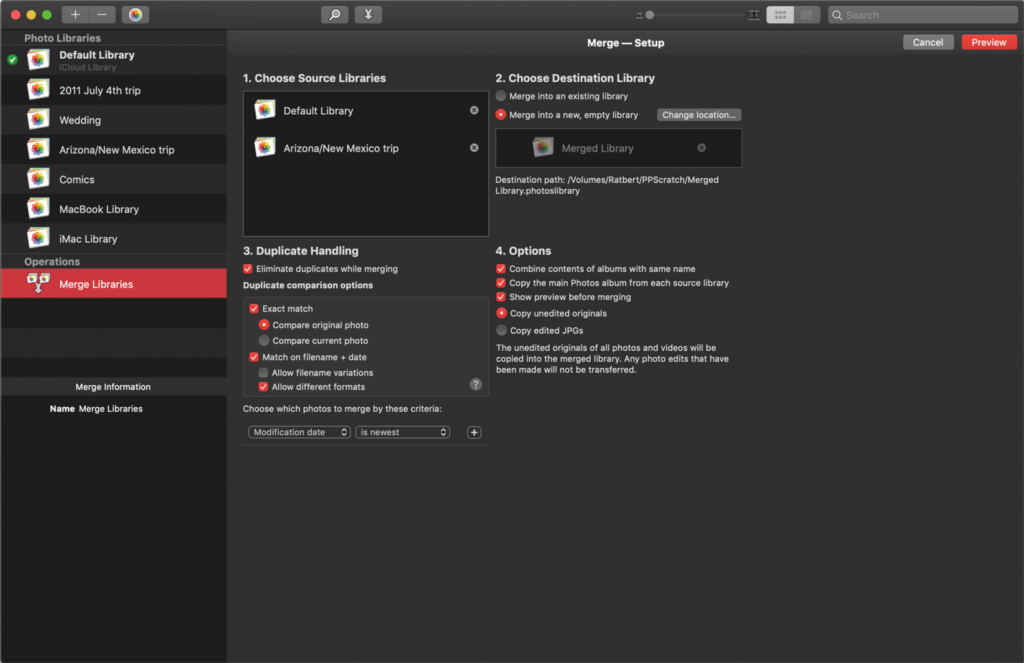
PowerPhotos provides an actual interface for merging too—choose Library > Merge Libraries to start.
In the window that appears, you have four tasks:
- Choose source libraries. You aren’t limited to merging just two libraries; you can pick multiple sources.
- Choose the destination library. This is the library you want to receive all the photos. If you want, you can create a new one.
- Configure duplicate handling. PowerPhotos can import just one of several copies of duplicate photos, or you can bring in all the duplicates if that’s important.
- Choose options. PowerPhotos can merge album contents, create an album from each source library, and create a backup before merging. Most important, though, is the choice of whether to merge your original photos or the edited versions.
Merge by Exporting and Importing
This final option is conceptually simple. You export all the photos from one library and then import them into another. It’s even what Apple recommends. The main thing it has going for it is that it’s free, and it will be faster than the iCloud Photos approach. It could also be useful if you want to copy a subset of photos between libraries, rather than merging all photos.
However, as with PowerPhotos, you have to choose between original and edited photos, and you’ll need a lot of extra disk space. Even worse, you’ll lose even more metadata, including albums, faces, and print projects. And if you export as JPEG, your photos may also suffer a slight quality drop as they’re recompressed.
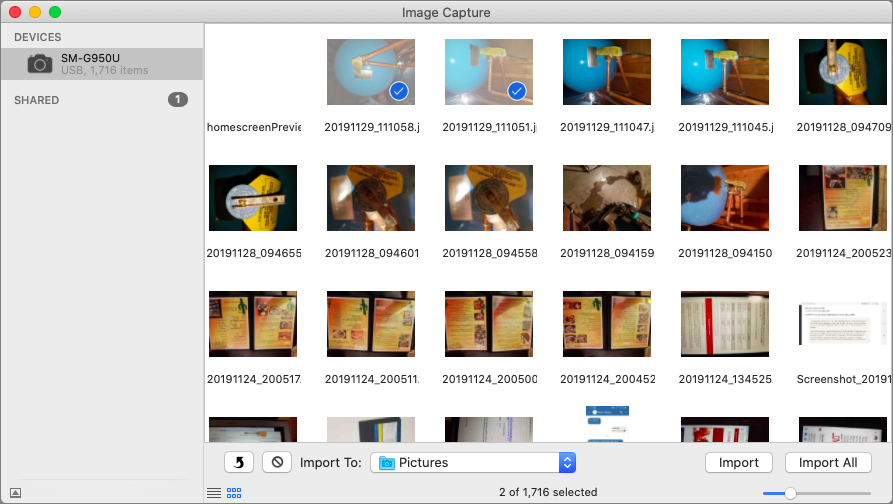
For those who want to use this approach, Apple provides detailed instructions. In essence, you’ll click Photos in the sidebar to see everything, and then choose Edit > Select All. Then you’ll choose File > Export and either Export X Photos (to get the edited versions of images) or Export Unmodified Original for X Photos (to get the original images). Once everything has exported, you’ll switch libraries in Photos and then drag the folder of exported images back into Photos to import it.
Our nod goes to the iCloud Photos technique, but PowerPhotos is a fine utility for those who aren’t perturbed by its limitations. Of course, don’t start any merging without making backups first, and if you need help, don’t hesitate to call us.
Social Media: If you want to merge Photos libraries to avoid having to switch back and forth, there are several approaches you can take, but each comes with pros and cons. See them all at:
 uploading photos the most frustrating part of the Photos on the Mac?? Maybe so. All those pictures, and it seems impossible to browse them to upload and make prints from your Mac. Using a browser to look in the depths of the Photos Library for pictures you want to print isn’t a thing so the key is learning how to Export from Photos. We’ll walk you through the Export steps and show you how to make pictures in the Photos app on Mac available for uploading to print in this super short step by step video. Free your photos so you can order prints (and everything else)! Let’s go beyond the “Share” button and learn how to Export right now.