Pin Your Chats in Messages for Faster Access
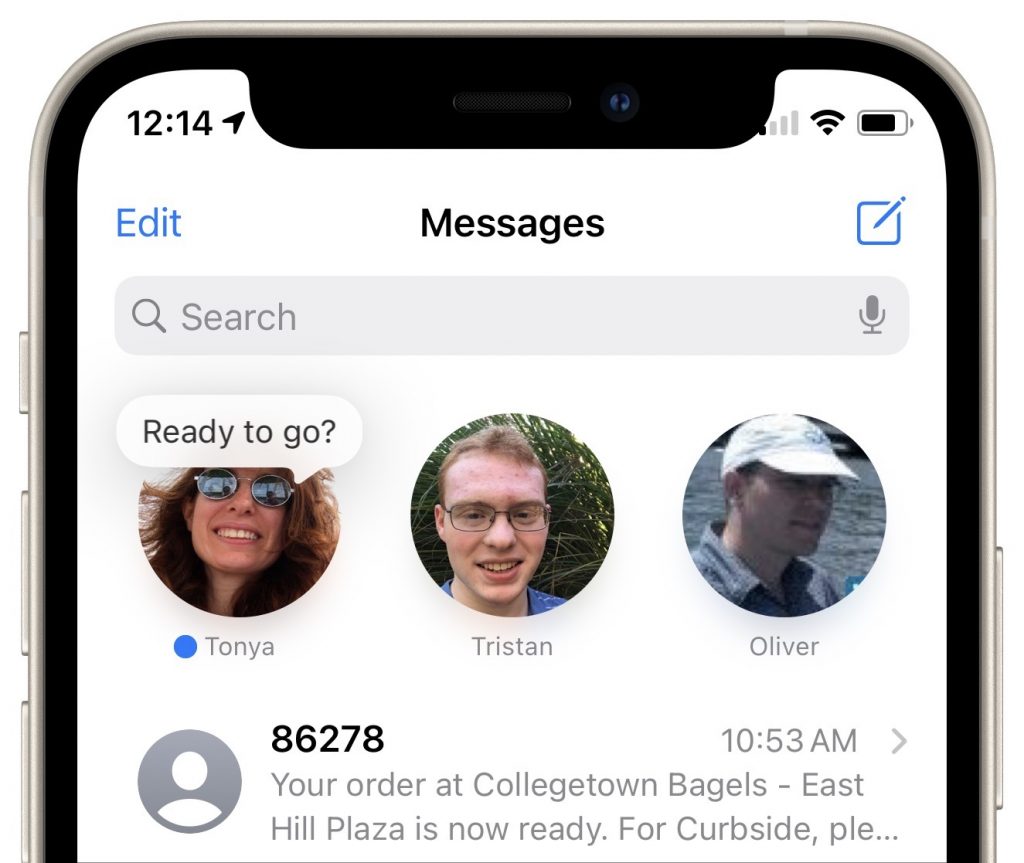
A new feature of Messages in both iOS 14 and macOS 11 Big Sur is the option to pin up to nine conversations at the top of the conversation list for easy access. No longer do you have to worry about them scrolling out of sight. On an iPhone or iPad, touch and hold a conversation and tap Pin in the menu that appears; on a Mac, Control-click the conversation and choose Pin. (Remove them by repeating the action and choosing Unpin.) Each of your devices can have different conversations pinned. If you are used to scanning the left side of Messages for blue new-message indicators, also be sure to look for those blue dots amongst your pinned icons at the top of the screen. Also, note that on the Mac, it can be a little too easy to see a notification banner about a new message, switch to Messages, and type in the currently selected (but wrong) conversation.
(Featured image by Polina Zimmerman from Pexels)