Posts

View Notes in Their Own Windows, and Float Them Over Everything Else

Here’s one for those who use Apple’s Notes app for storing bits of information. By default, Notes in macOS gives you a single window, with each note listed in a sidebar. But what if you want to see two notes at once? Or keep one always available no matter what else you’re doing? Select the desired notes in the sidebar by Command-clicking them, and then choose Window > Float Selected Notes to open them in their own windows. Or, just double-click them in the sidebar! Then, to make sure one or more of those windows is never obscured by another app, make it active and then choose Window > Float on Top. It’s still a normal window that you can move and resize and close, but no other app will appear over it. See how Safari is the frontmost app below, but the Notes window is on top?

Need to Do Some Simple Math? Get Siri to Do It!

If you’re reading this, chances are good that you’re not in elementary school, but it’s still easy to end up with a bunch of numbers you need to calculate. Perhaps you’re trying to total receipts for an expense report, average your kid’s report card grades, or split a restaurant bill. Either way, instead of launching the Calculator app on your iPhone (it’s oddly missing from the iPad), get Siri to do the math for you. For each the above examples, try the following, making sure to speak the decimal point as “point” or “dot.” “What is 113.25 plus 67.29 plus 89.16?” “What is the average of 92 and 96 and 82 and 91?” “What is 235.79 divided by 6?” Siri always shows you the calculation, so you can verify that it heard you correctly, just in case you’re doing this in a loud restaurant.

Did You Know You Can Put Shadows on Text You Type on the Mac?

Snazzy shadowed text probably isn’t appropriate for your company’s annual report, but if you’re whipping up a flyer for a birthday party, you might want to jazz up the text. You can do that in most Mac apps that support macOS’s system-level Fonts palette. Select your text, and then bring up the Fonts palette. Generally speaking, such as in Pages and TextEdit, you do that by choosing Format > Font > Show Fonts, though the exact location may vary by app. Then click the shadowed T button toward the right of the toolbar, which activates the next four controls: Shadow Opacity, Shadow Blur, Shadow Offset, and Shadow Angle. Play with each slider and the rotating angle control until you have an effect you like.

Swipe Back and Forth between Web Pages for Easier Navigation

For navigation, every Web browser offers back and forward buttons, generally represented by arrows in the upper left of the toolbar. You can also navigate by choosing menu commands and typing keyboard shortcuts—did you know that Command-Left arrow and Command-Right arrow work too? But if you’re using a Mac with a trackpad, you can move back and forth between Web pages—in Safari, Chrome, and Firefox—with a two-fingered swipe left (for back) or right (for forward). If you prefer, you can switch to a three-fingered swipe in System Preferences > Trackpad > More Gestures. Or, if it’s difficult for you to keep exactly two or precisely three fingers on the trackpad, you can choose to swipe with two or three fingers.

Trading Faces: Picking a Better Face for People Photos Recognizes

Apple’s Photos app is remarkably good at identifying people in your snapshots and collecting all the pictures that contain a particular person into a group in its People view. At its top level, the People view shows a thumbnail photo for each person, picking one automatically from all the available photos. Needless to say, it doesn’t always pick the photo you want, so if you dislike what’s there, you can change it easily on the Mac. In Photos, click People in the sidebar and double-click the thumbnail of the person you want to change. If necessary, click Show More to see all their photos, then Control-click the desired photo and choose Make Key Photo from the contextual menu.

Create and Name Reminders Lists to Use Them Via Siri

Do you create reminders with Siri on the iPhone? Those reminders are automatically added to your default list, which you set in Settings > Reminders > Default List. That’s great generally—“Hey Siri, remind me to update watchOS tonight at 11 PM”—but less good when you want to maintain different shopping lists. For instance, create a list called “Grocery,” and then you can tell Siri, “Put chocolate-covered bacon on my Grocery list.” Want to get fancy? Make a list called “Hardware,” and then tell Siri, “Add birdseed to my Hardware list, and remind me when I arrive at Home Depot.” You may have to pick the correct Home Depot location from a list, but then you’ll receive an alert reminding you to buy birdseed when you pull into the parking lot. To look at any list via Siri, just say something like “Show my Grocery list.”

Find the Battery Percentage Indicator on the iPhone X

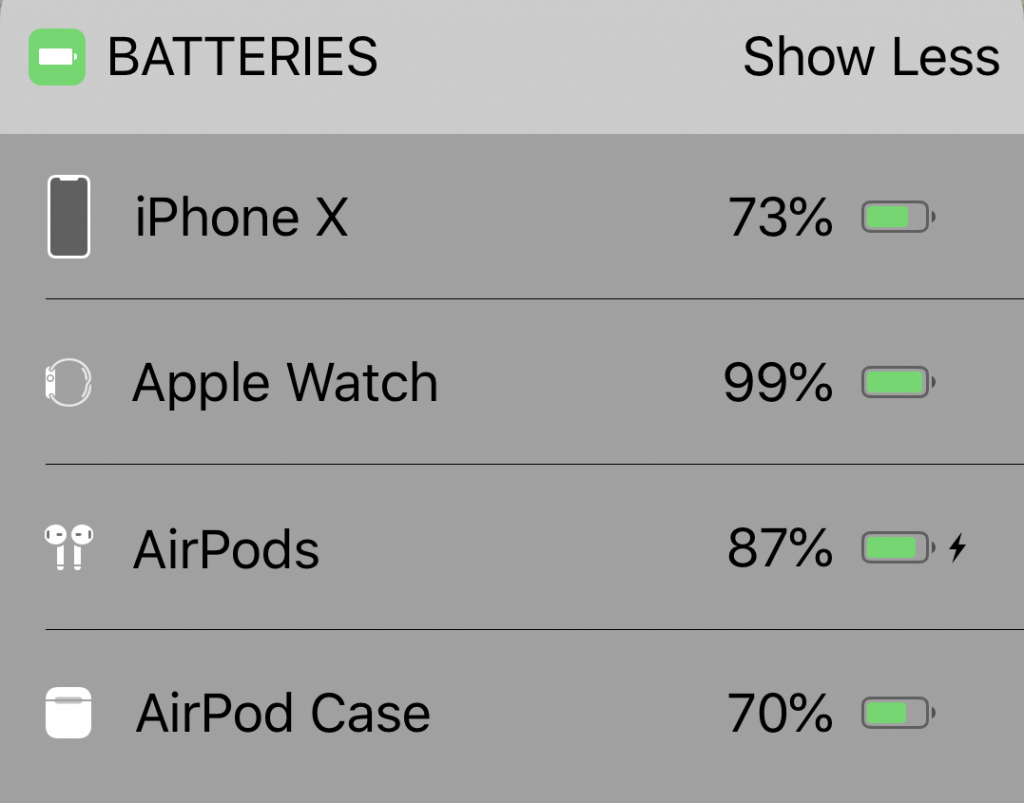
Wondering what happened to the numeric battery percentage indicator on the iPhone X? The notch takes up enough space at the top of the screen that there was room only for the battery icon, which can be hard to interpret. If you want to see precisely what percentage of your battery is left, swipe down slightly from the top-right corner of the screen. That gives you the full set of indicators, including battery percentage. You don’t have to keep swiping down enough to show Control Center, but if you do, all the indicators will be there too.