Apple’s Worldwide Developer Conference keynote was a lightning-fast 92-minute tour of Apple’s vision for how we’ll use its products in the next year. Apple wove two themes through the presentation: the new Liquid Glass design language will provide a consistent look and feel across all its platforms, and Apple Intelligence-powered features will continue to appear throughout the ecosystem. The other overarching news is that Apple is adopting a new annual versioning approach, similar to car model years, so the version number for each operating system will be 26.
Apple previewed numerous features during the keynote and listed even more on its website afterward. Below, we’ll focus on those we think will make the most difference to your Apple experience, but we also encourage you to read Apple’s pages for each platform to learn more about what’s coming. Those are linked here, along with basic hardware requirements, so you can determine if your devices will be eligible to upgrade this fall:
- macOS 26 Tahoe: MacBook Air with Apple silicon (2020 and later), MacBook Pro with Apple silicon (2020 and later), MacBook Pro (16‑inch, 2019), MacBook Pro (13‑inch, 2020, four Thunderbolt 3 ports), iMac (2020 and later), Mac mini (2020 and later), Mac Studio (2022 and later), Mac Pro (2019 and later)
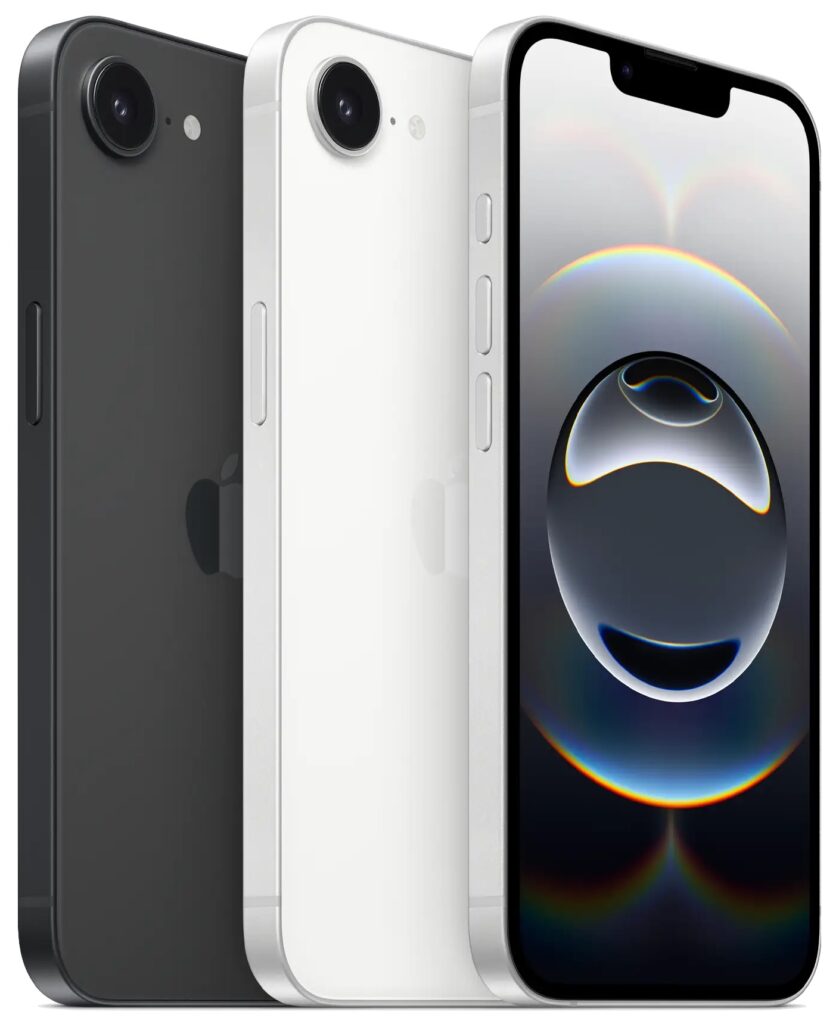
- iOS 26: iPhone SE (2nd generation), iPhone 11, and later
- iPadOS 26: iPad (8th generation and later), iPad mini (5th generation and later), iPad Air (3rd generation and later), iPad Pro 11‑inch (1st generation and later), iPad Pro 12.9‑inch (3rd generation and later), and iPad Pro (M4)
- watchOS 26: Apple Watch SE (2nd generation), Apple Watch Series 6 and later, and Apple Watch Ultra and later
- visionOS 26: All Vision Pro headsets
- tvOS 26: Apple TV 4K
First, let’s look at Liquid Glass, after which we’ll examine a handful of changes we think Apple users will find most interesting.
Liquid Glass Gives Apple’s Platforms a Fresh Look
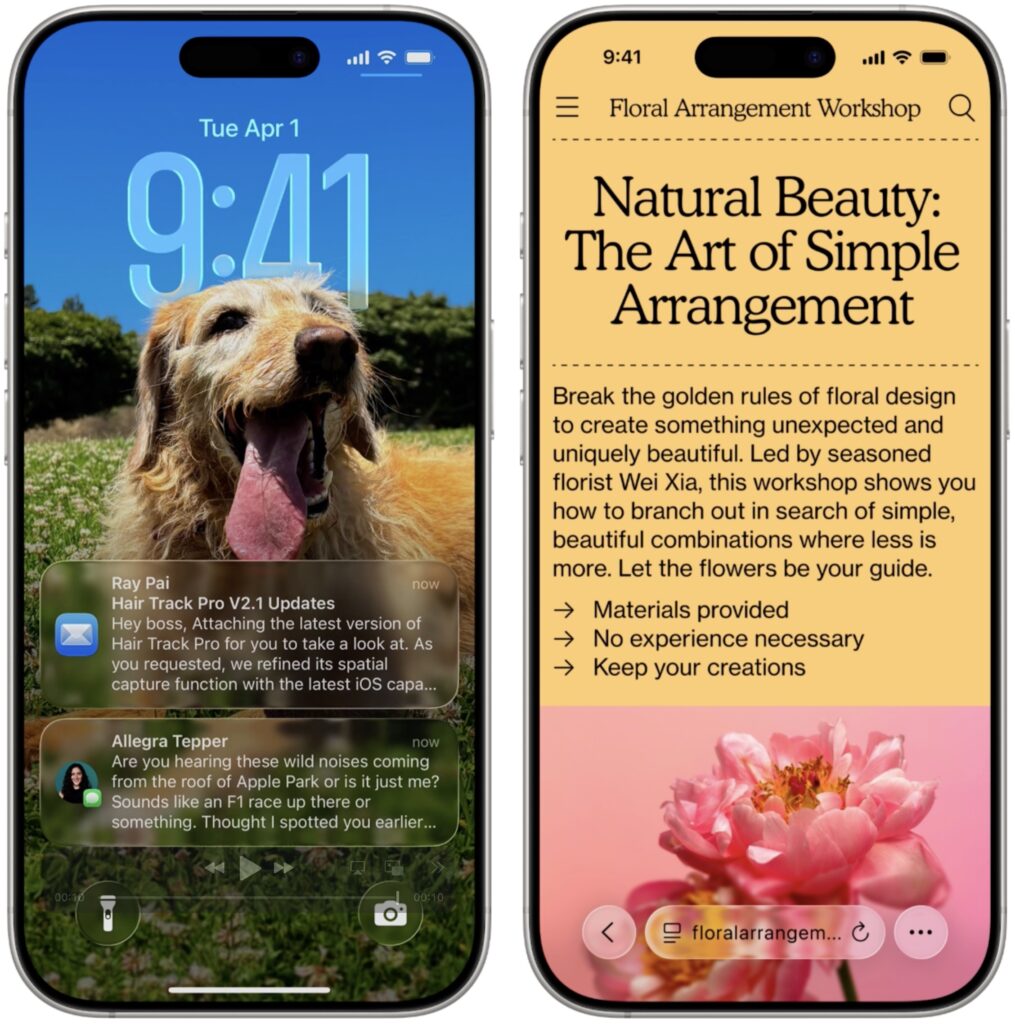
Apple’s last major interface redesign occurred in 2013 with the release of iOS 7. Since then, the company’s hardware and graphics technologies have advanced significantly, enabling the new Liquid Glass interface design. It brings to life a new glass-like “material” for interface elements that blurs the line between the physical and the virtual. Liquid Glass is both translucent and malleable, allowing background content to refract through the controls, which can morph, flex, and illuminate in response to user interaction.
Liquid Glass encompasses all of Apple’s platforms and extends to every aspect of the interface, including controls, navigation bars, tabs and sidebars, alerts, widgets, icons, the menu bar, and the Dock. Functionally, Apple has taken the opportunity to improve some interactions, so alerts appear from where you tap rather than taking over the entire display, and context menus expand into scannable lists rather than requiring awkward horizontal scrolling. When you interact with toolbars or other controls, they expand and become more prominent, but as soon as you’re done, they minimize themselves to let you focus on the content. Watch Apple’s intro video to get a feel for it.

The main concern with Liquid Glass is that it may lack contrast and be difficult to read for those whose vision isn’t perfect. In the past, Apple has provided a Reduce Transparency option in the Accessibility settings for macOS, iOS, and iPadOS to eliminate any color bleeding through translucent menus and dialogs; we’ll see if such an option proves necessary for some.
iPadOS 26 Takes Lessons from macOS
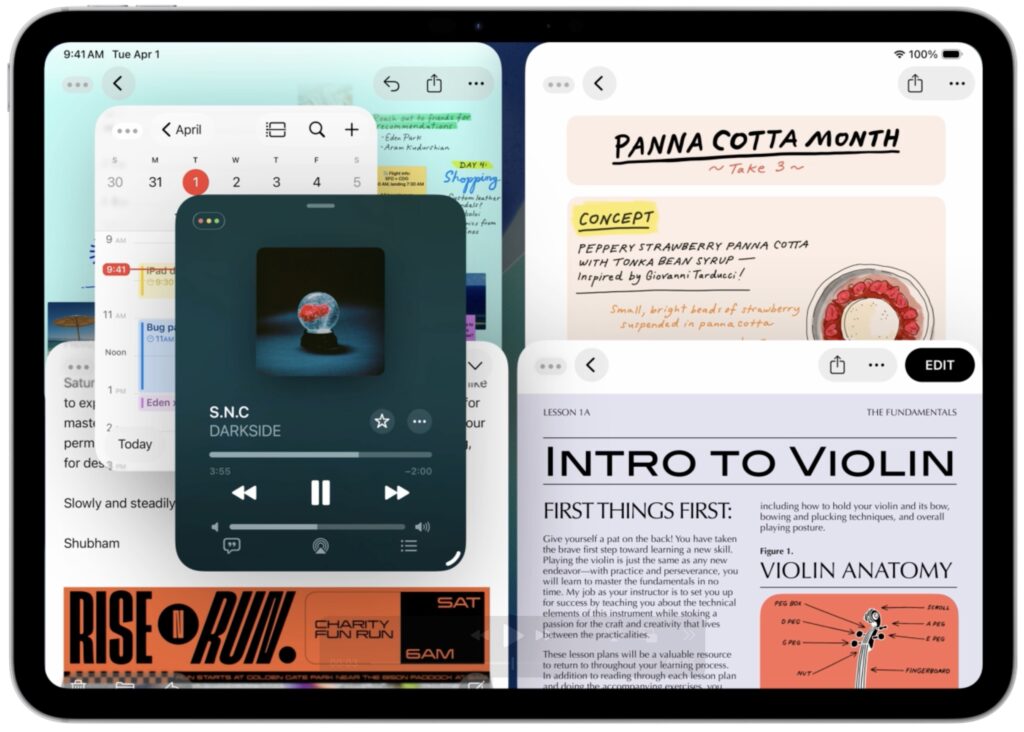
Ever since the introduction of the iPad, people have been frustrated by the extent to which it was a larger iPhone rather than a smaller, touch-sensitive Mac. Apple took small steps toward enhancing productivity by adding features like Slide Over and Split View, but they were fussy to use and never achieved widespread acceptance. With iPadOS 26, Apple has finally acknowledged that the iPad should just work more like a Mac. To that end, iPadOS 26 will offer Mac-like features in the following areas:
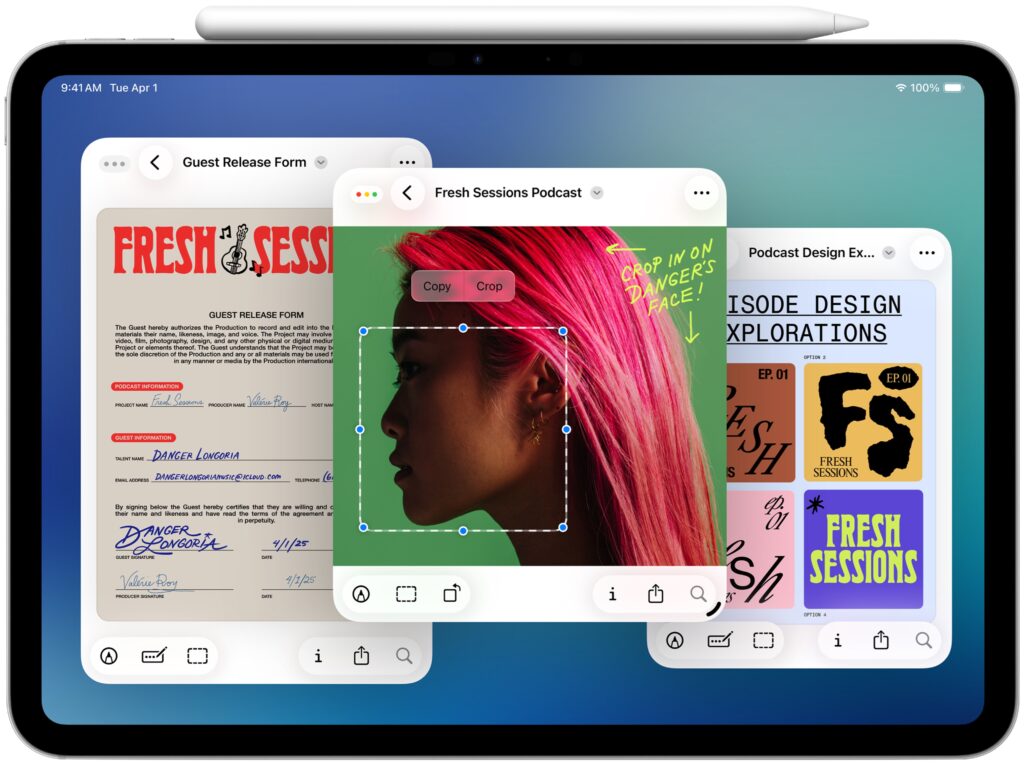
- Window management: Every app can now be transformed into a standalone window that you can move and resize freely. Windows remember their size and position, and you can tile them flexibly, with options to split the screen into two, three, or four sections. The familiar traffic light window controls from the Mac reappear along with the macOS Move & Resize and Fill & Arrange options. Swiping up invokes Exposé, allowing you to view all windows and switch to your desired one easily.
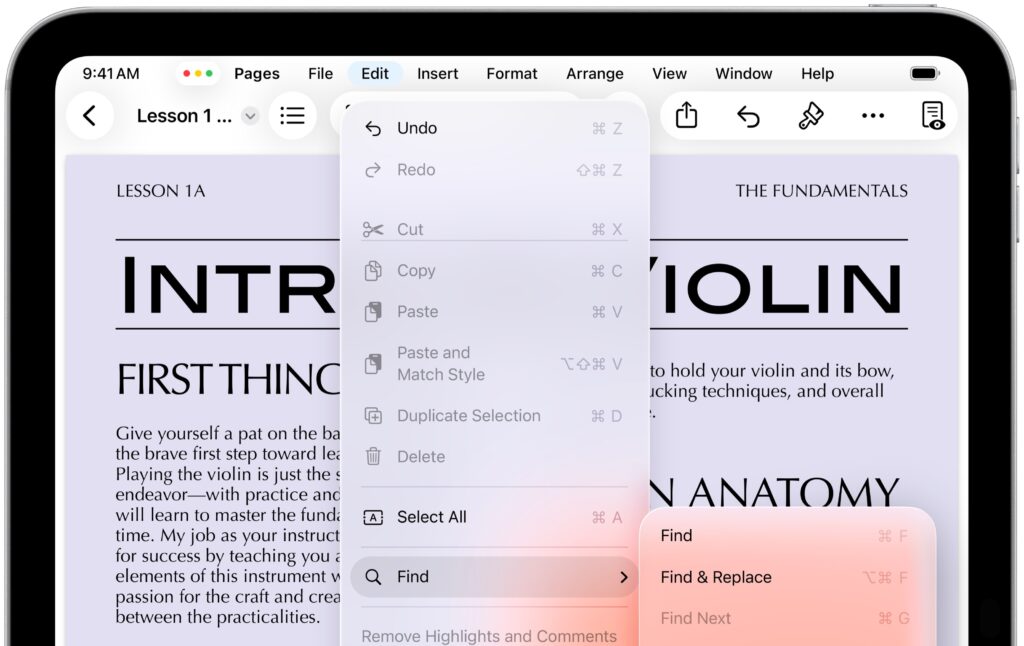
- Menu bar and Dock: iPadOS gains a menu bar that looks and works like the one on the Mac, but it only appears when you swipe down from the top of the screen. You can also put folders in the Dock and access their contents in much the same way docked folders appear as a stack on the Mac.
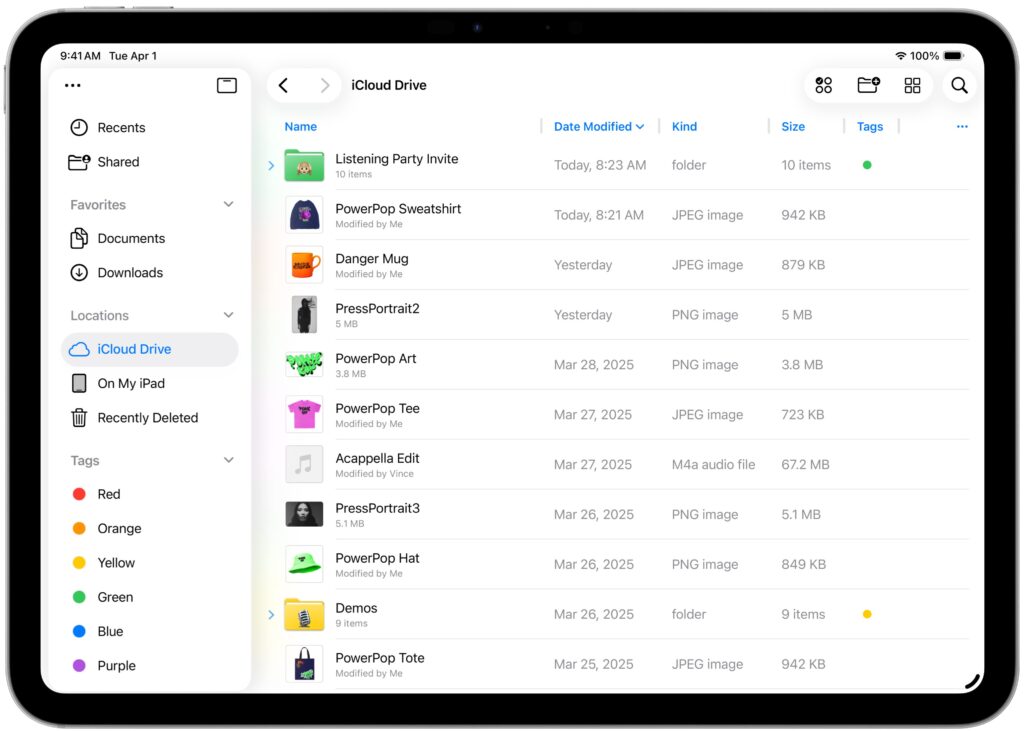
- Filesystem access: The Files app resembles a Finder window much more now, thanks to the addition of collapsible folders and resizable columns. It allows you to select which apps will open specific document types and even modify the defaults. Additionally, you can customize folders with colors and icons.
- Preview makes the move: One of the core Mac apps, Preview, is coming to the iPad. Just as on the Mac, you can use Preview for viewing and editing images and PDFs, and it offers full support for the Apple Pencil.
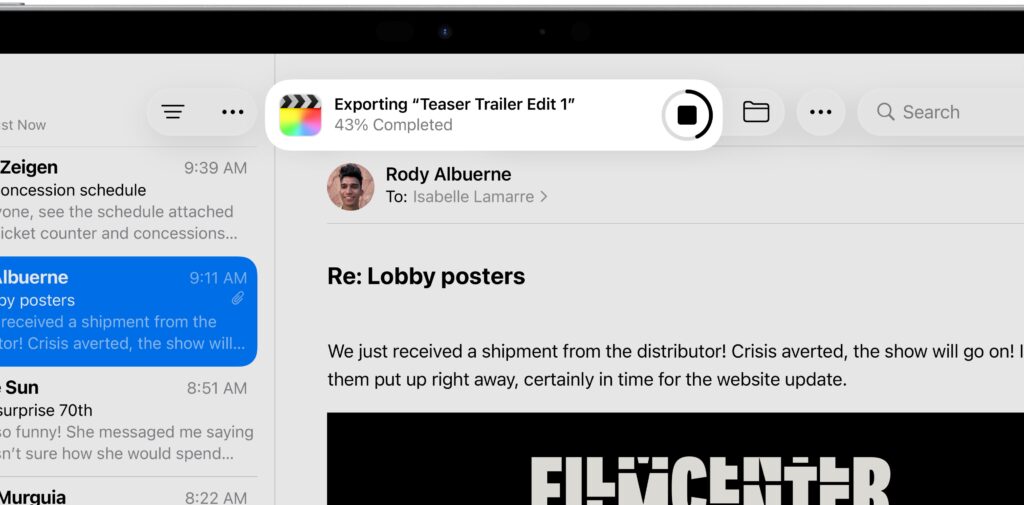
- Background processing: Computationally intensive processes and other activities that take a long time, like exporting edited videos and downloading large files, can now run in the background while you engage in other tasks.
Apple Intelligence Expands Across the Ecosystem
Apple Intelligence has been far from a rousing success, with Apple’s failure to deliver last year’s promised update to Siri being the most prominent misstep. But Apple isn’t giving up and will be tapping into Apple Intelligence in many more places across all its operating systems and apps.
Even more important, the company announced that it is opening Apple Intelligence to developers, so we can expect to see features powered by Apple’s on-device large language models appearing in third-party apps this fall. That’s a big deal because Apple’s models provide fast response times, prioritize privacy, and incur no per-prompt costs.
Some of the new and expanded uses of Apple Intelligence include:
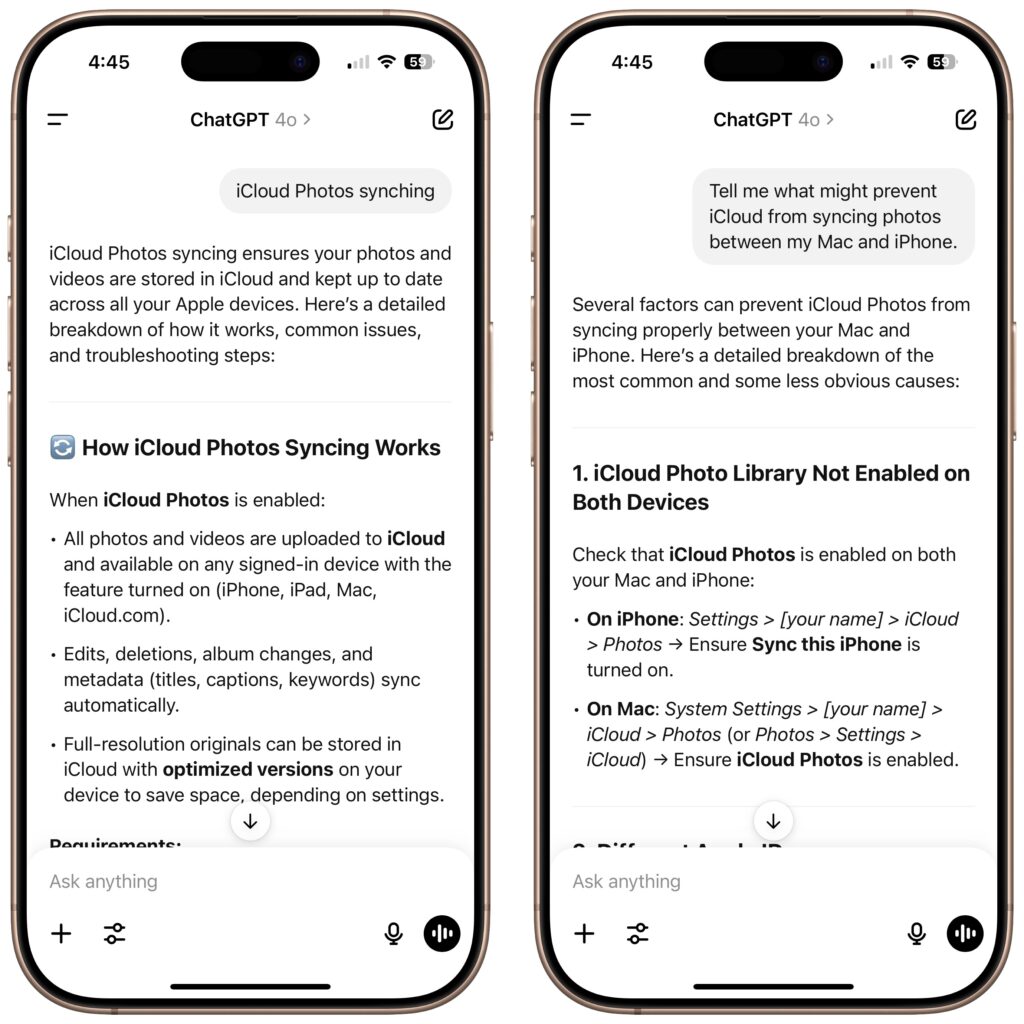
- Visual Intelligence: You can now use Visual Intelligence to learn more about and act on information displayed on your iPhone screen. You could research a piece of clothing you see while browsing, or create a calendar event based on a social media banner. You can also ask ChatGPT about anything you see on screen.
- Shortcuts gets Apple Intelligence: New intelligence actions in Shortcuts enable you to leverage Apple Intelligence to summarize text, create images, and more. Interestingly, shortcuts can even access Apple Intelligence’s Private Cloud Compute for more power-intensive tasks.
- Image Playground & ChatGPT: When using Image Playground, you can create images in a wider variety of styles with ChatGPT.
- Combine emoji for Genmoji: Previously, you could use text descriptions to create custom Genmoji; now, you can make them by combining existing emoji.
- Messages backgrounds: Chats in Messages will offer shared backgrounds, and users can create custom backgrounds with Image Playground.
- Messages polls: Group chats in Messages will gain polls—where should we go for dinner tonight?—and Apple Intelligence will automatically detect when a poll might be helpful and suggest one.
- Wallet order details: With Apple Intelligence, the Wallet app can identify and summarize order details, including tracking information.
- Workout Buddy: In the watchOS 26 Workout app, Apple Intelligence powers a virtual workout buddy that talks to you while you exercise, offering motivation, real-time stats, and post-workout feedback.
These new applications of Apple Intelligence may not rock your world, but together, they offer some appreciated enhancements. We also look forward to seeing how developers leverage Apple Intelligence models in innovative ways.
Live Translation Edges Toward the Universal Translator
Perhaps the most significant additional feature driven by Apple Intelligence in the new operating systems is Live Translation. It’s integrated into the Phone, FaceTime, and Messages apps. In the Phone app, you get spoken translations between supported languages. In FaceTime, you see the other person’s translated text as a caption, and Messages translates their text. Live Translations may prove to be a lifesaver on your next international trip.
Spotlight Gains Enhanced Capabilities
Whenever you do a search on the Mac, you’re using Spotlight. It can also search within apps like Contacts and Calendar, access various online sources, open documents, launch apps, and more. Despite that, Spotlight has paled in comparison to launchers like Alfred, LaunchBar, and Raycast. No more.
In Apple’s new operating systems, Spotlight will enable users to perform hundreds of actions across various apps. It will also be capable of understanding what you’re working on and suggesting relevant files, apps, or actions. For instance, you’ll be able to start a timer, create calendar events, generate a new email message with pre-filled fields, play a podcast episode, and more.
Spotlight also introduces the concept of “quick keys,” which are short, custom mnemonics for specific actions. For instance, you might type sm to trigger Spotlight to send a message or ar to add a reminder.
In addition, Spotlight becomes a clipboard manager, providing access to recently copied items, including text, images, and links. You can browse, search, and insert previous clipboard entries directly through Spotlight.
Phone App Introduces Call Screening and Hold Assist
Phone calls may not be the primary use of the iPhone for many people, but they remain a fact of life. With iOS 26, Apple has introduced two features that, if they work as promised, will alleviate two common pain points associated with calls.
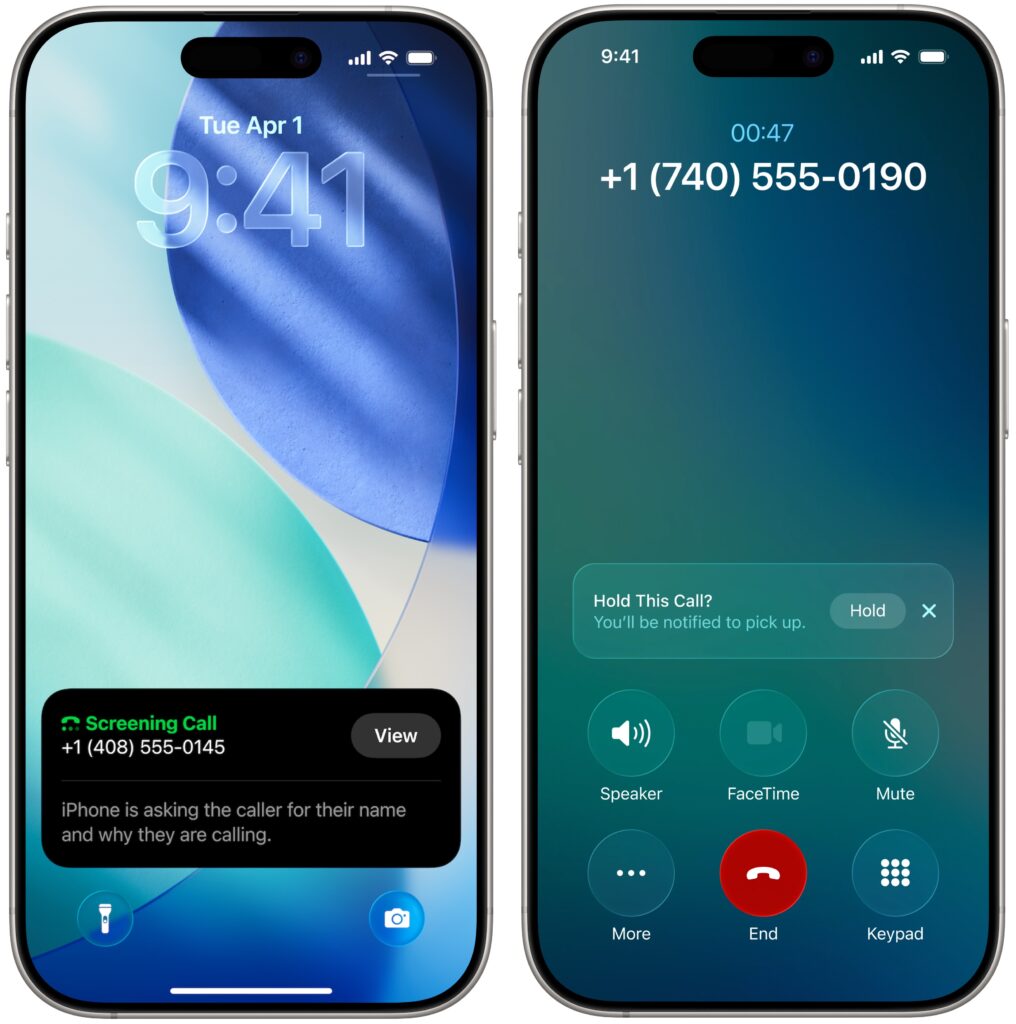
Call Screening builds on the Live Voicemail feature by automatically answering calls from unknown numbers, without even alerting you. Once the caller provides their name and the reason for their call, the Phone app rings and presents information to help you decide whether to answer.
The other new feature is Hold Assist, which automatically detects hold music and asks if you want it to wait on hold for you, allowing you to attend to other tasks. When someone on the other end picks up, it informs them that you’ll be there shortly and notifies you that it’s time to return to the call.
Although we think of using the Phone app exclusively on the iPhone, Apple is also bringing it to macOS 26 and iPadOS 26, thanks to Continuity. Once you upgrade, you’ll be able to take advantage of these features—and Live Translation—on those platforms as well.
Dismiss Notifications with the Flick of a Wrist
Finally, watchOS 26 introduces a new gesture that we believe will be popular: the wrist flick. Whenever a notification appears on screen, you can quickly rotate your wrist away from you to dismiss it. This feature is a great little addition to the Apple Watch interaction model.
If none of these changes seem earthshaking to you, we agree. With six operating systems and billions of users, Apple can’t move as quickly as smaller companies. While Liquid Glass will dramatically change the look of our Apple devices, the other new features shouldn’t require us to learn completely new methods of interaction.
(Featured image by Apple)
Social Media: At its Worldwide Developer Conference, Apple unveiled the first major interface change to its operating systems in many years, along with a boatload of new features, many powered by Apple Intelligence. Here are a few of our favorites.