Prevent Quick Screenshots from Cluttering Your Photos Library on the iPhone and iPad
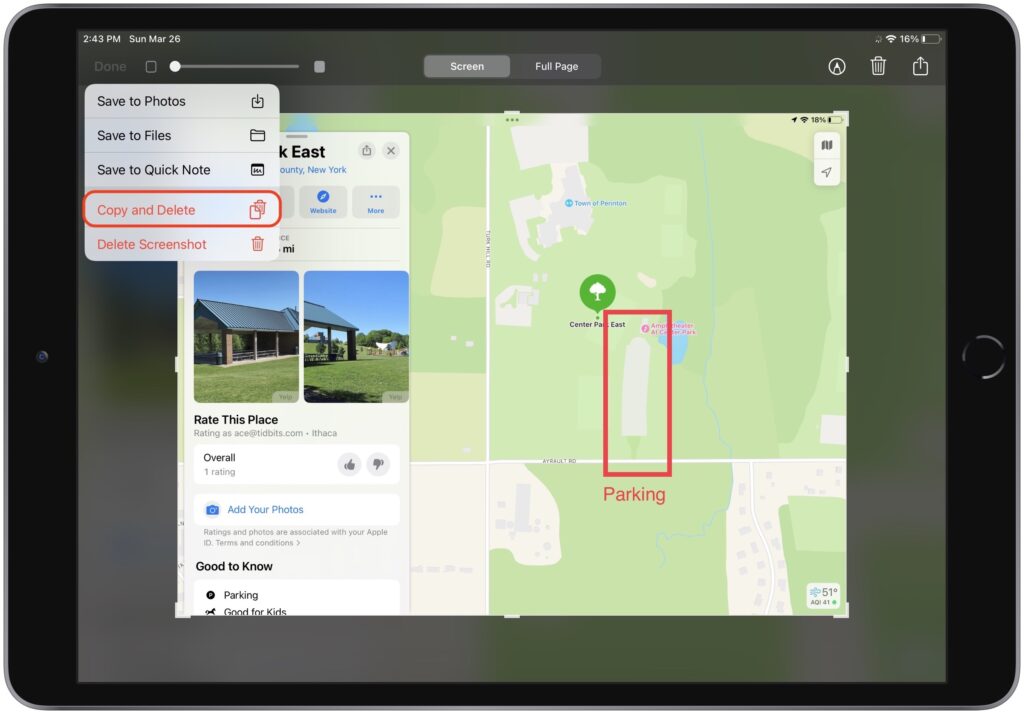
By default, when you take a screenshot (instructions for iPhone and iPad), it saves to Photos. But what if you don’t want something like a quick image of a map for a friend to clutter your Photos library? In iOS 16 and iPadOS 16, Apple has added new options. When you tap the screenshot thumbnail that appears briefly after pressing the capture buttons, you can crop and mark up your image. Or not. The key is that when you’re ready, tap Done to get an option to Copy and Delete, which is great when all you want to do is paste the screenshot into a Messages conversation or Mail message. You can also save to Photos, Files, or Notes, or just trash the screenshot if you’ve changed your mind.
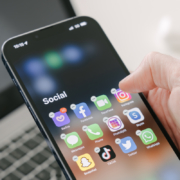
(Featured image by iStock.com/simona flamigni)
Social Media: Do you take temporary screenshots on your iPhone or iPad so you can message what your screen looks like to a friend? If you don’t want these images saved in Photos, read on for a tip about how to move them to the clipboard for pasting instead.