What Should I Do If I Get an “AirTag Found Moving With You” Message?
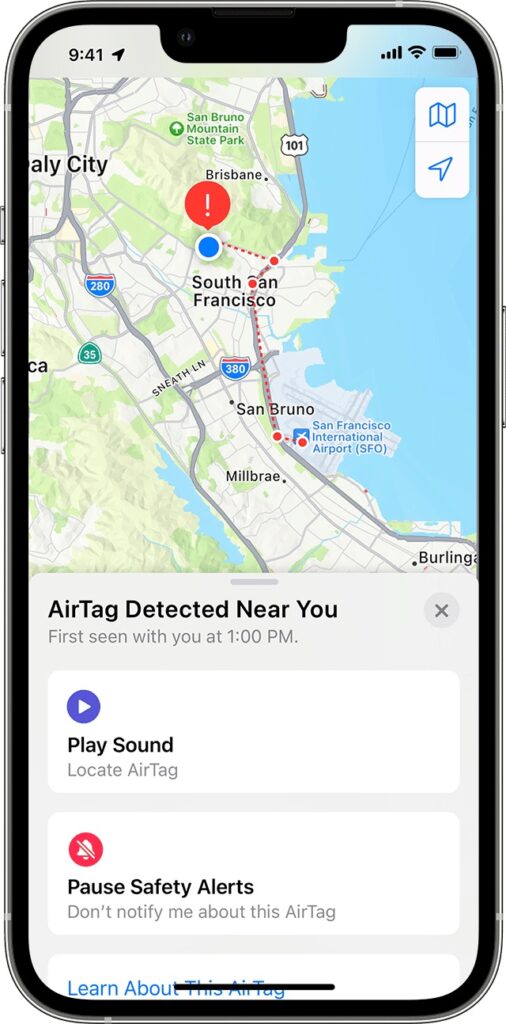
First, don’t panic. Most likely, you’re borrowing something with an Apple AirTag location tracker attached to it, or someone left something with an attached AirTag in your car. Second, tap the alert to open the Find My app, which displays a map showing where the AirTag has been with you, which might shed some light on where it started traveling with you. Third, in the Find My app, tap Play Sound to try to locate the AirTag by its audible alert. Fourth, if you find the AirTag, hold it near your iPhone until a notification appears, and tap that for more information, including the last four digits of the owner’s phone number (search for it in the Contacts app to see if it’s anyone you know). We’re being intentionally brief here—for significantly more detail, including advice on contacting local law enforcement—read Apple’s support article.
(Featured image by iStock.com/BackyardProduction)