watchOS 9’s New Low Power Mode Could Help Older Apple Watches
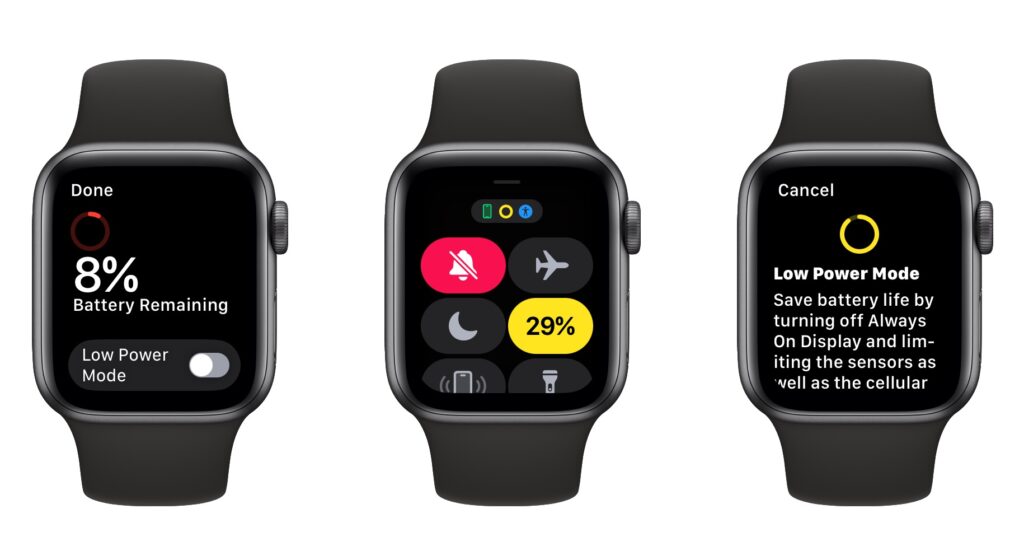
Until watchOS 9, Low Power Mode on the Apple Watch turned the smartwatch into a dumb watch that only told the time. With watchOS 9 on an Apple Watch Series 4 or later, however, a new Low Power Mode reduces the watch’s capabilities while keeping it largely functional. It turns off the Always-On display, heart rate notifications, background heart rate and blood oxygen measurements, and the automatic start workout reminder. When your iPhone isn’t nearby, it disables Wi-Fi and cellular connections and incoming phone calls and notifications. Other features will be slower: making a phone call, refreshing background apps and complications, Siri requests, and some interface interactions. (You can still use the Workout app in Low Power Mode and record metrics like heart rate and pace. Go to Settings > Workout on the Apple Watch to turn Low Power Mode on automatically whenever you start a workout.) watchOS 9 prompts you to turn on Low Power Mode when your battery drops to 10%, or you can enable it manually by swiping up from the bottom of the screen to open Control Center, tapping the battery percentage button, and enabling the option.
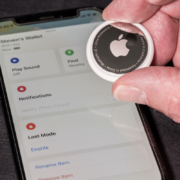
(Featured image by Adam Engst)