The Mac’s Magic Shortcut to Trashing Files and Photos Quickly
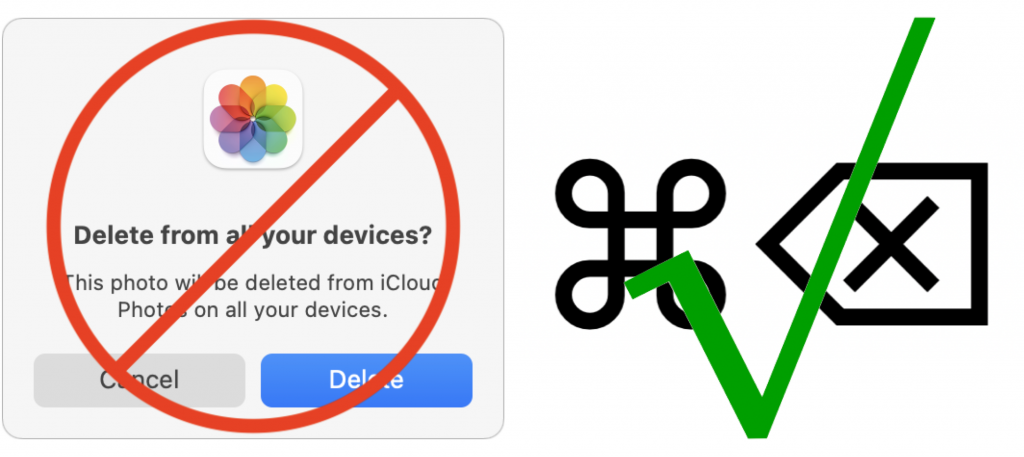
Sure, you could select a file in the Finder and choose File > Move to Trash or drag it to the Trash in the Dock. Similarly, you can trash selected photos in Apple’s Photos app by choosing Image > Delete X Photos, or by pressing the Delete key, but both of those methods result in a dialog asking if you’re sure. The easiest way of trashing a file in the Finder or a picture in Photos is to select it and press Command-Delete. Poof, it’s in the Trash (Finder) or Recently Deleted album (Photos), with no extra effort or prompts! And if you accidentally trash the wrong thing, just press Command-Z to restore it. Keep this key combination in mind for other apps too, since they may also support it as a shortcut for “delete without prompting.”
(Featured image by iStock.com/YurolaitsAlbert)